



Concrete Driveway Apron Replacement
Concrete driveway apron replacement across North Carolina — the section at the road tie-in is the first part of most drives to fail, and rebuilding it right means proper base restoration, drainage at the road edge, and a clean tie-in to city curb or DOT pavement. Zero deposit, licensed and insured, written spec.
Get your free quote
We respond in less than 2 hours.
Recent Driveway Aprons Projects
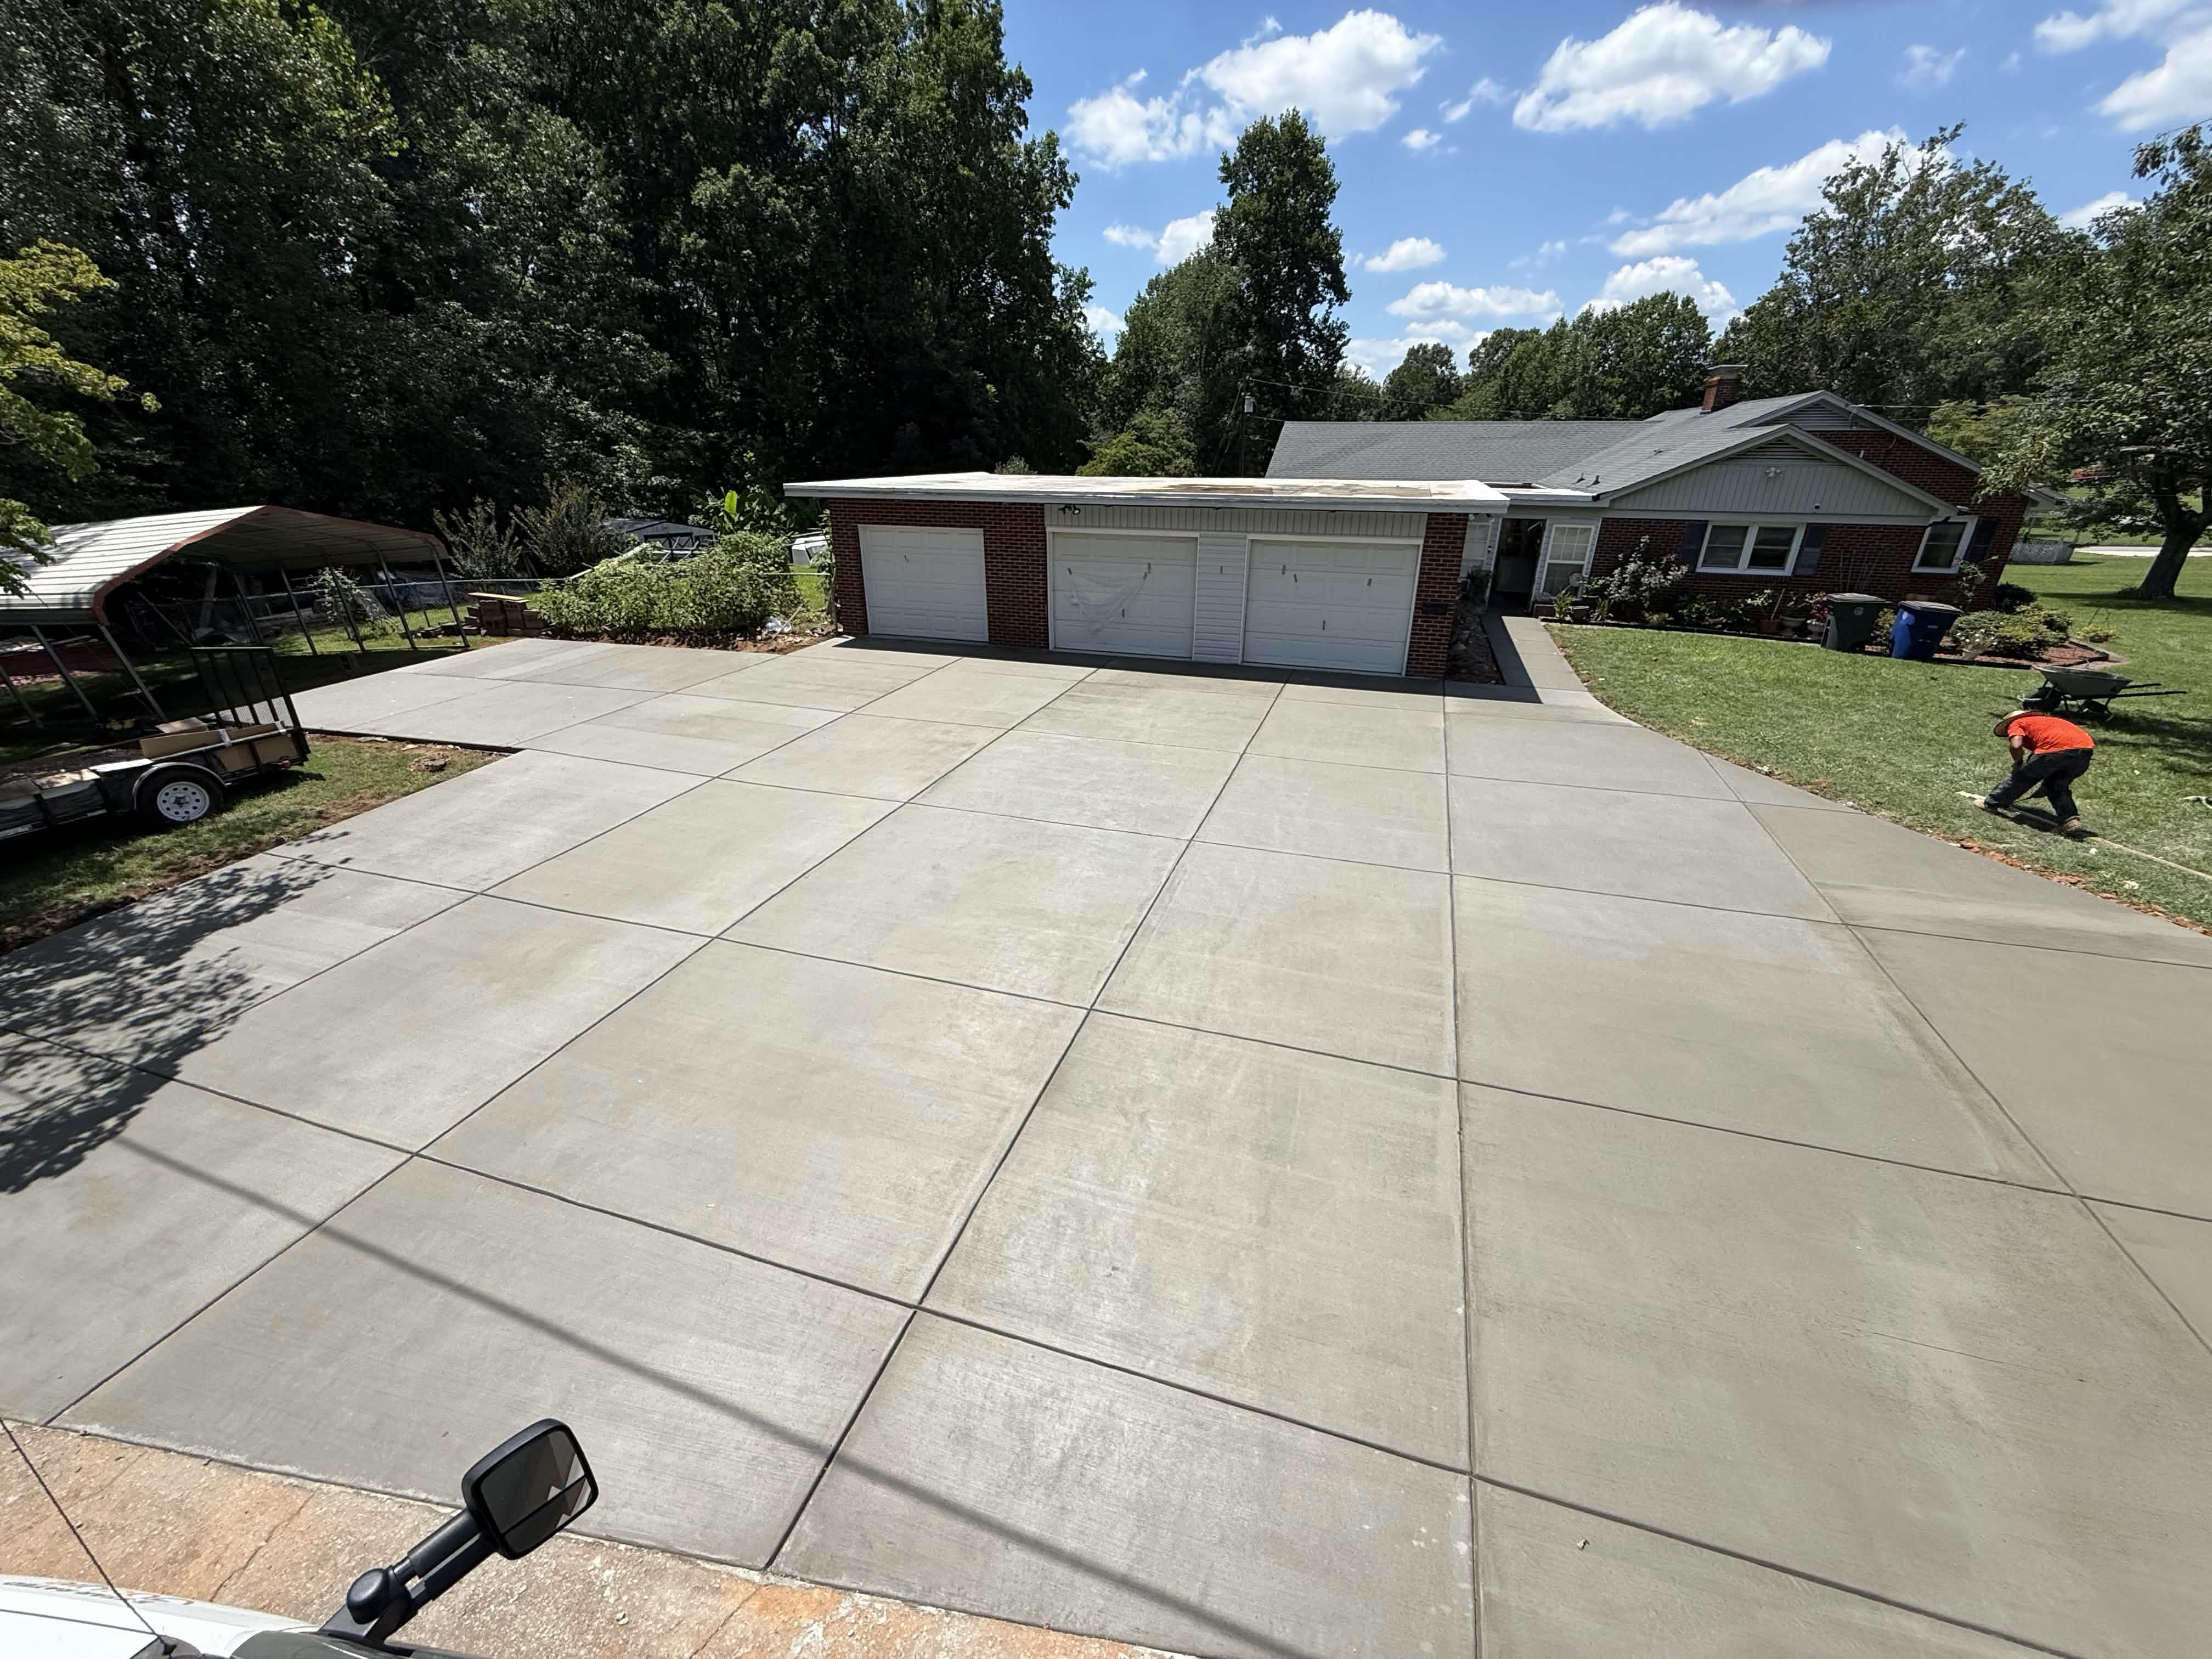
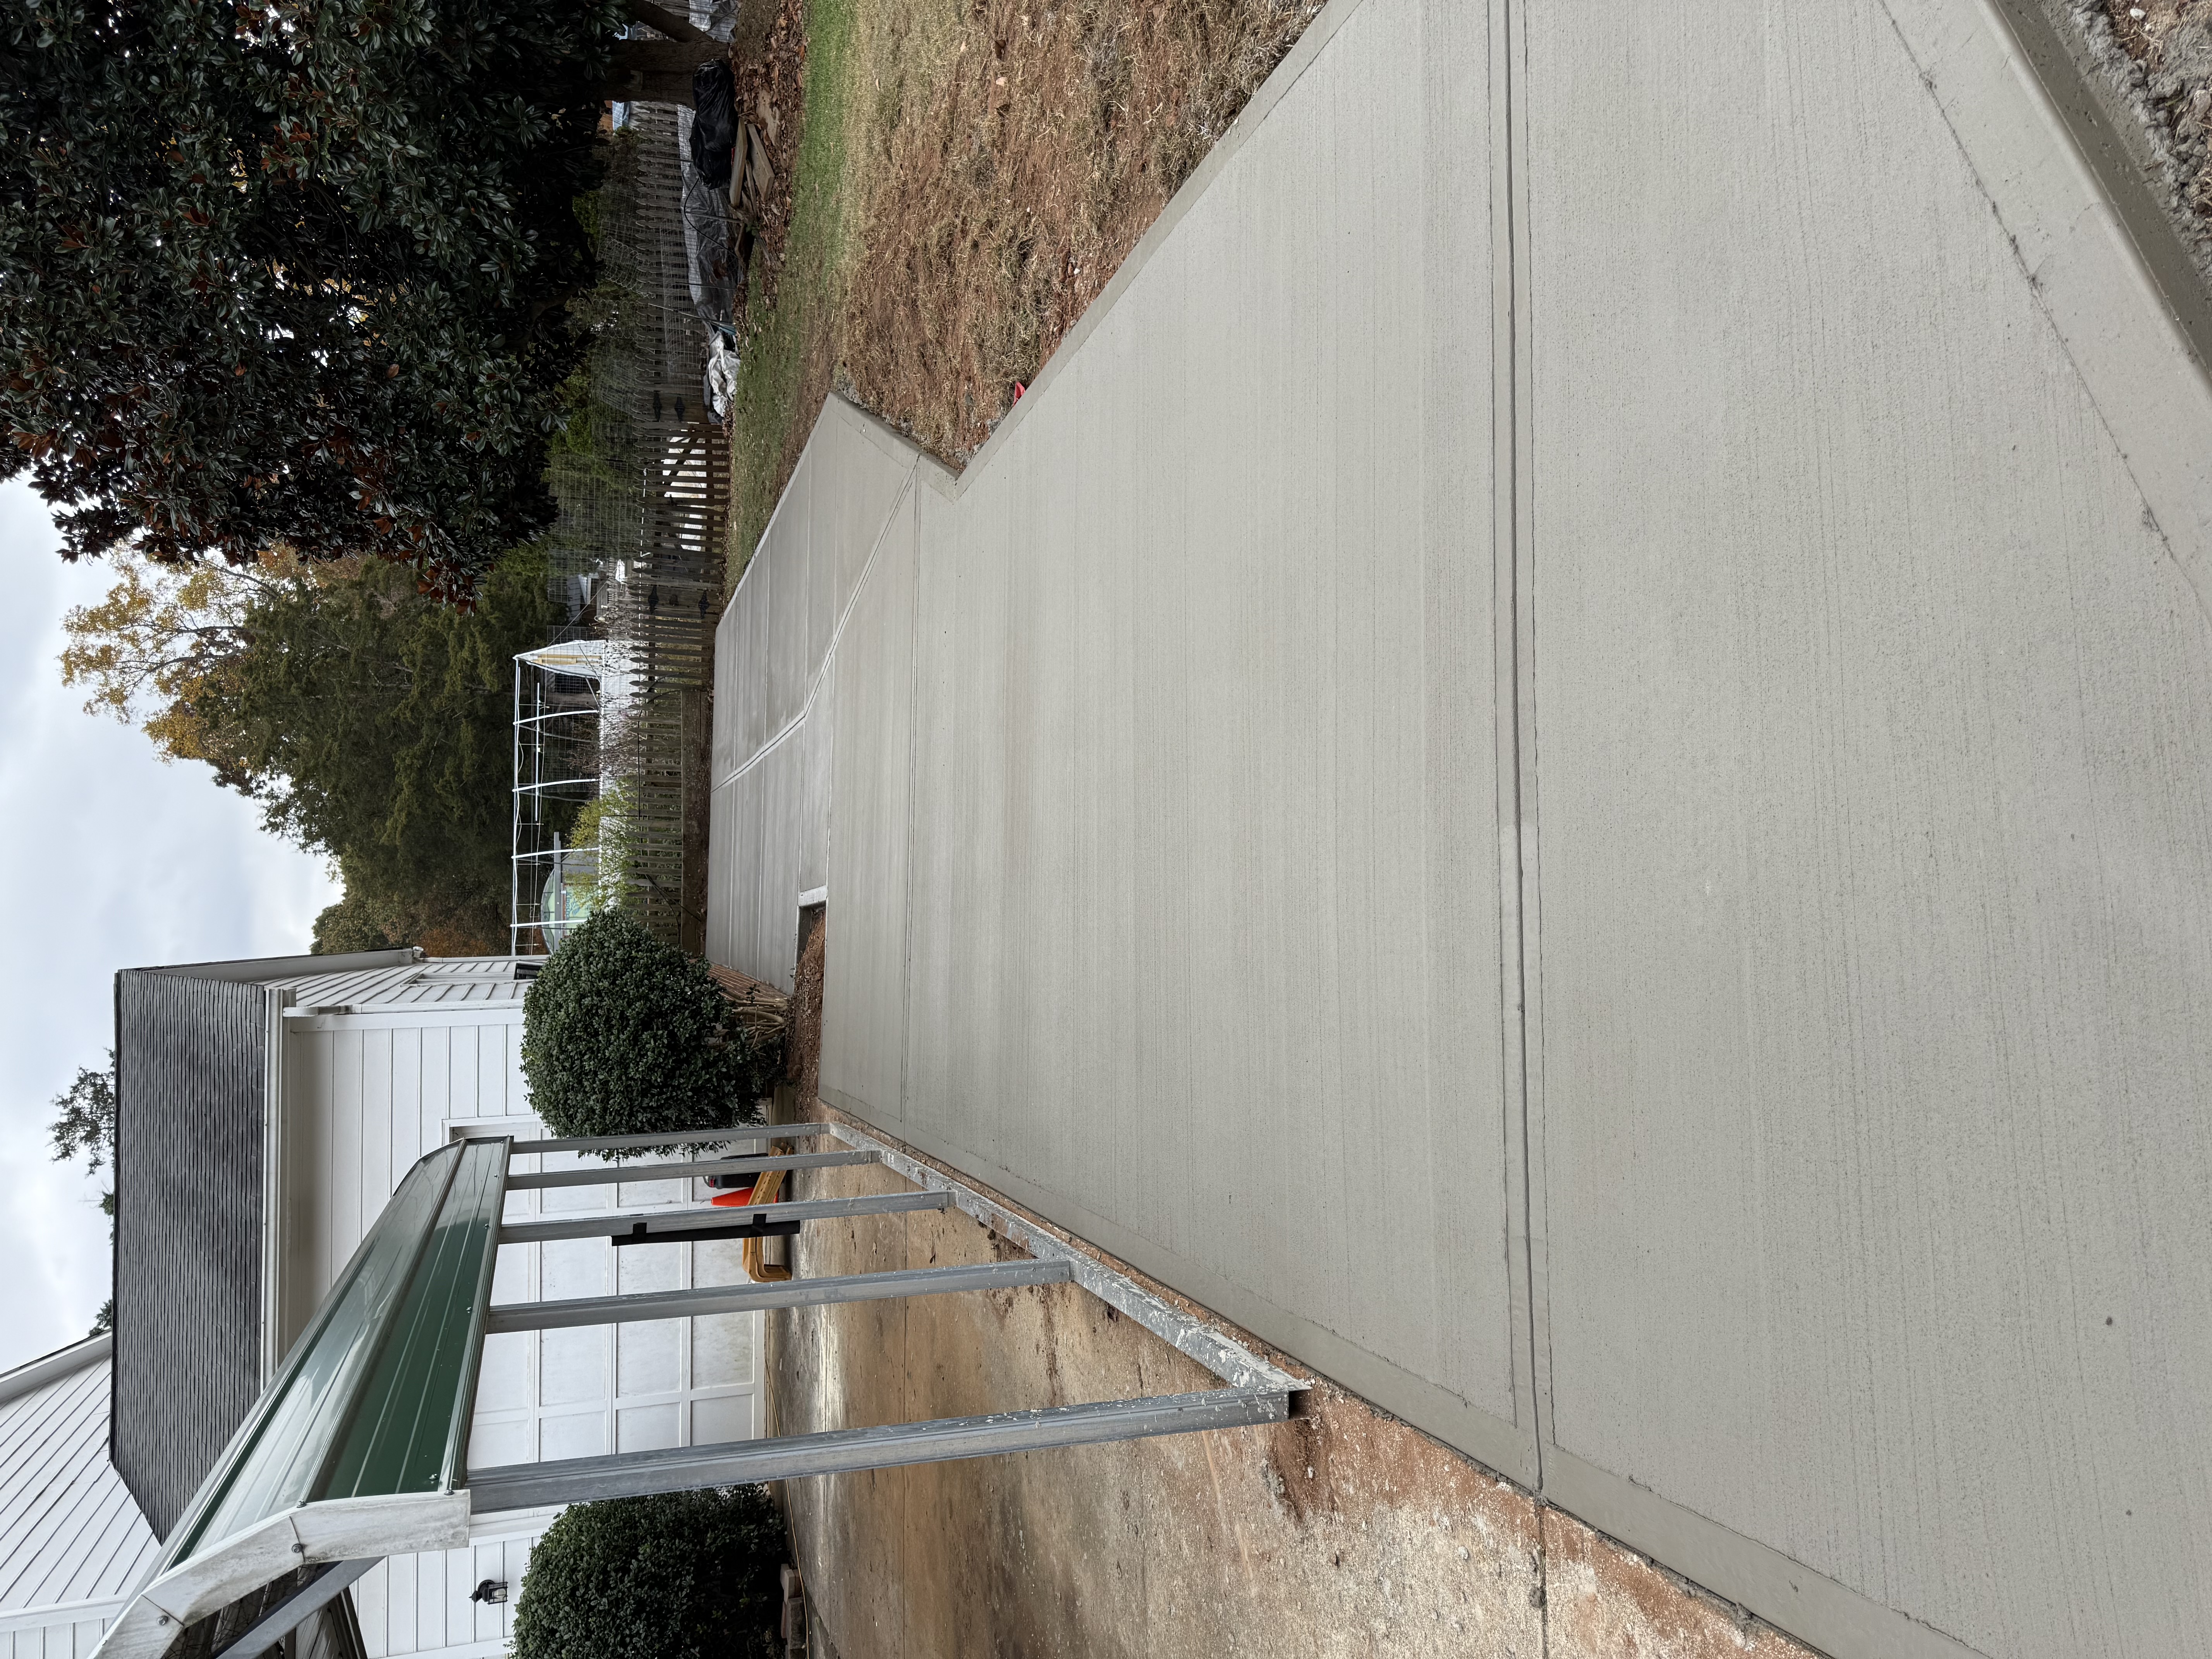
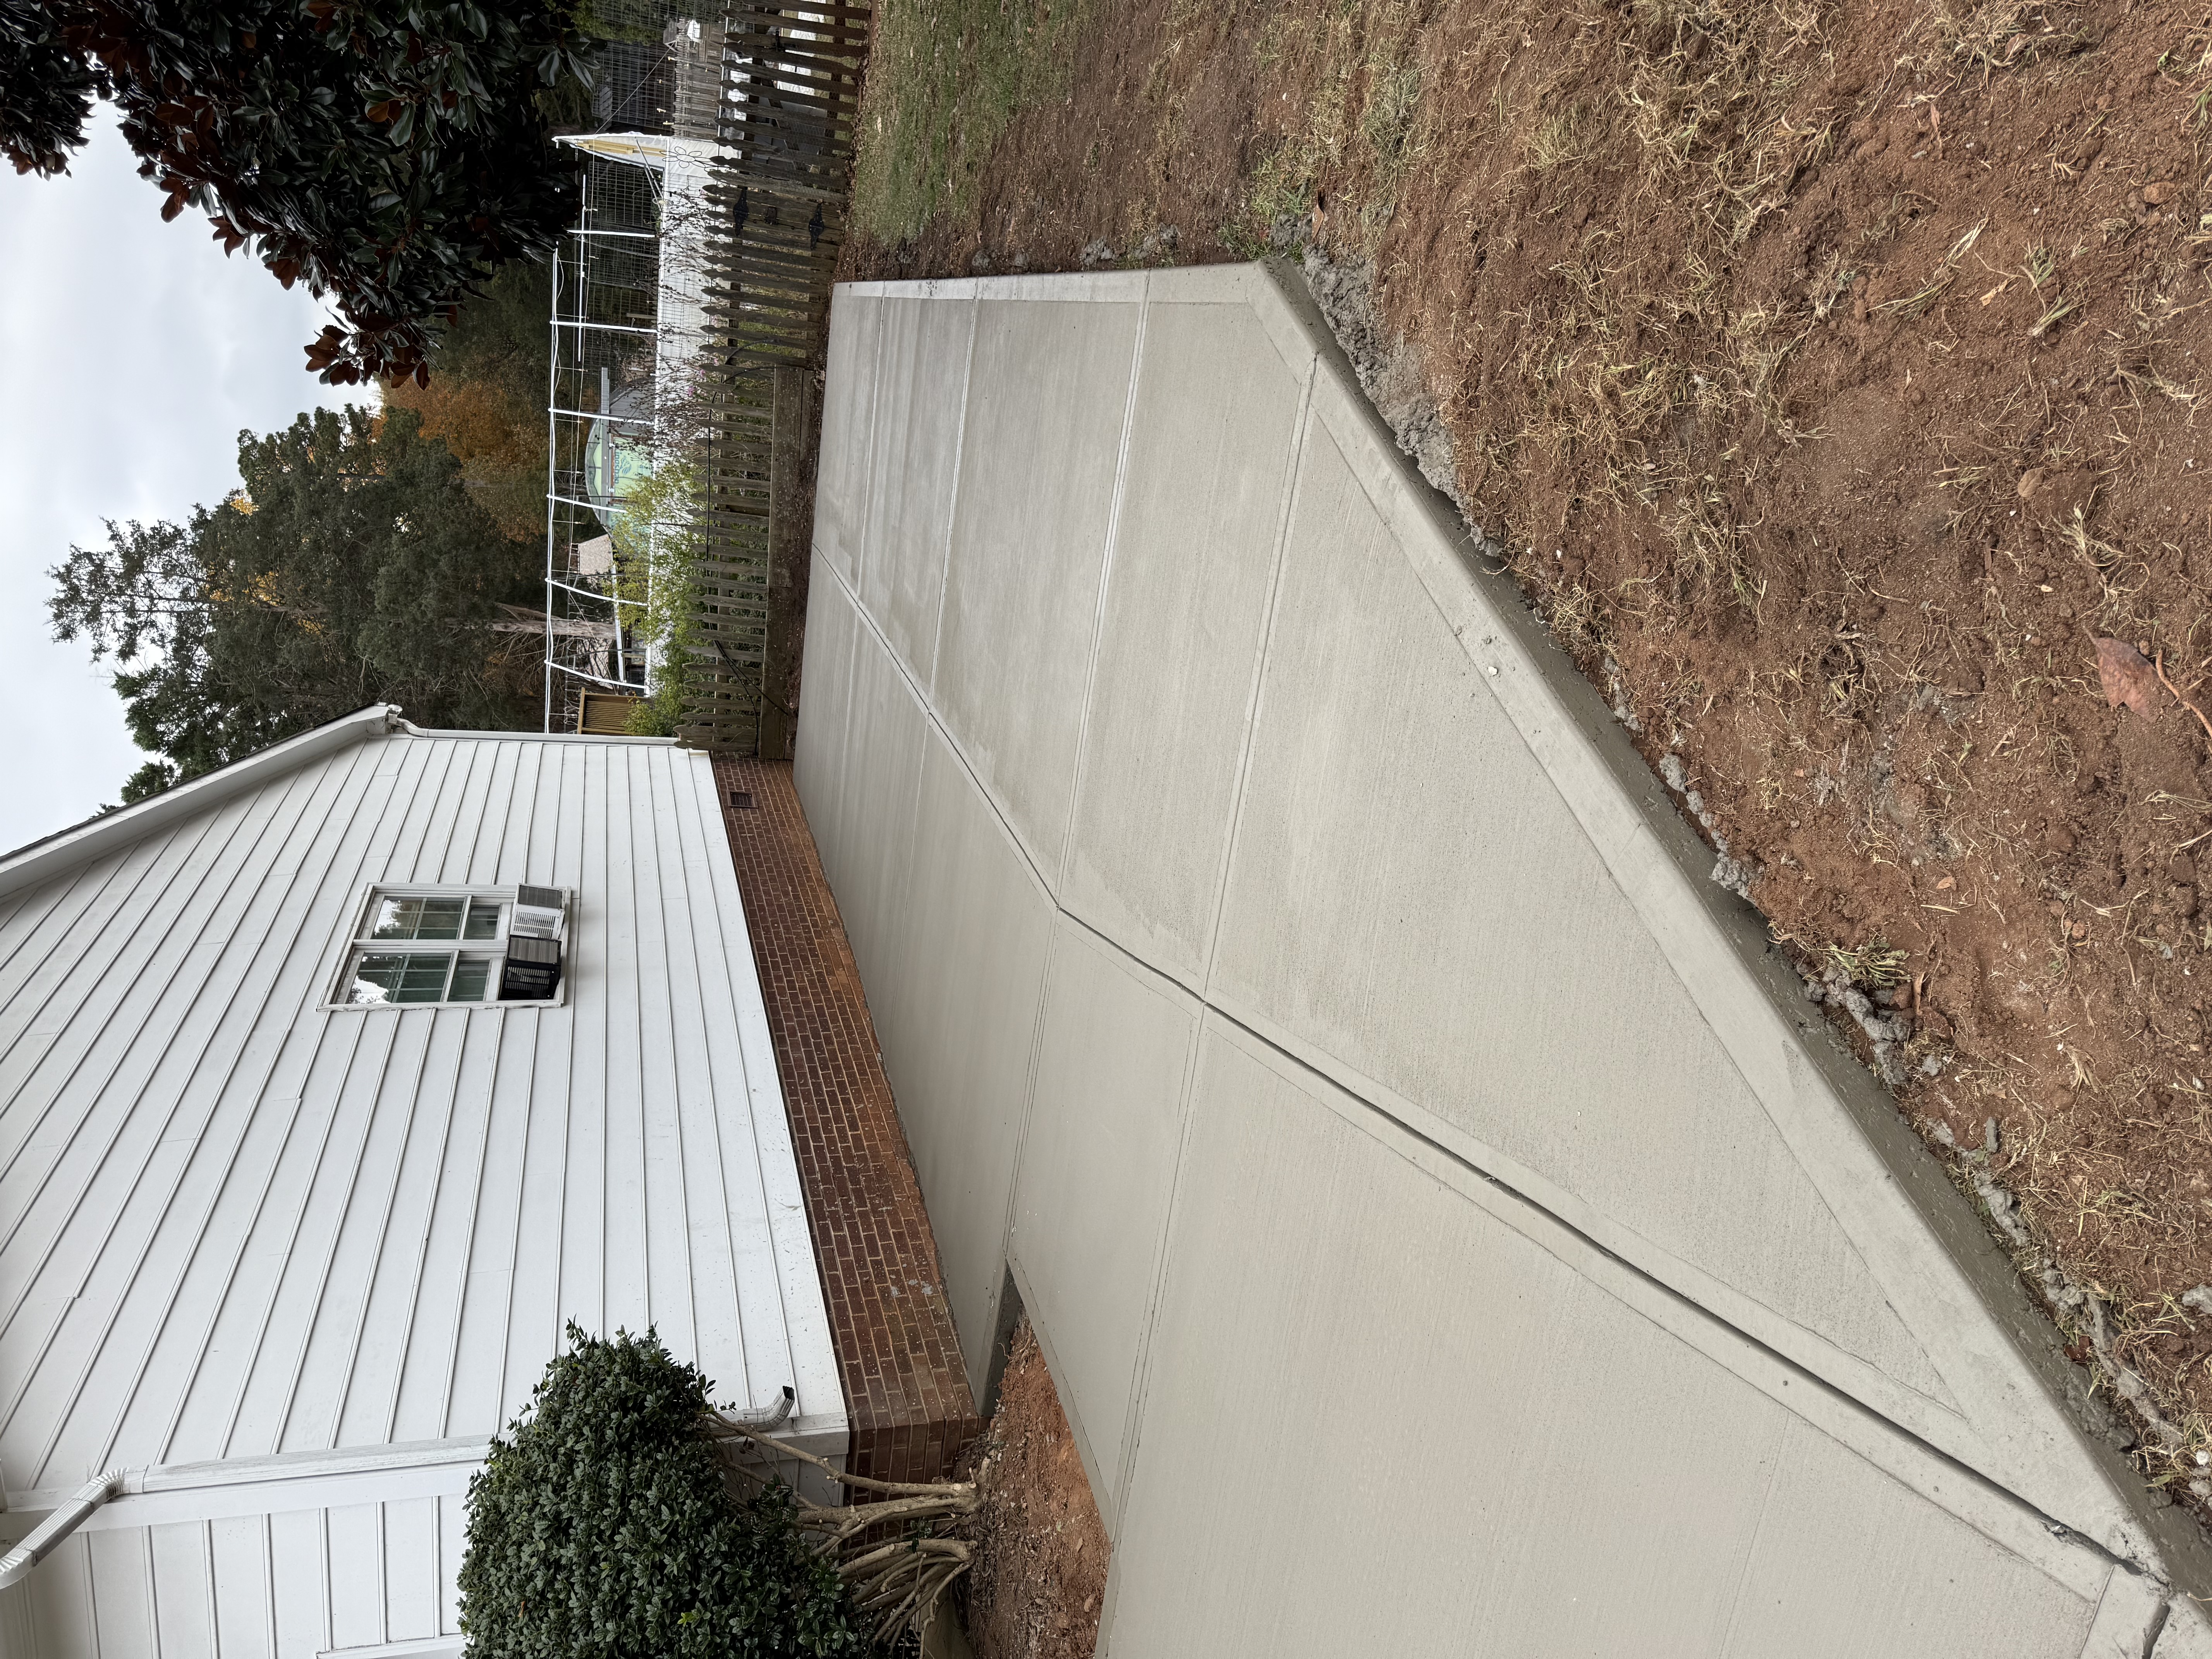
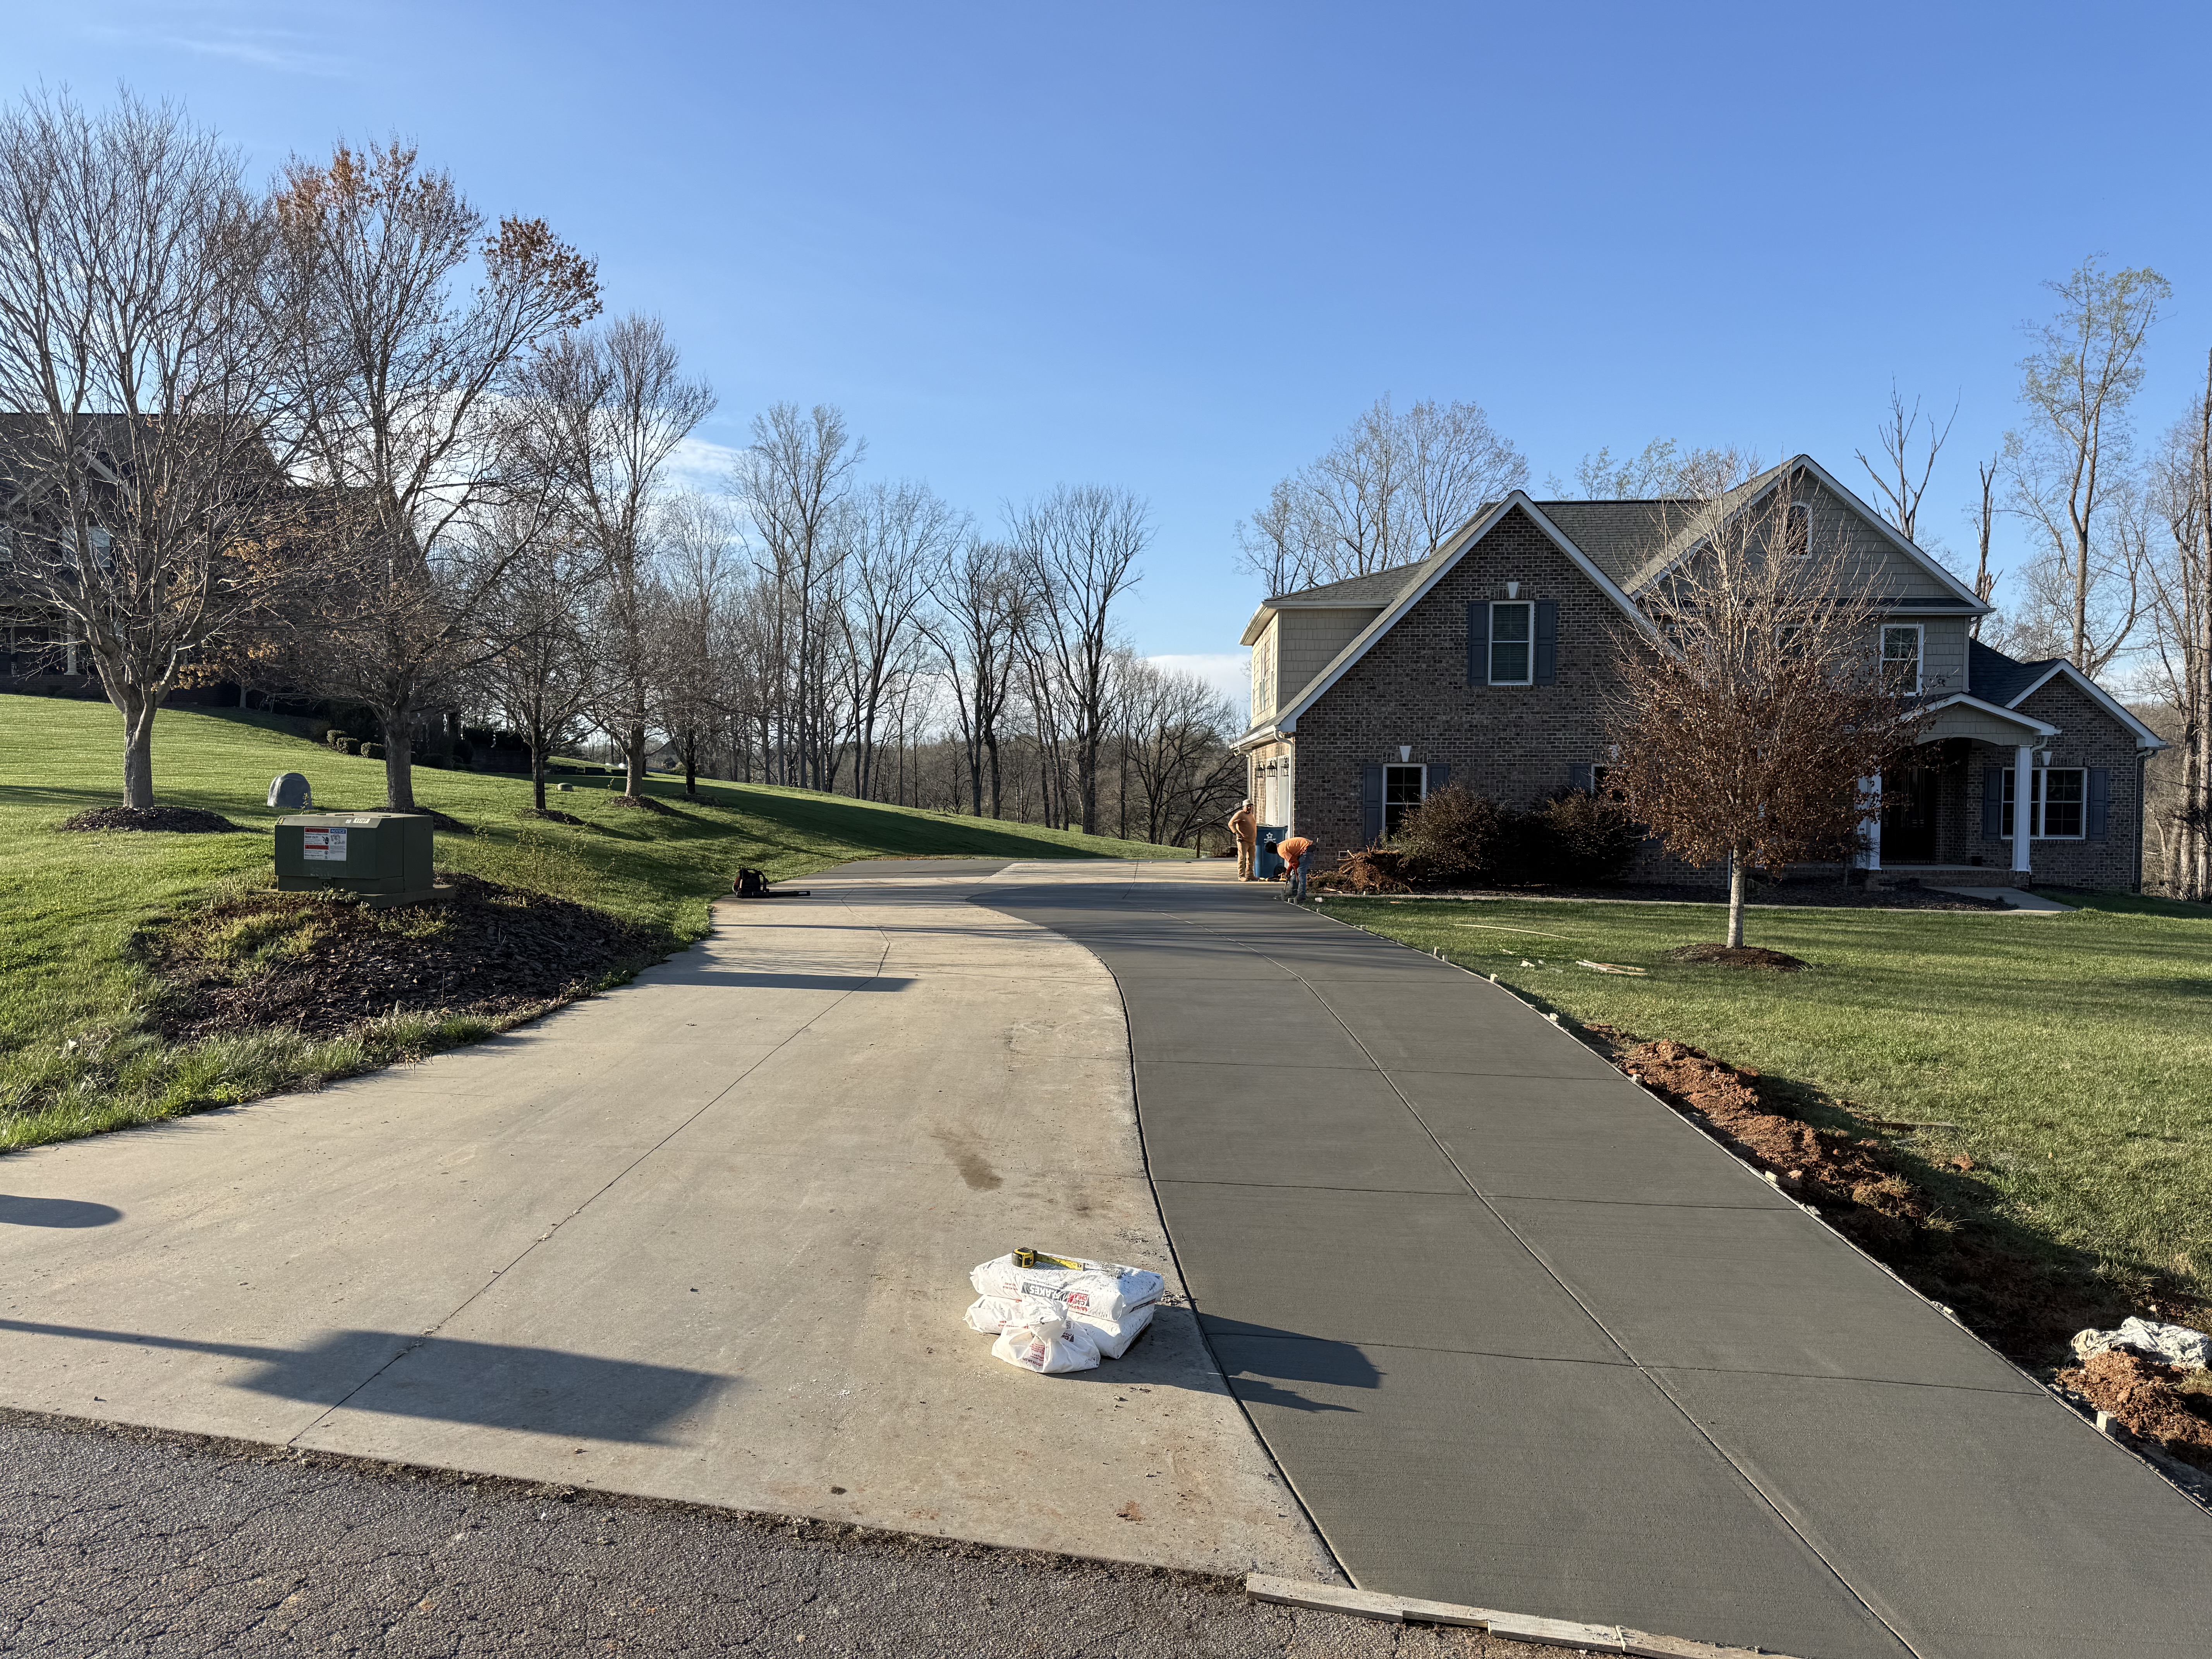
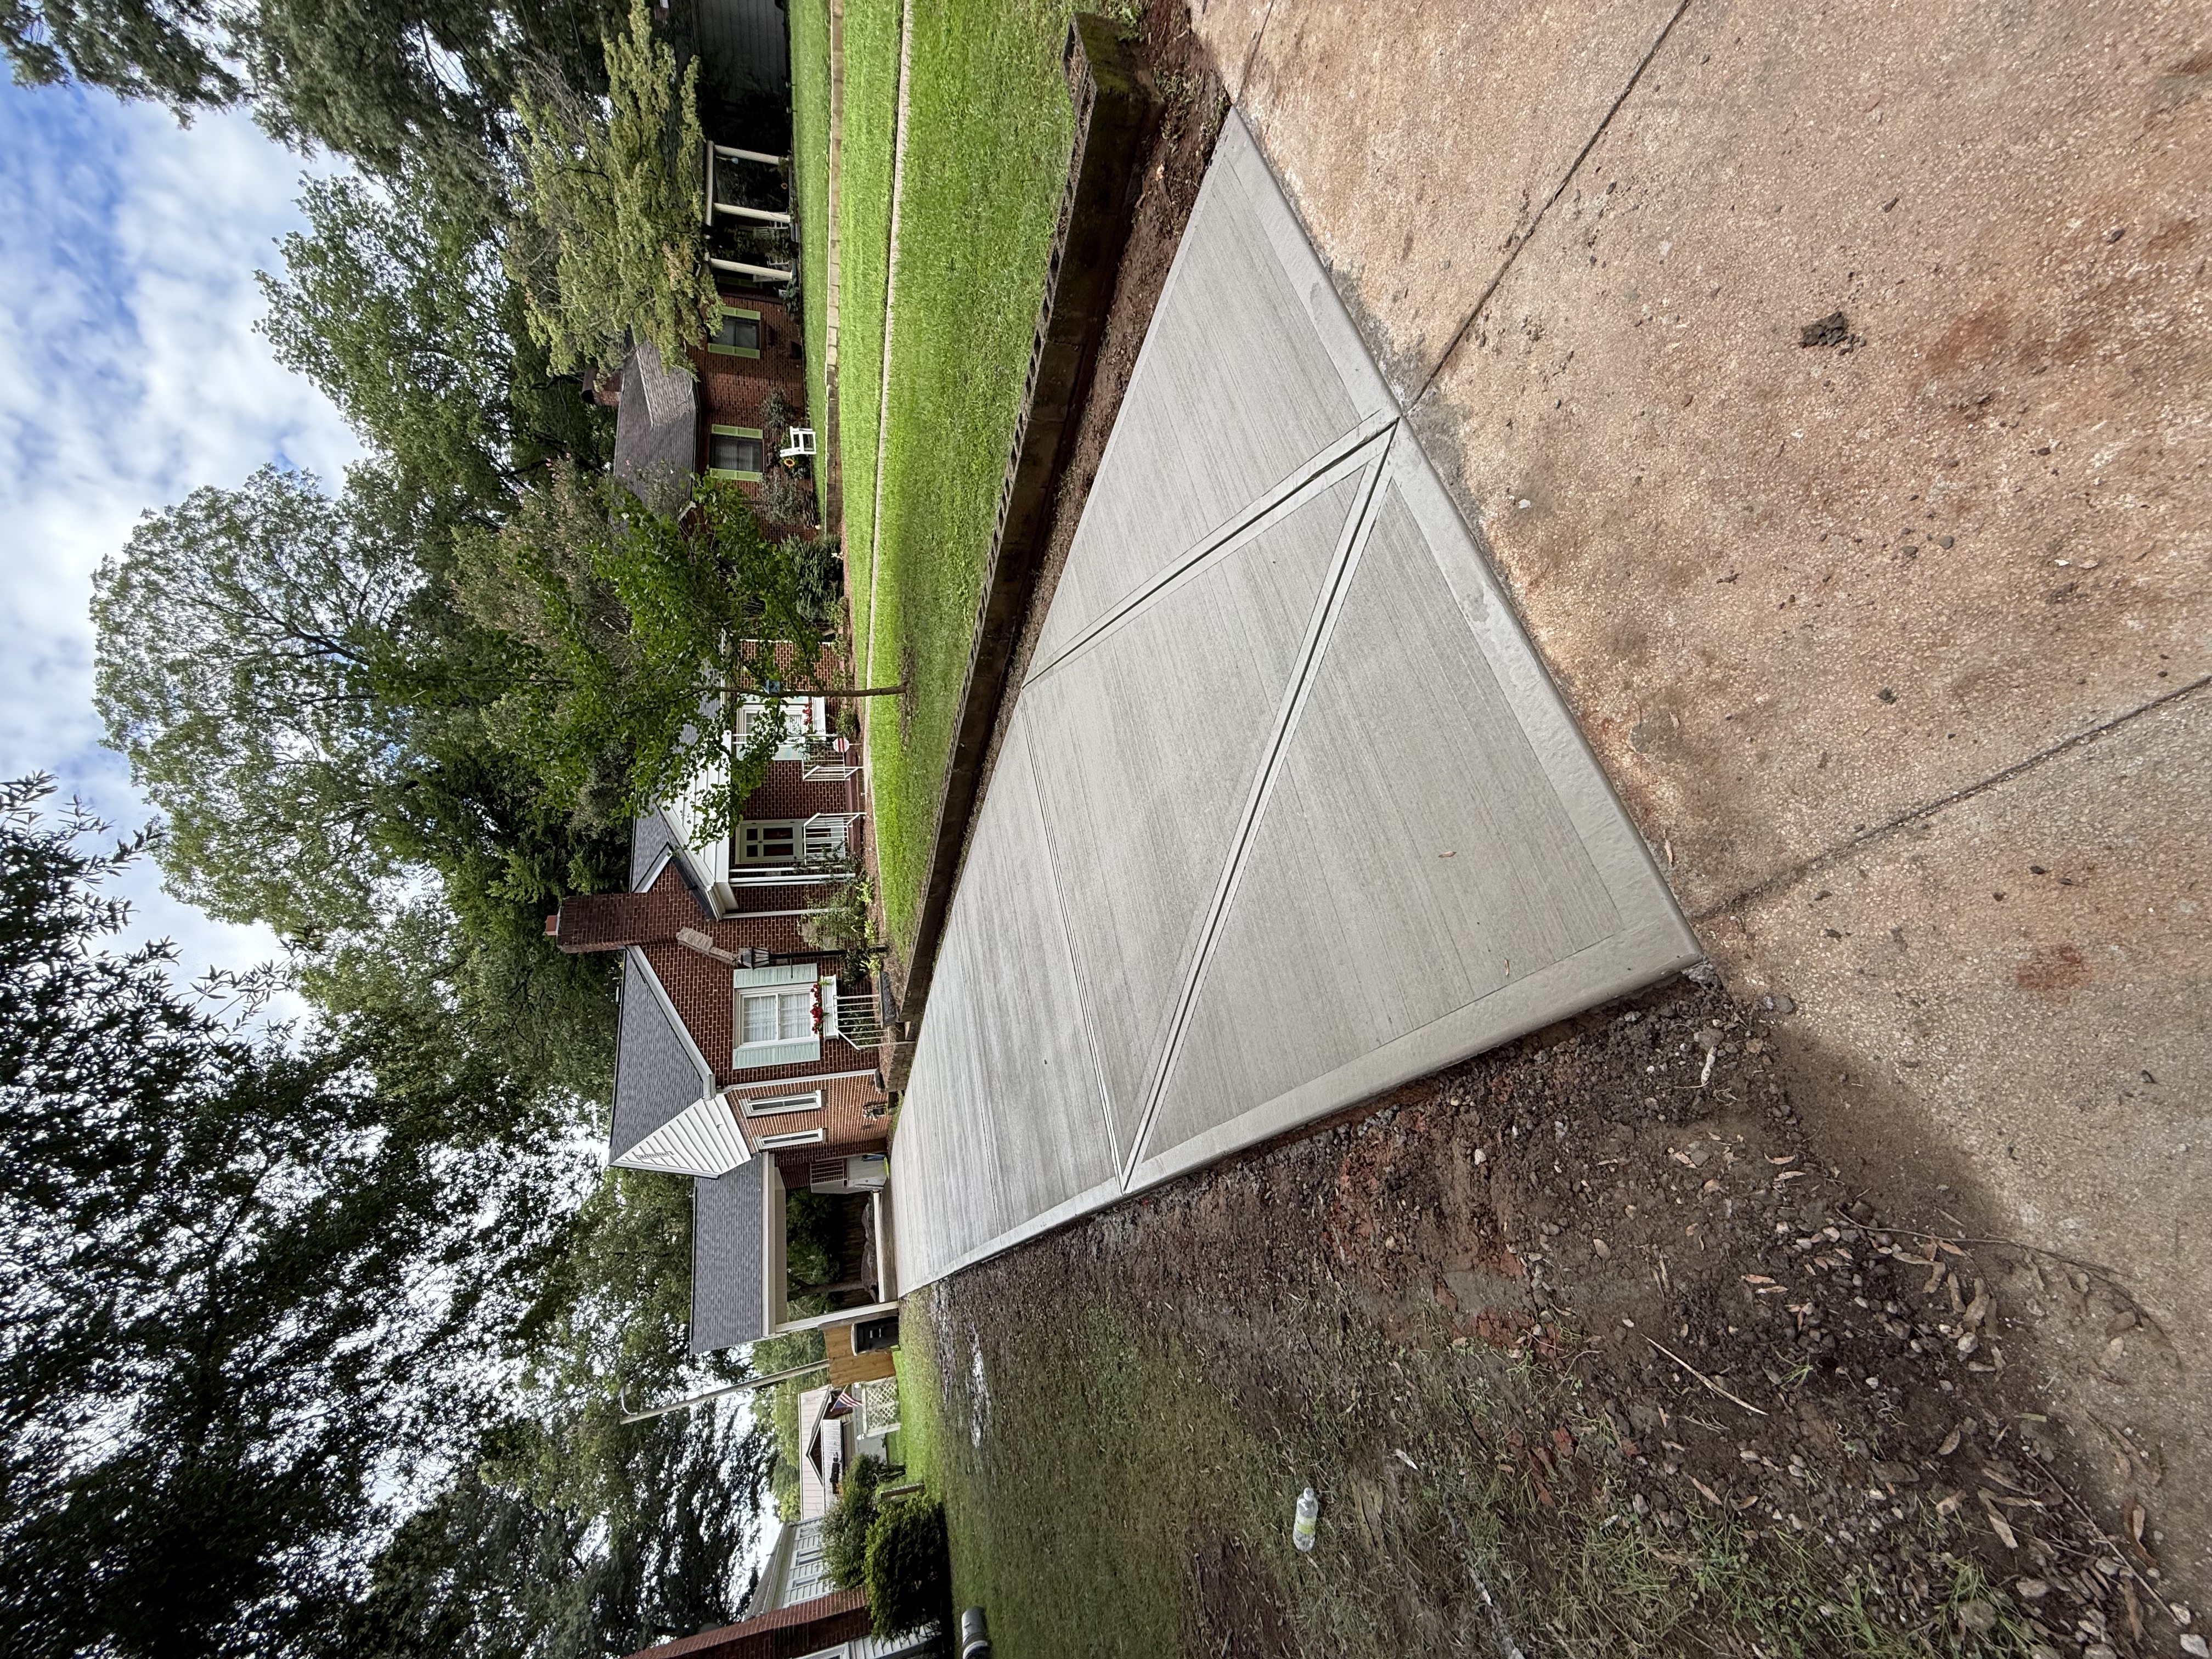
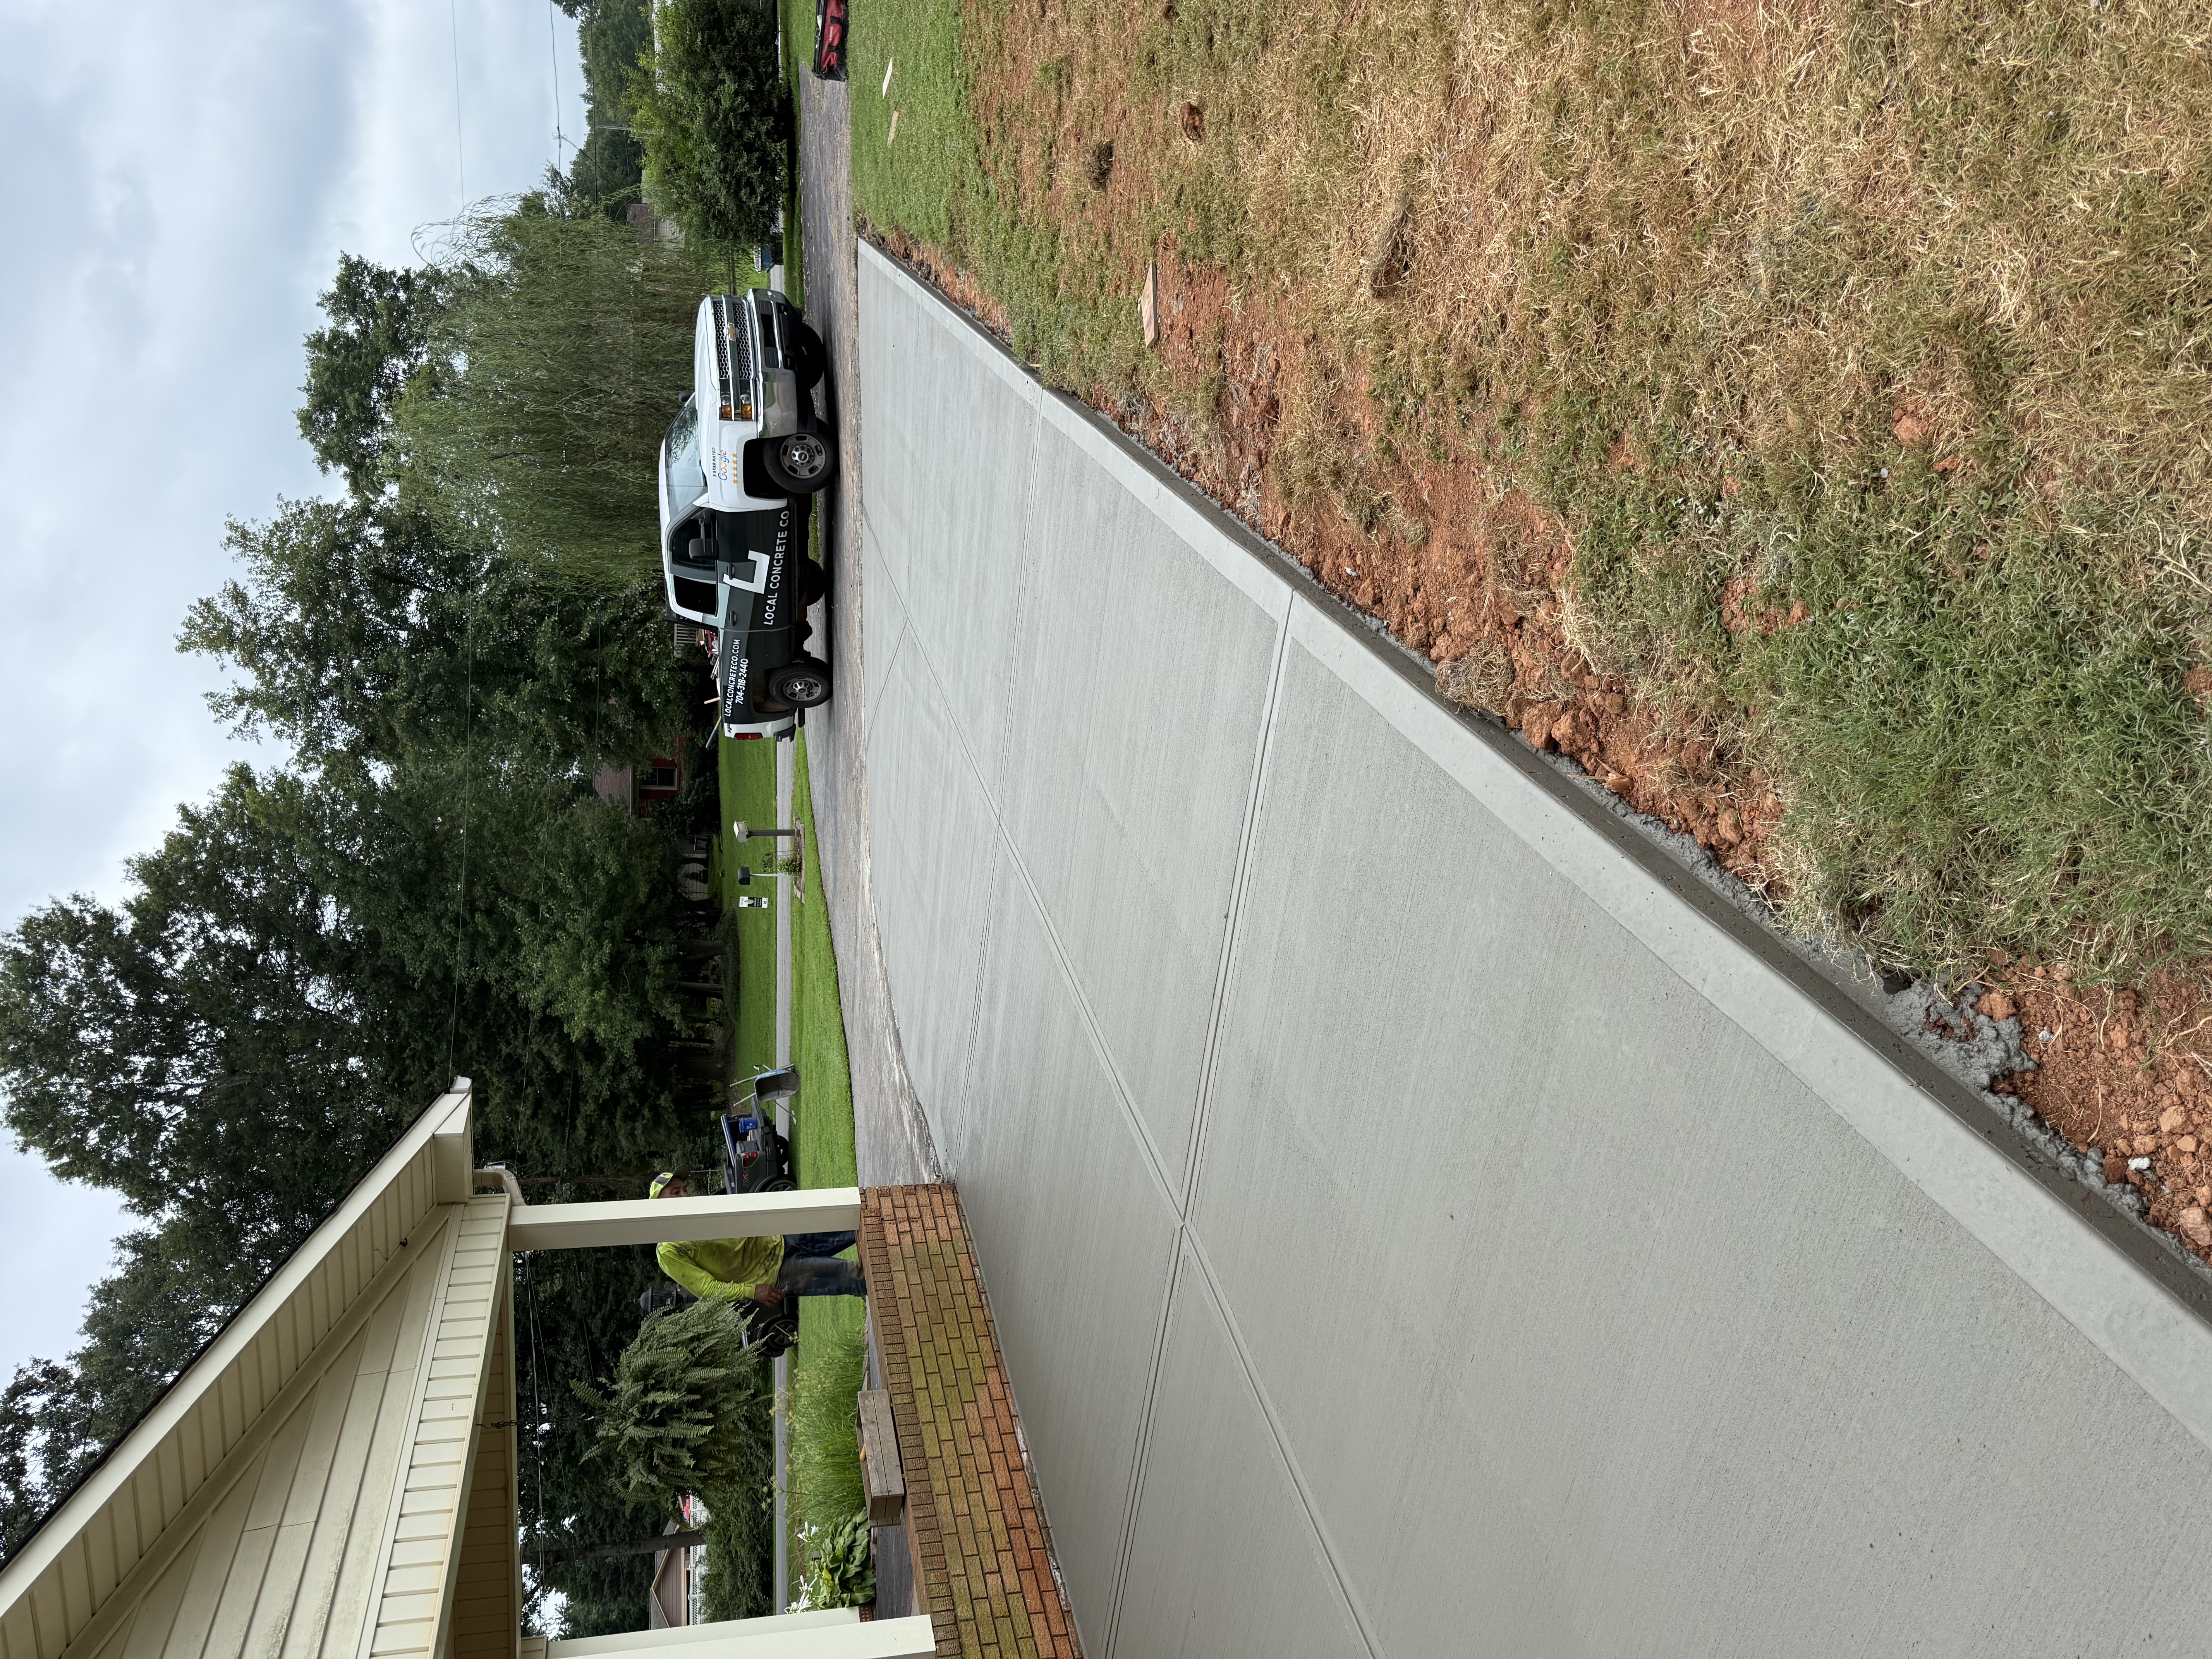
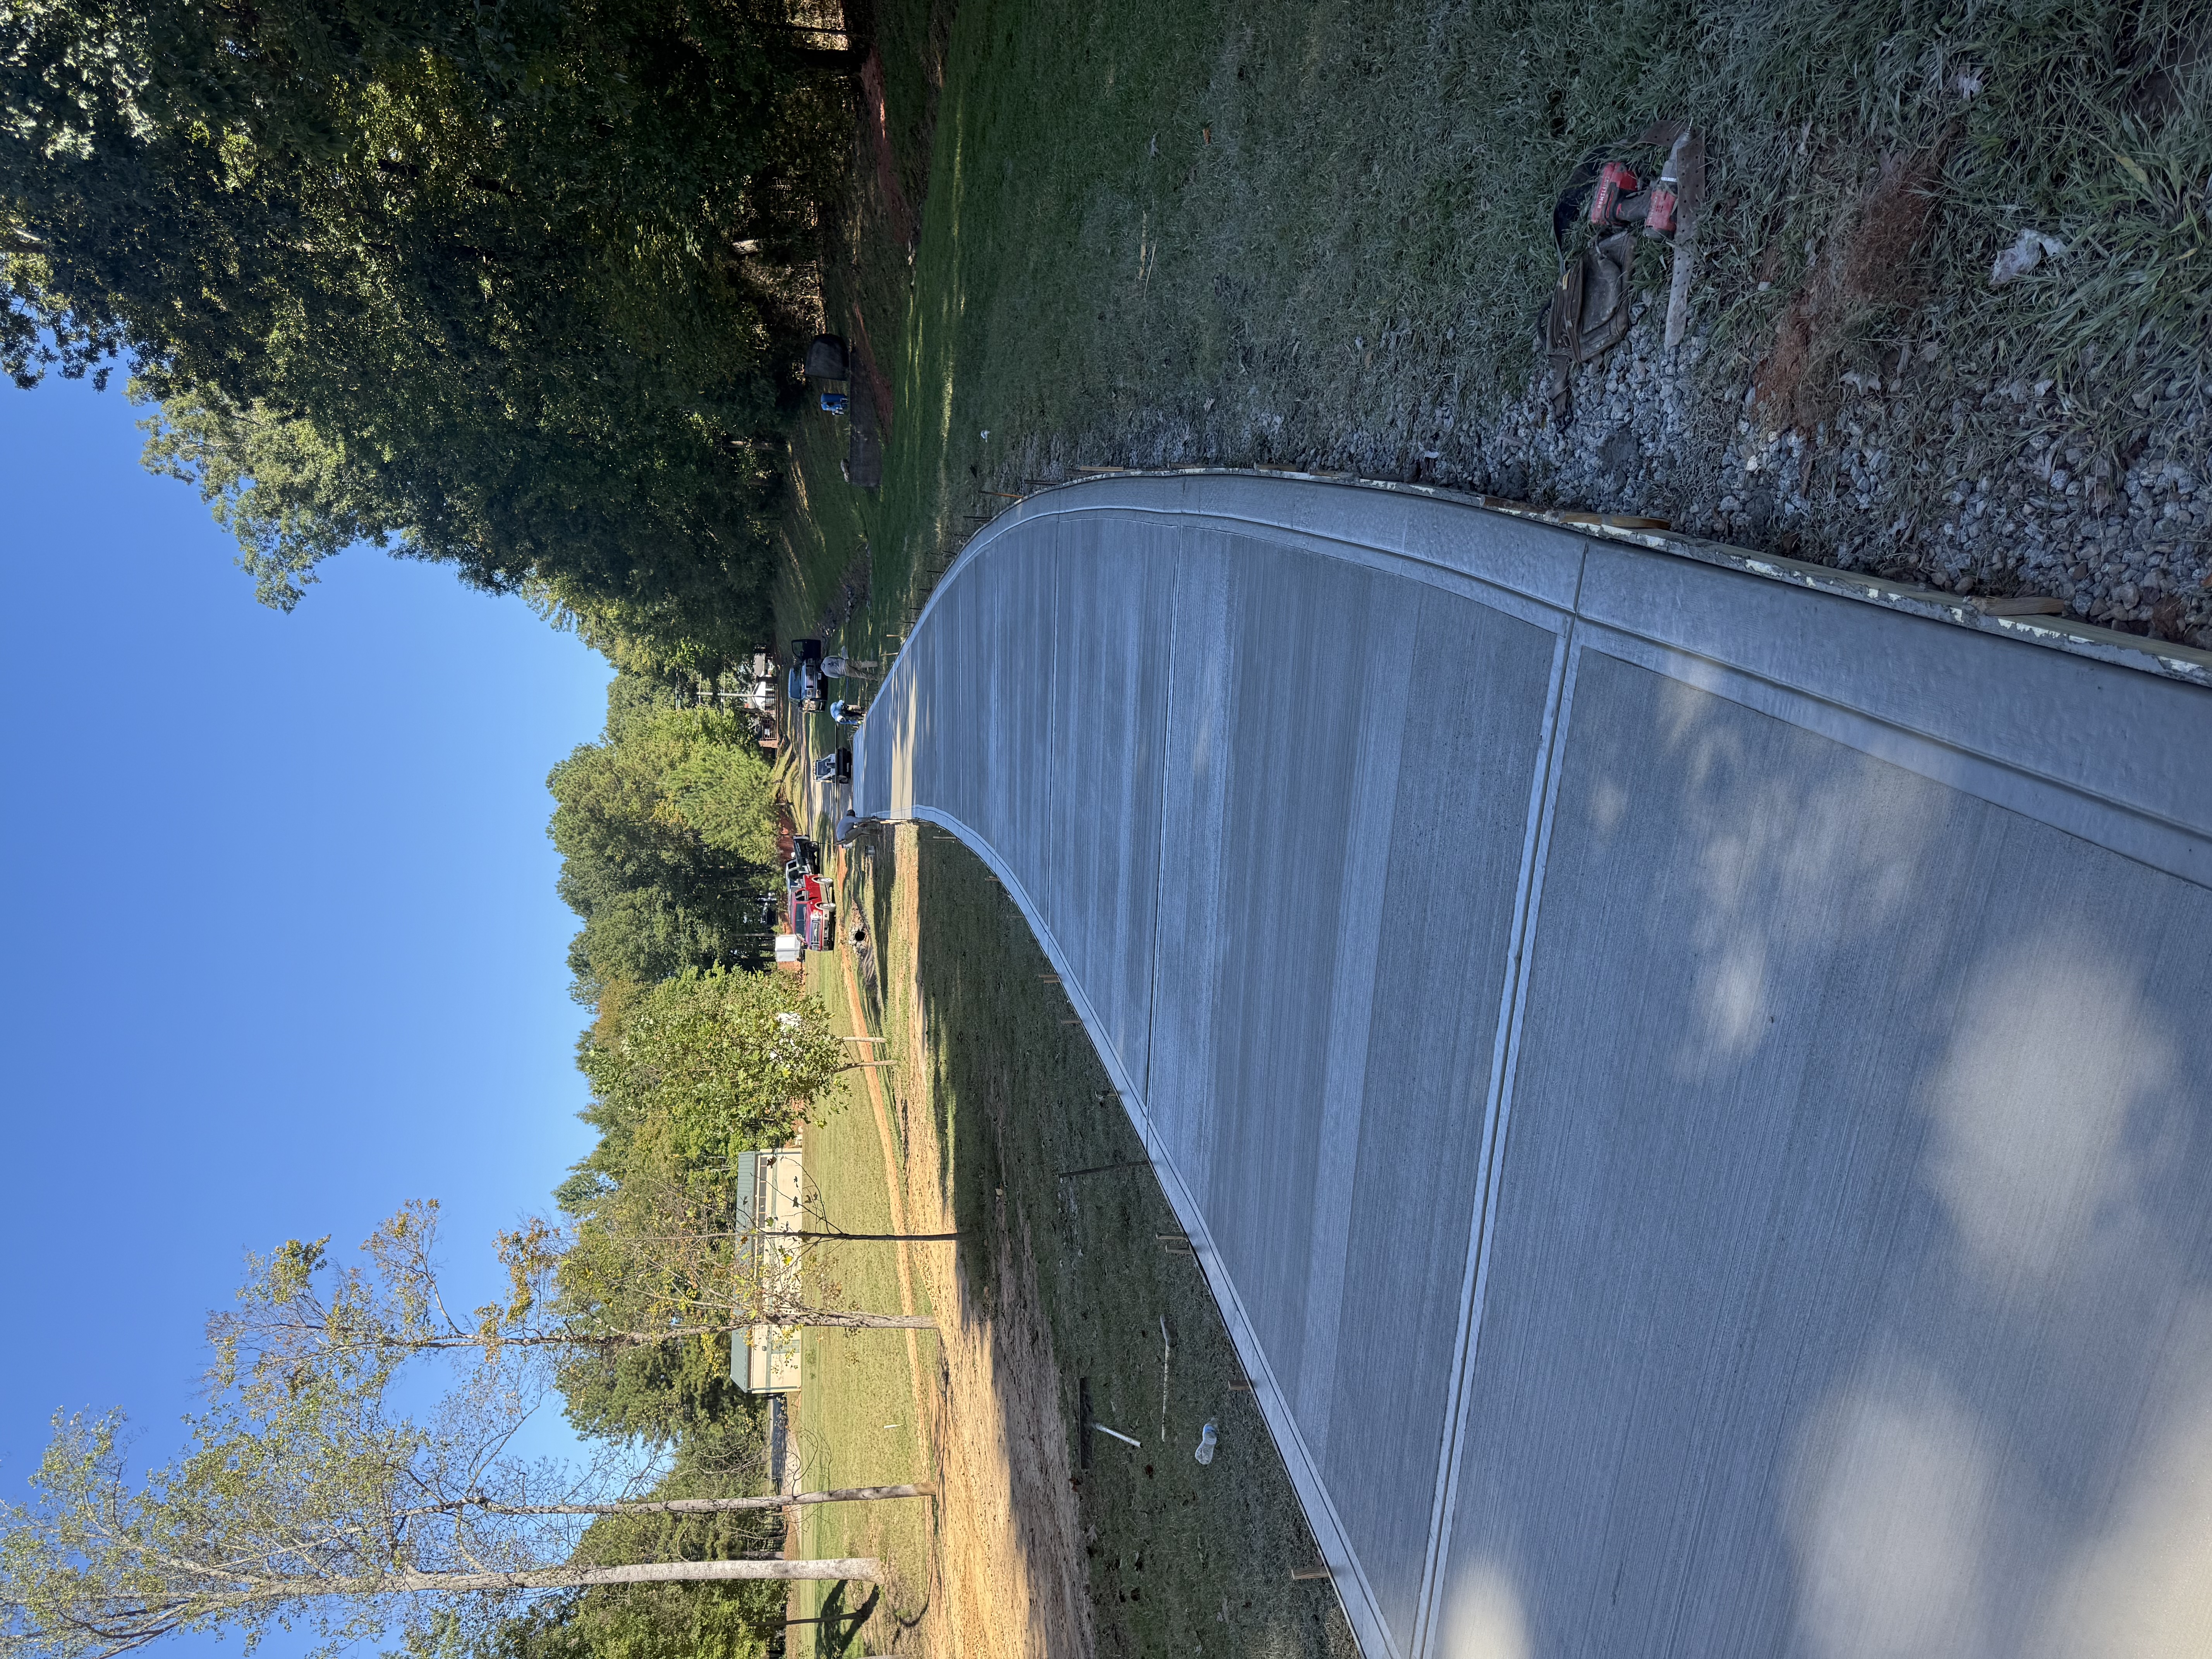
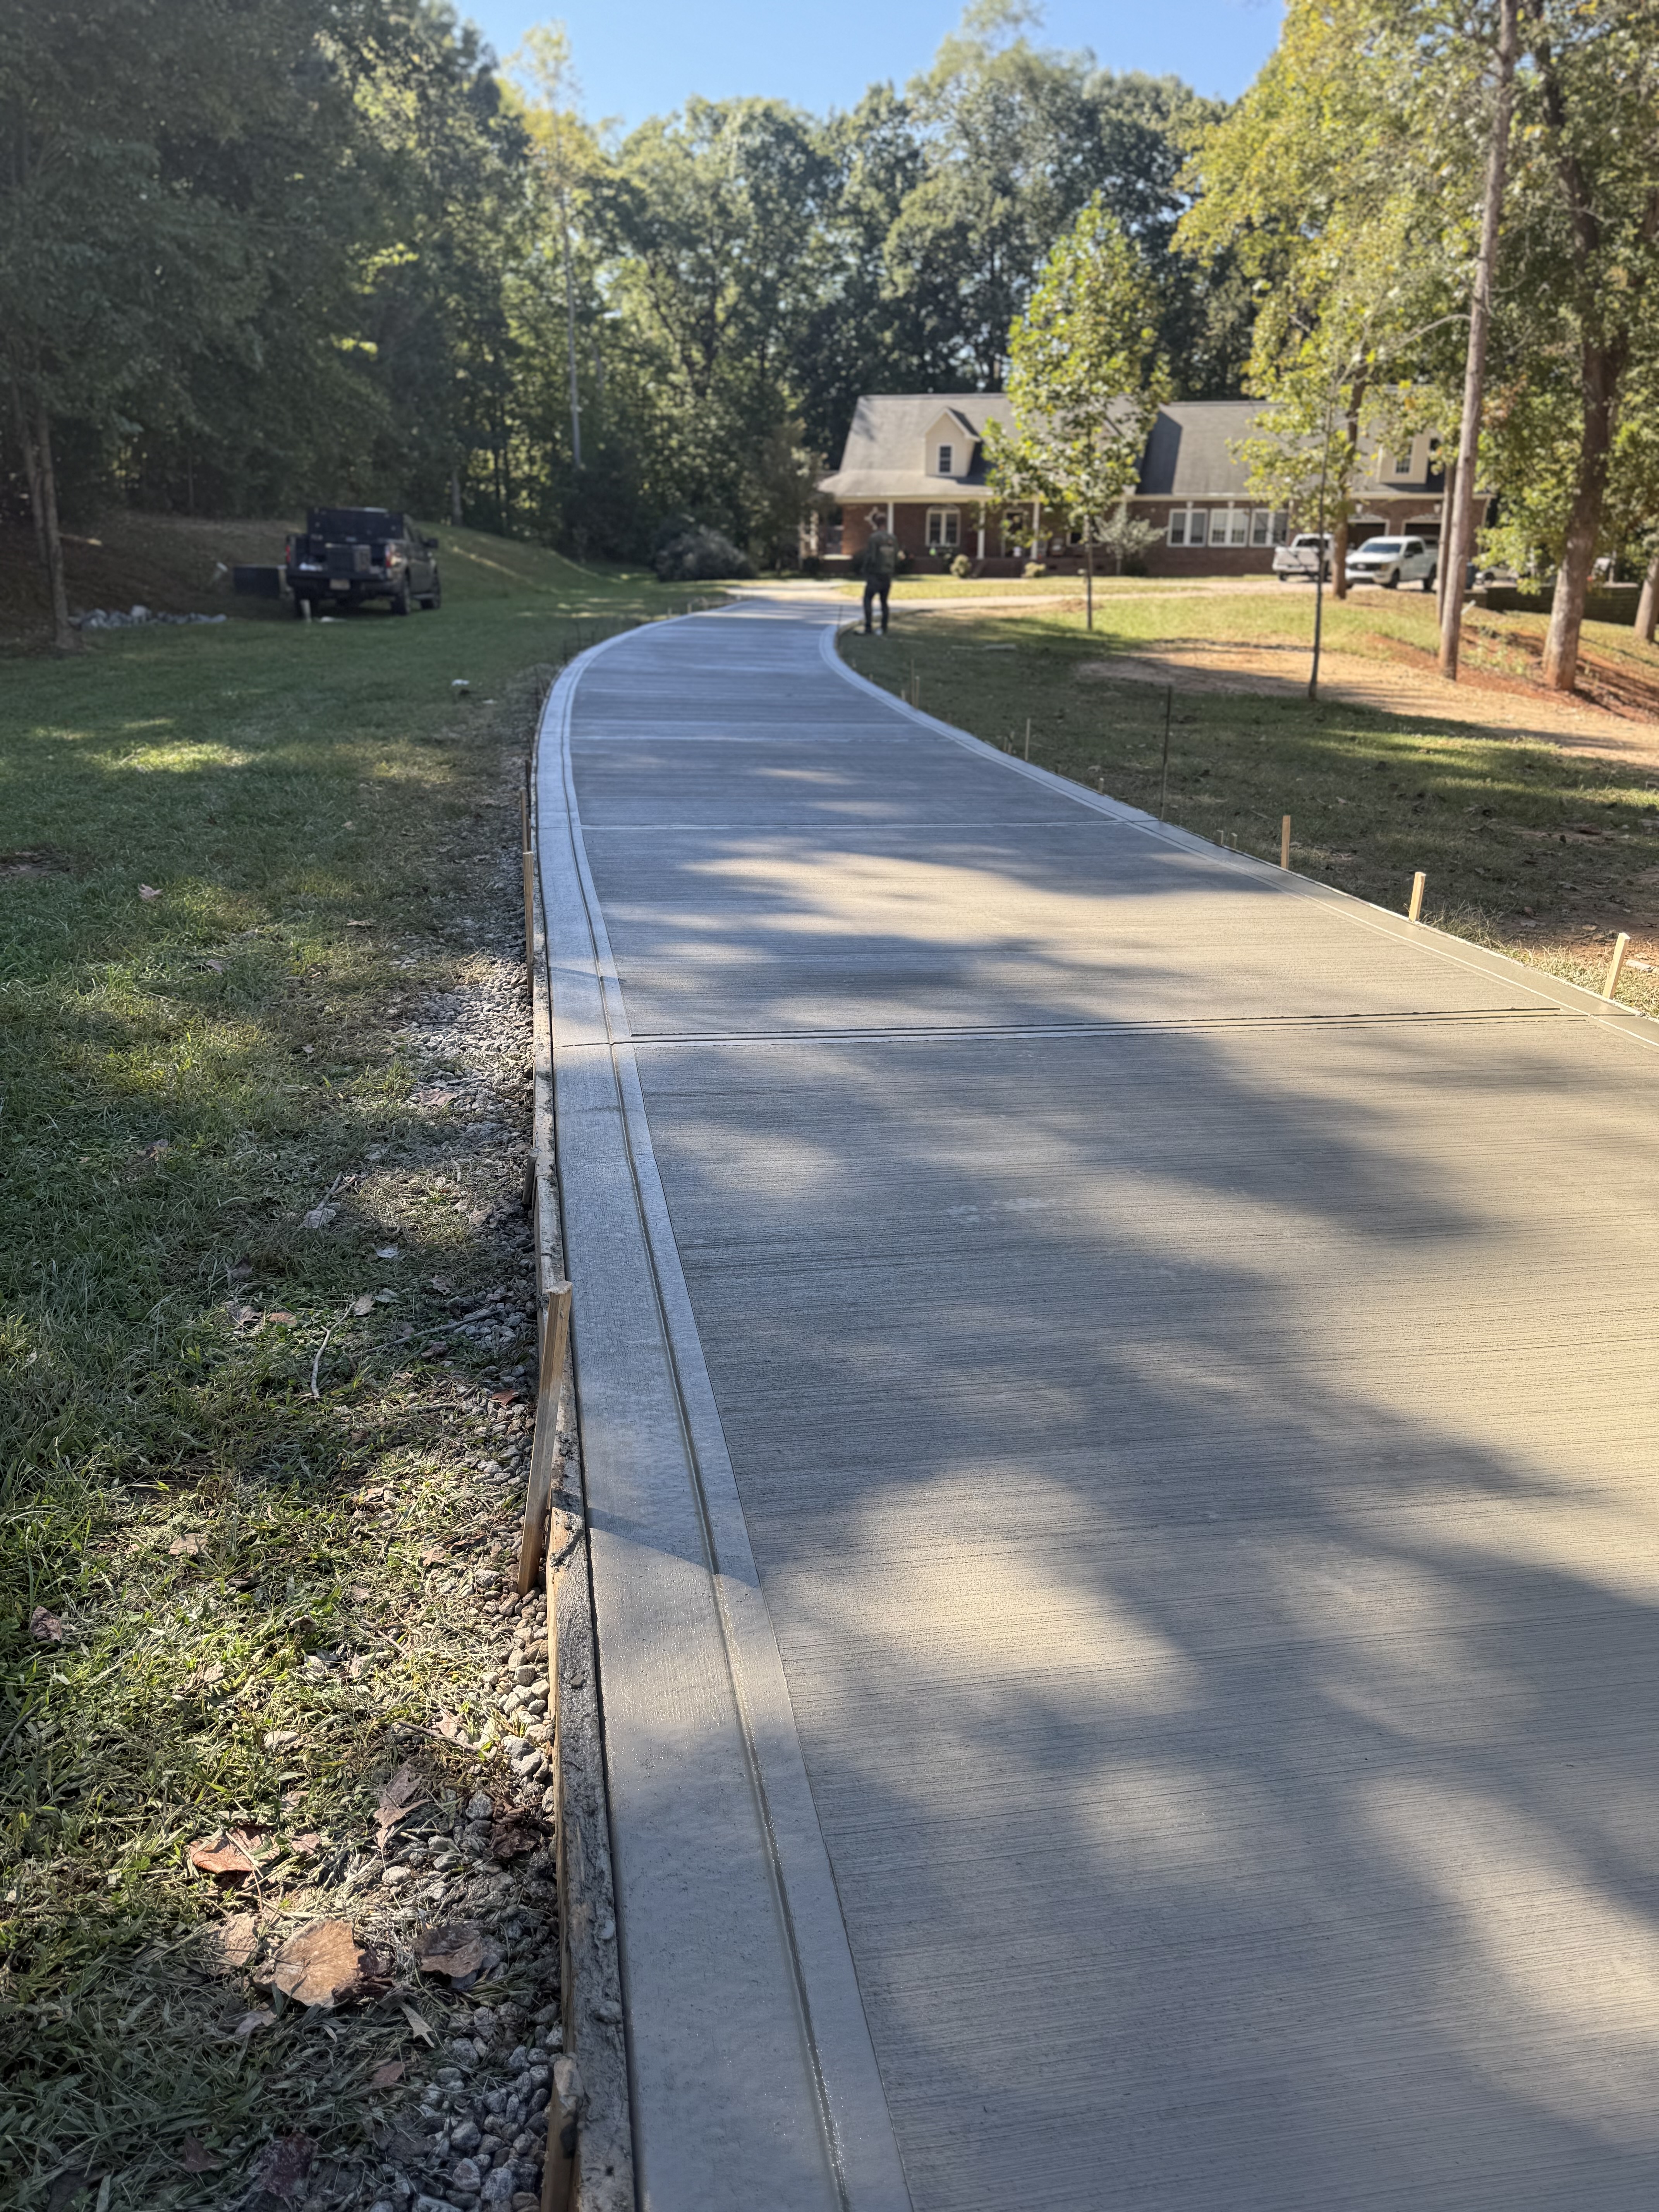
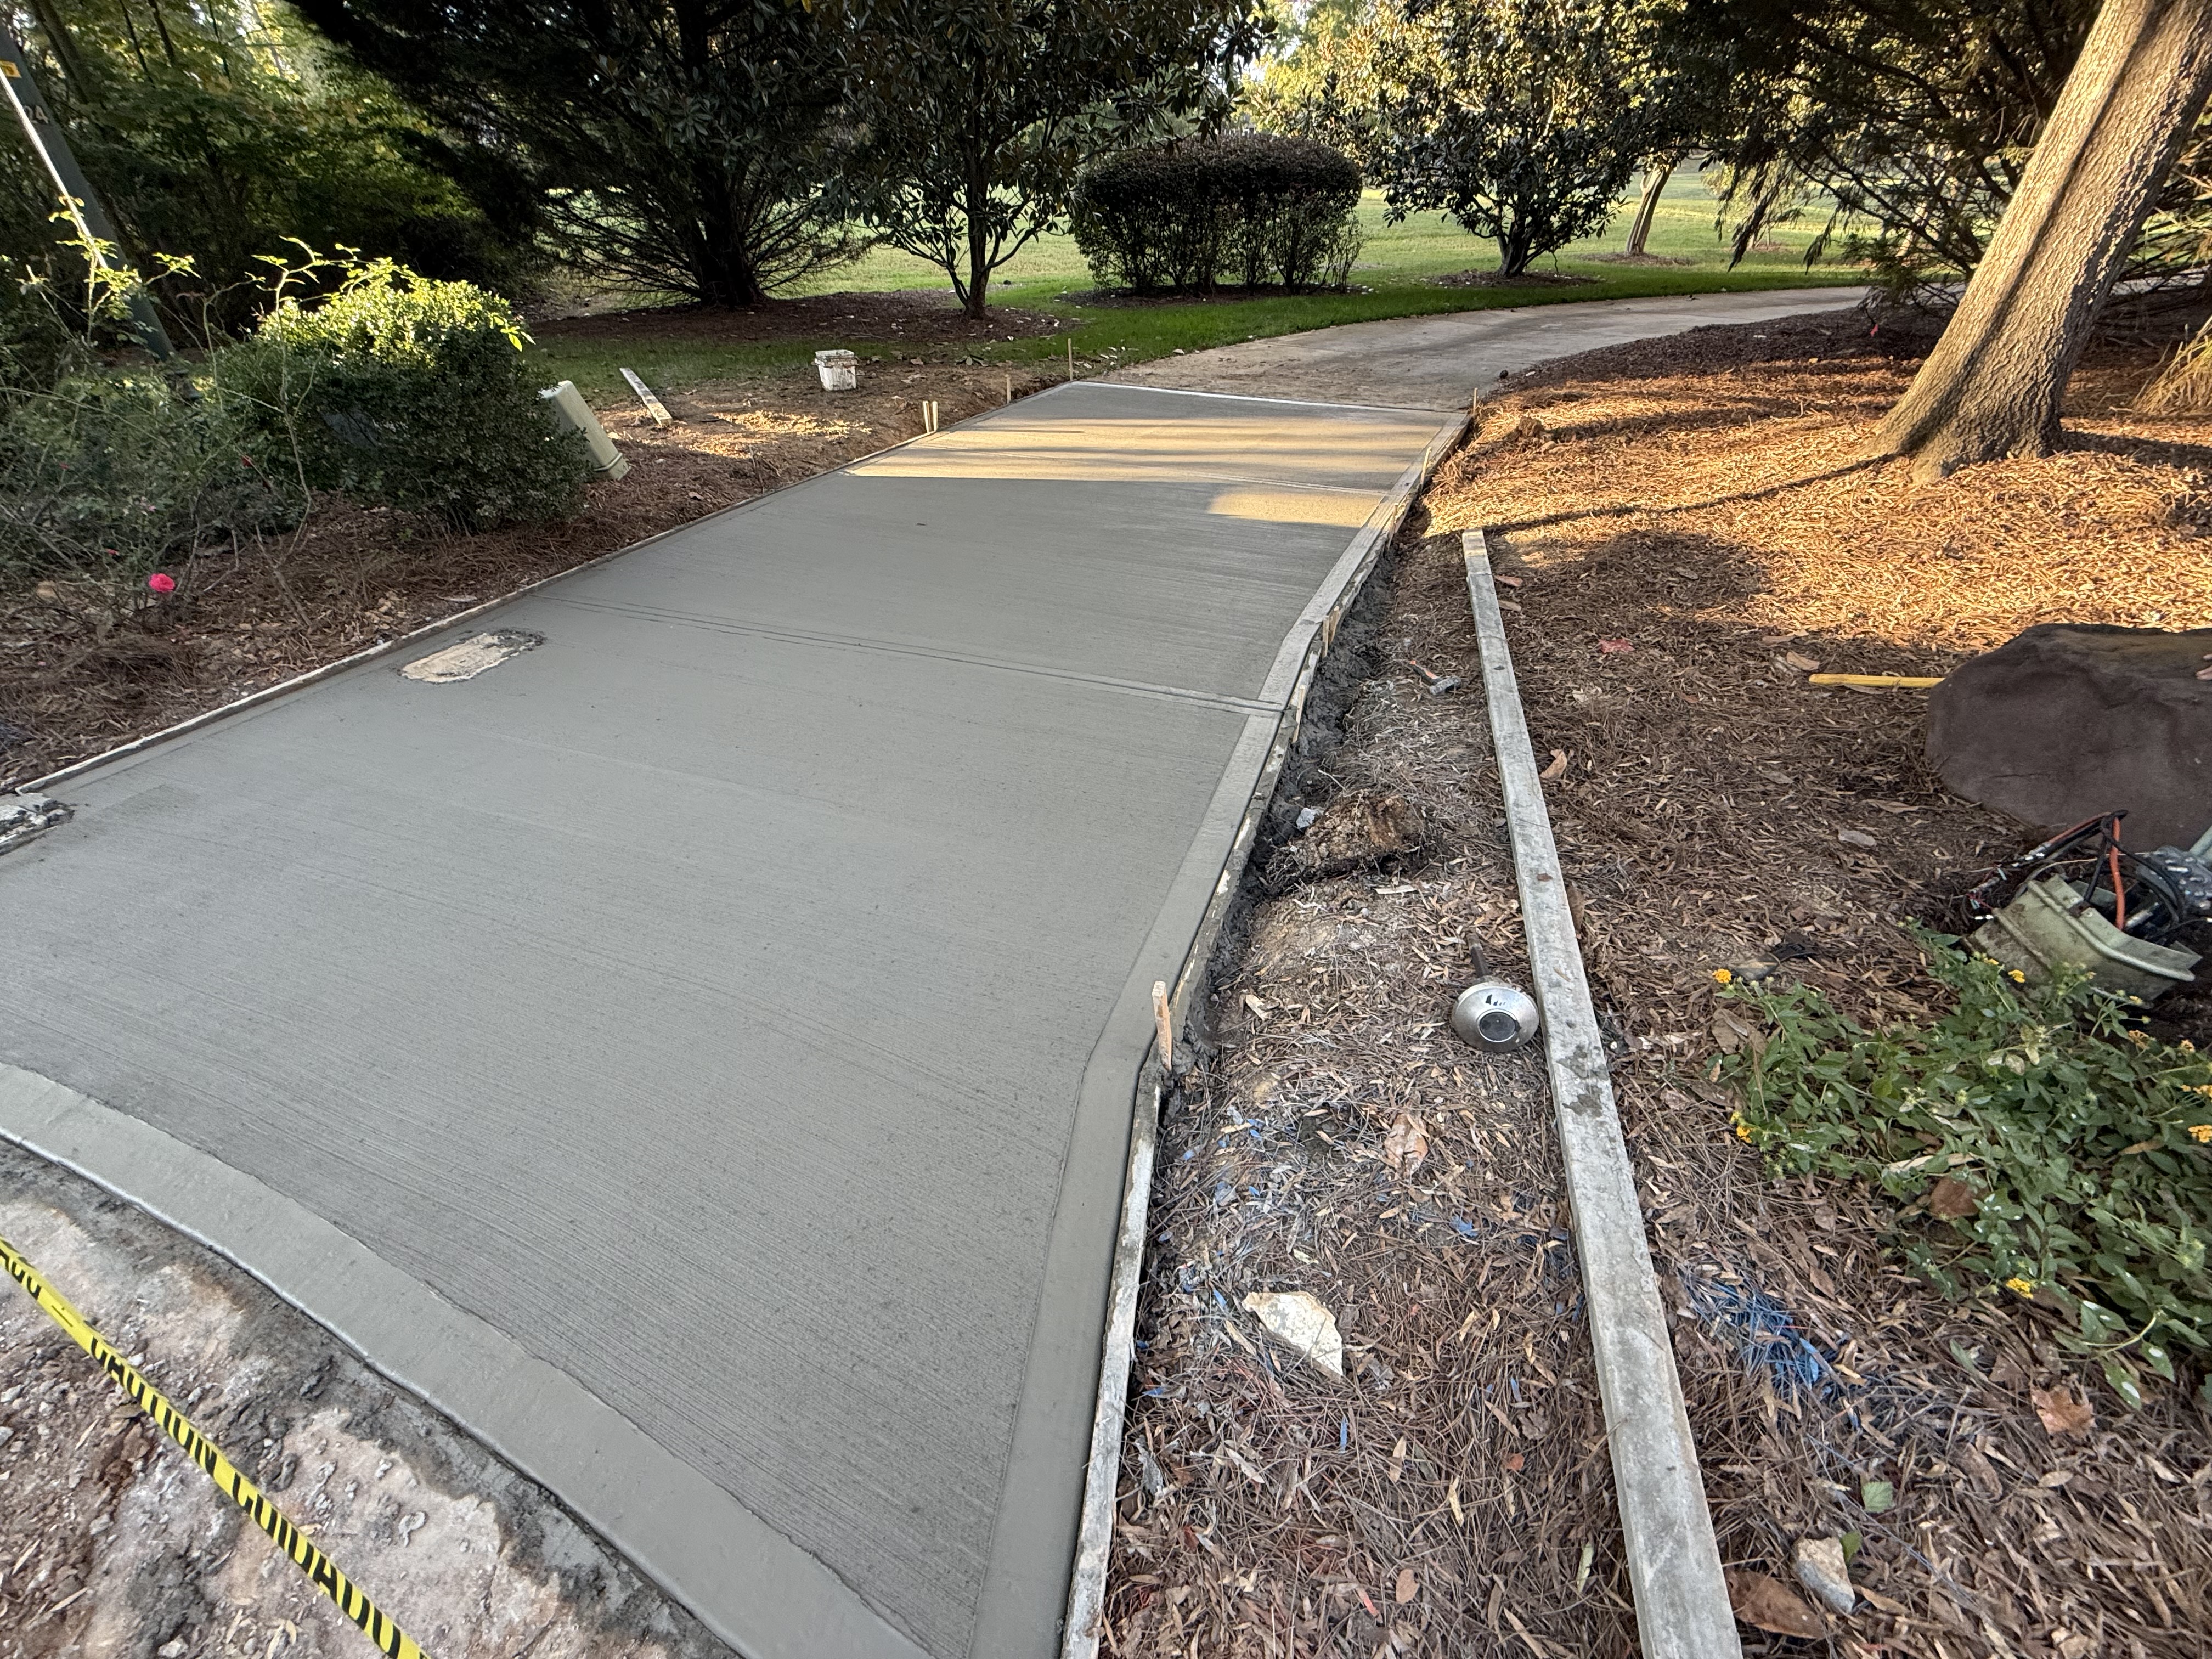
Real customer jobs we've poured. Swipe through and picture yours next.
Driveway Aprons
Recent Job
Driveway Aprons
Recent Job
Driveway Aprons
Recent Job
Driveway Aprons
Recent Job
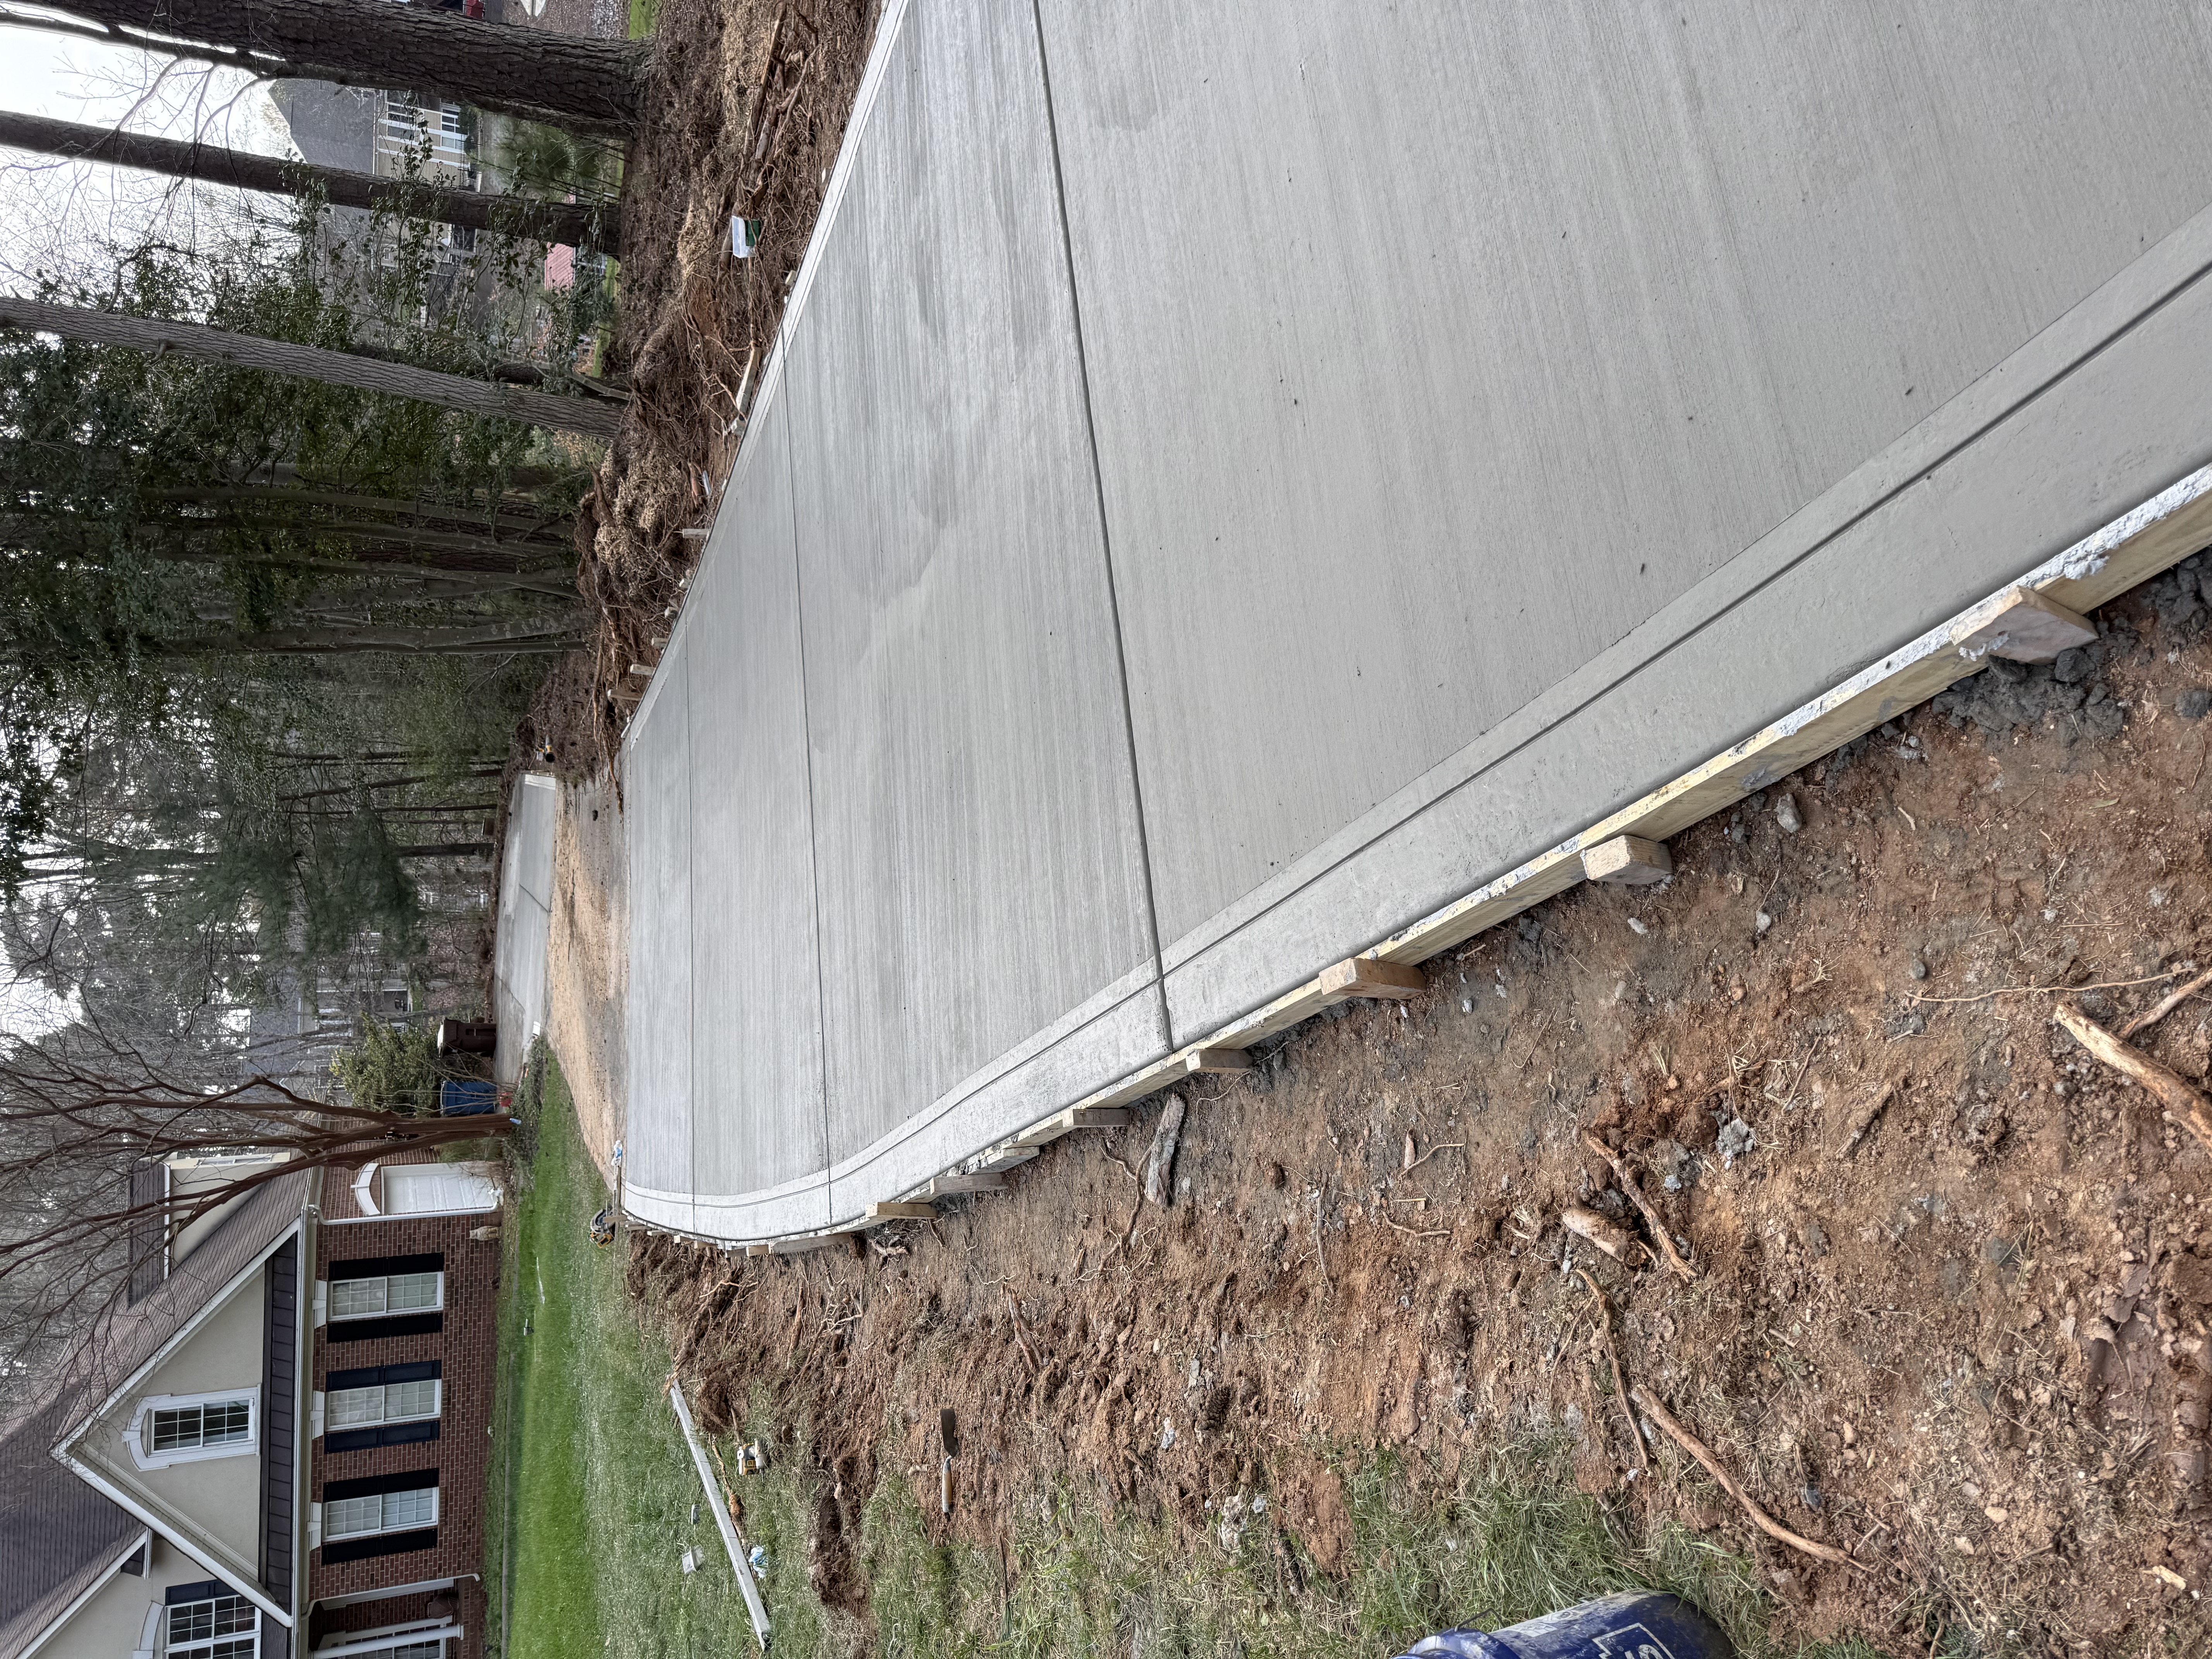
Driveway Aprons
Recent Job
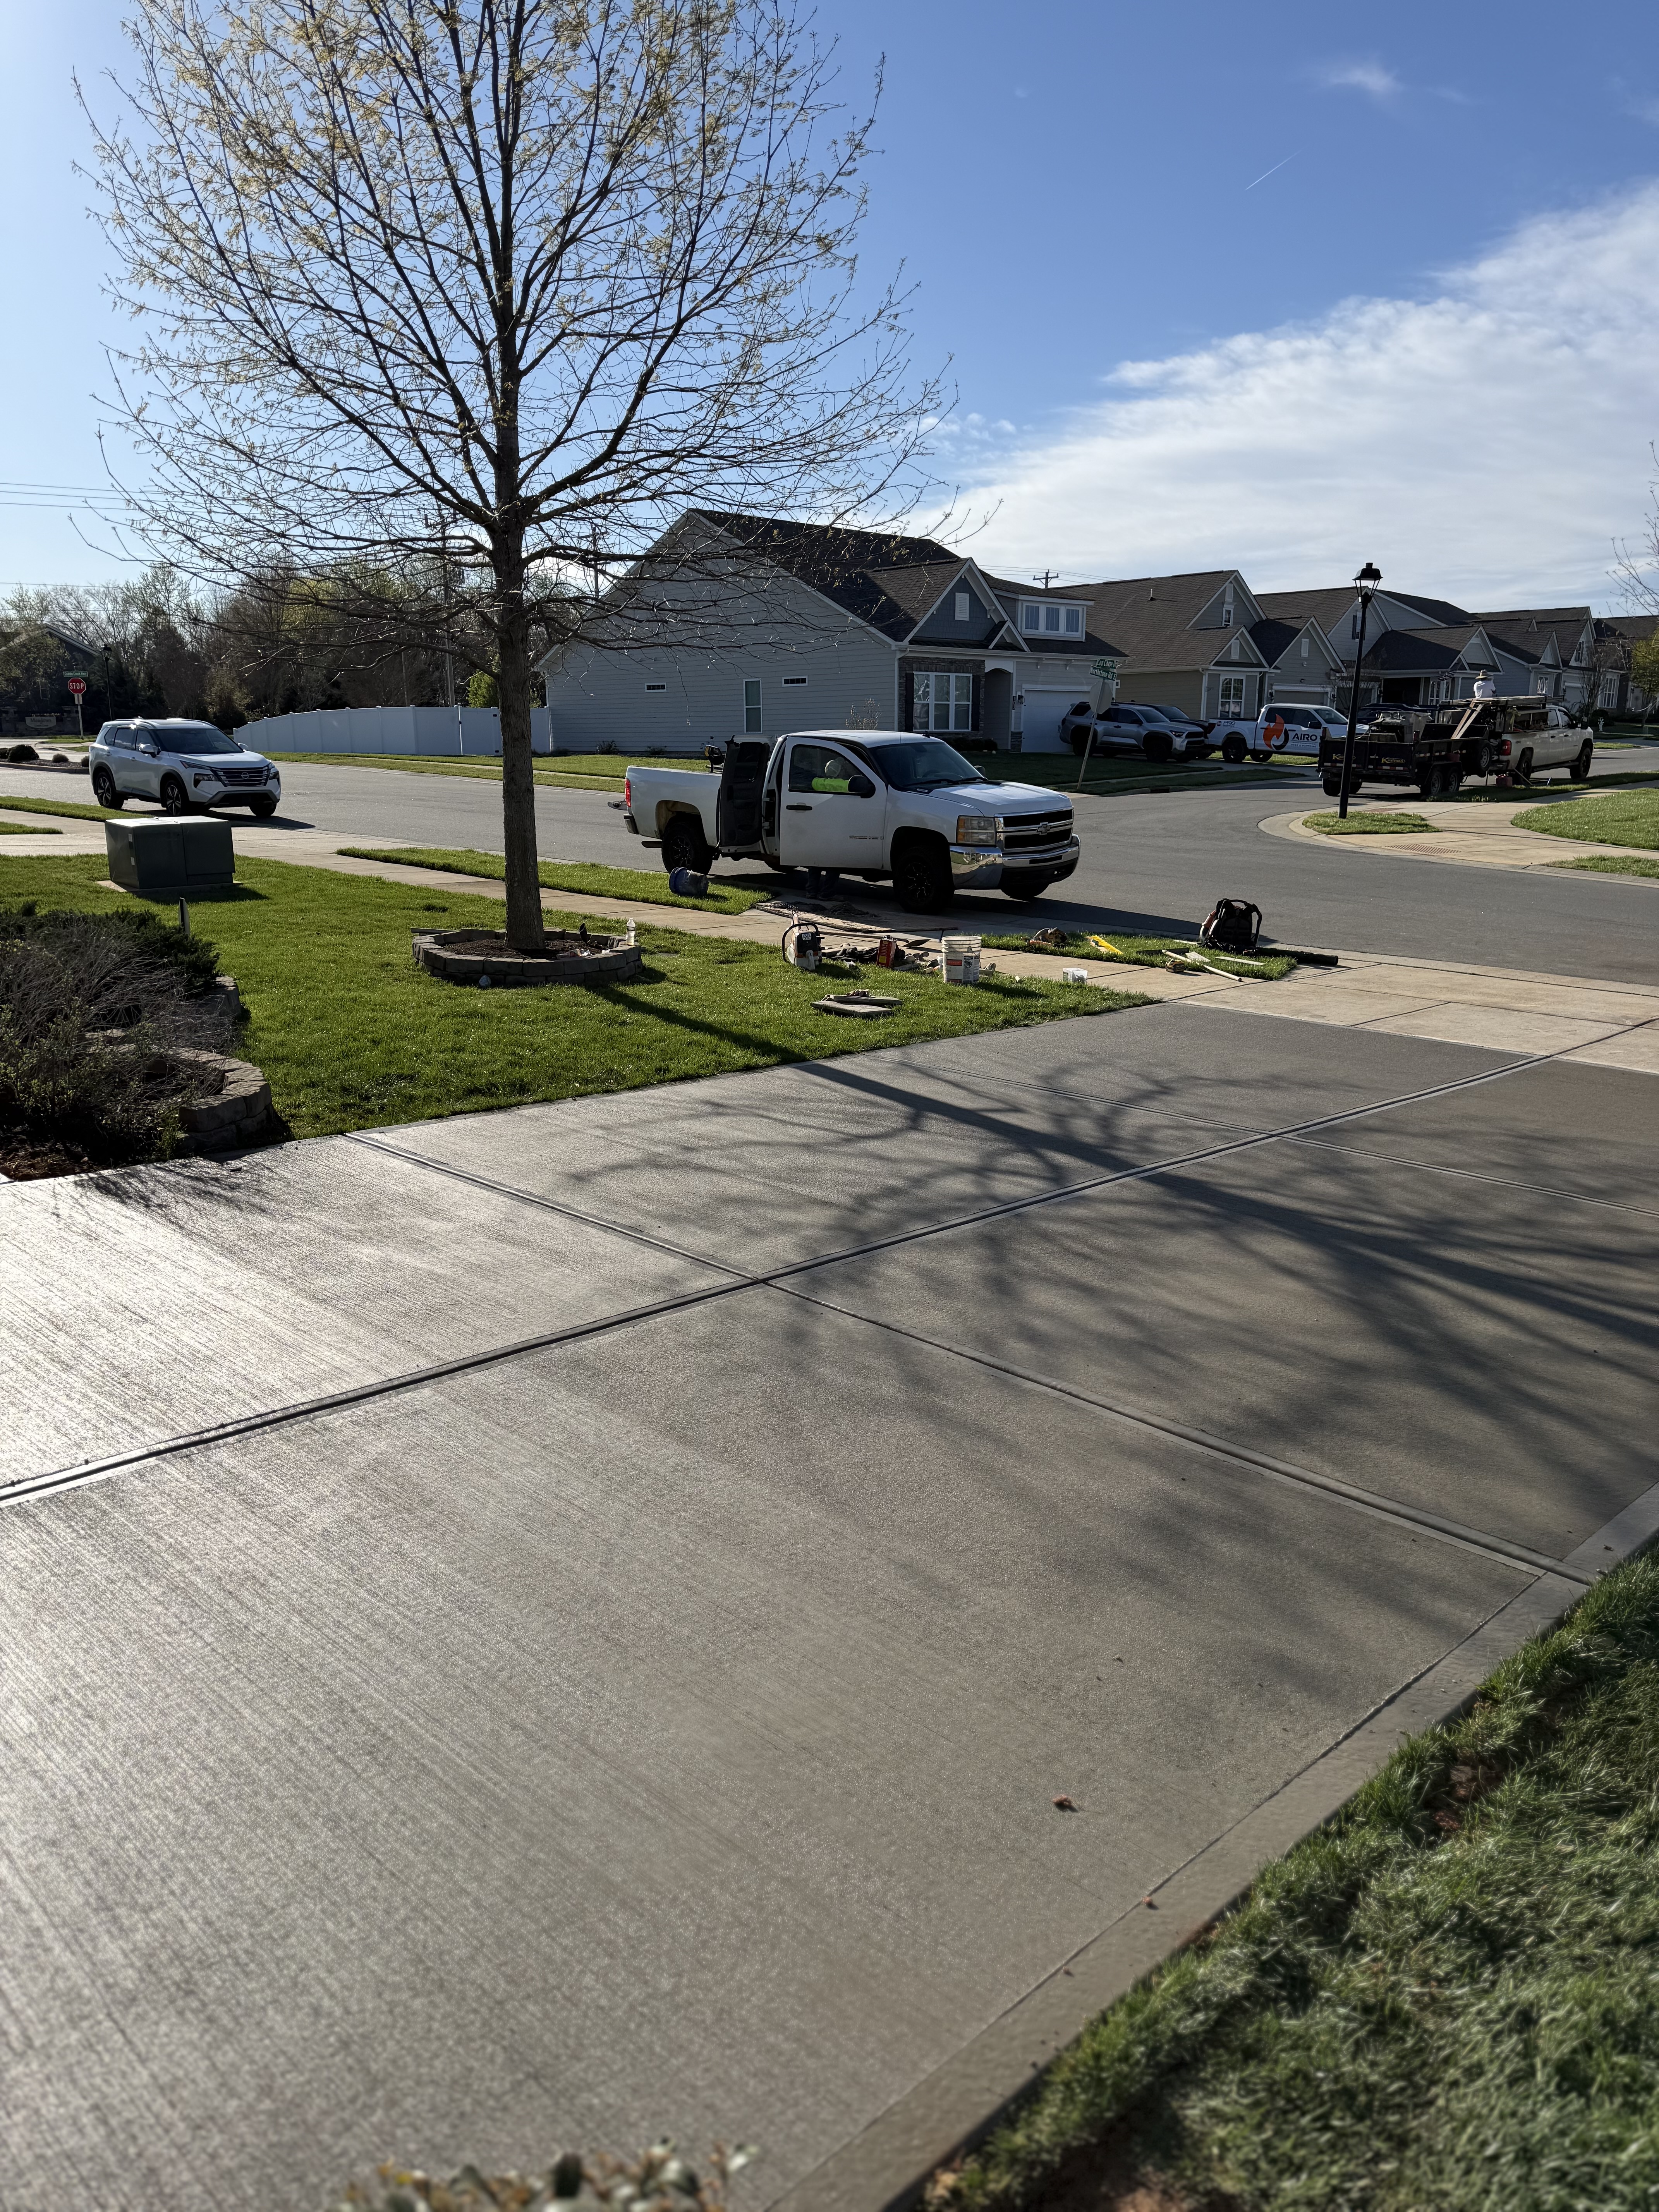
Driveway Aprons
Recent Job
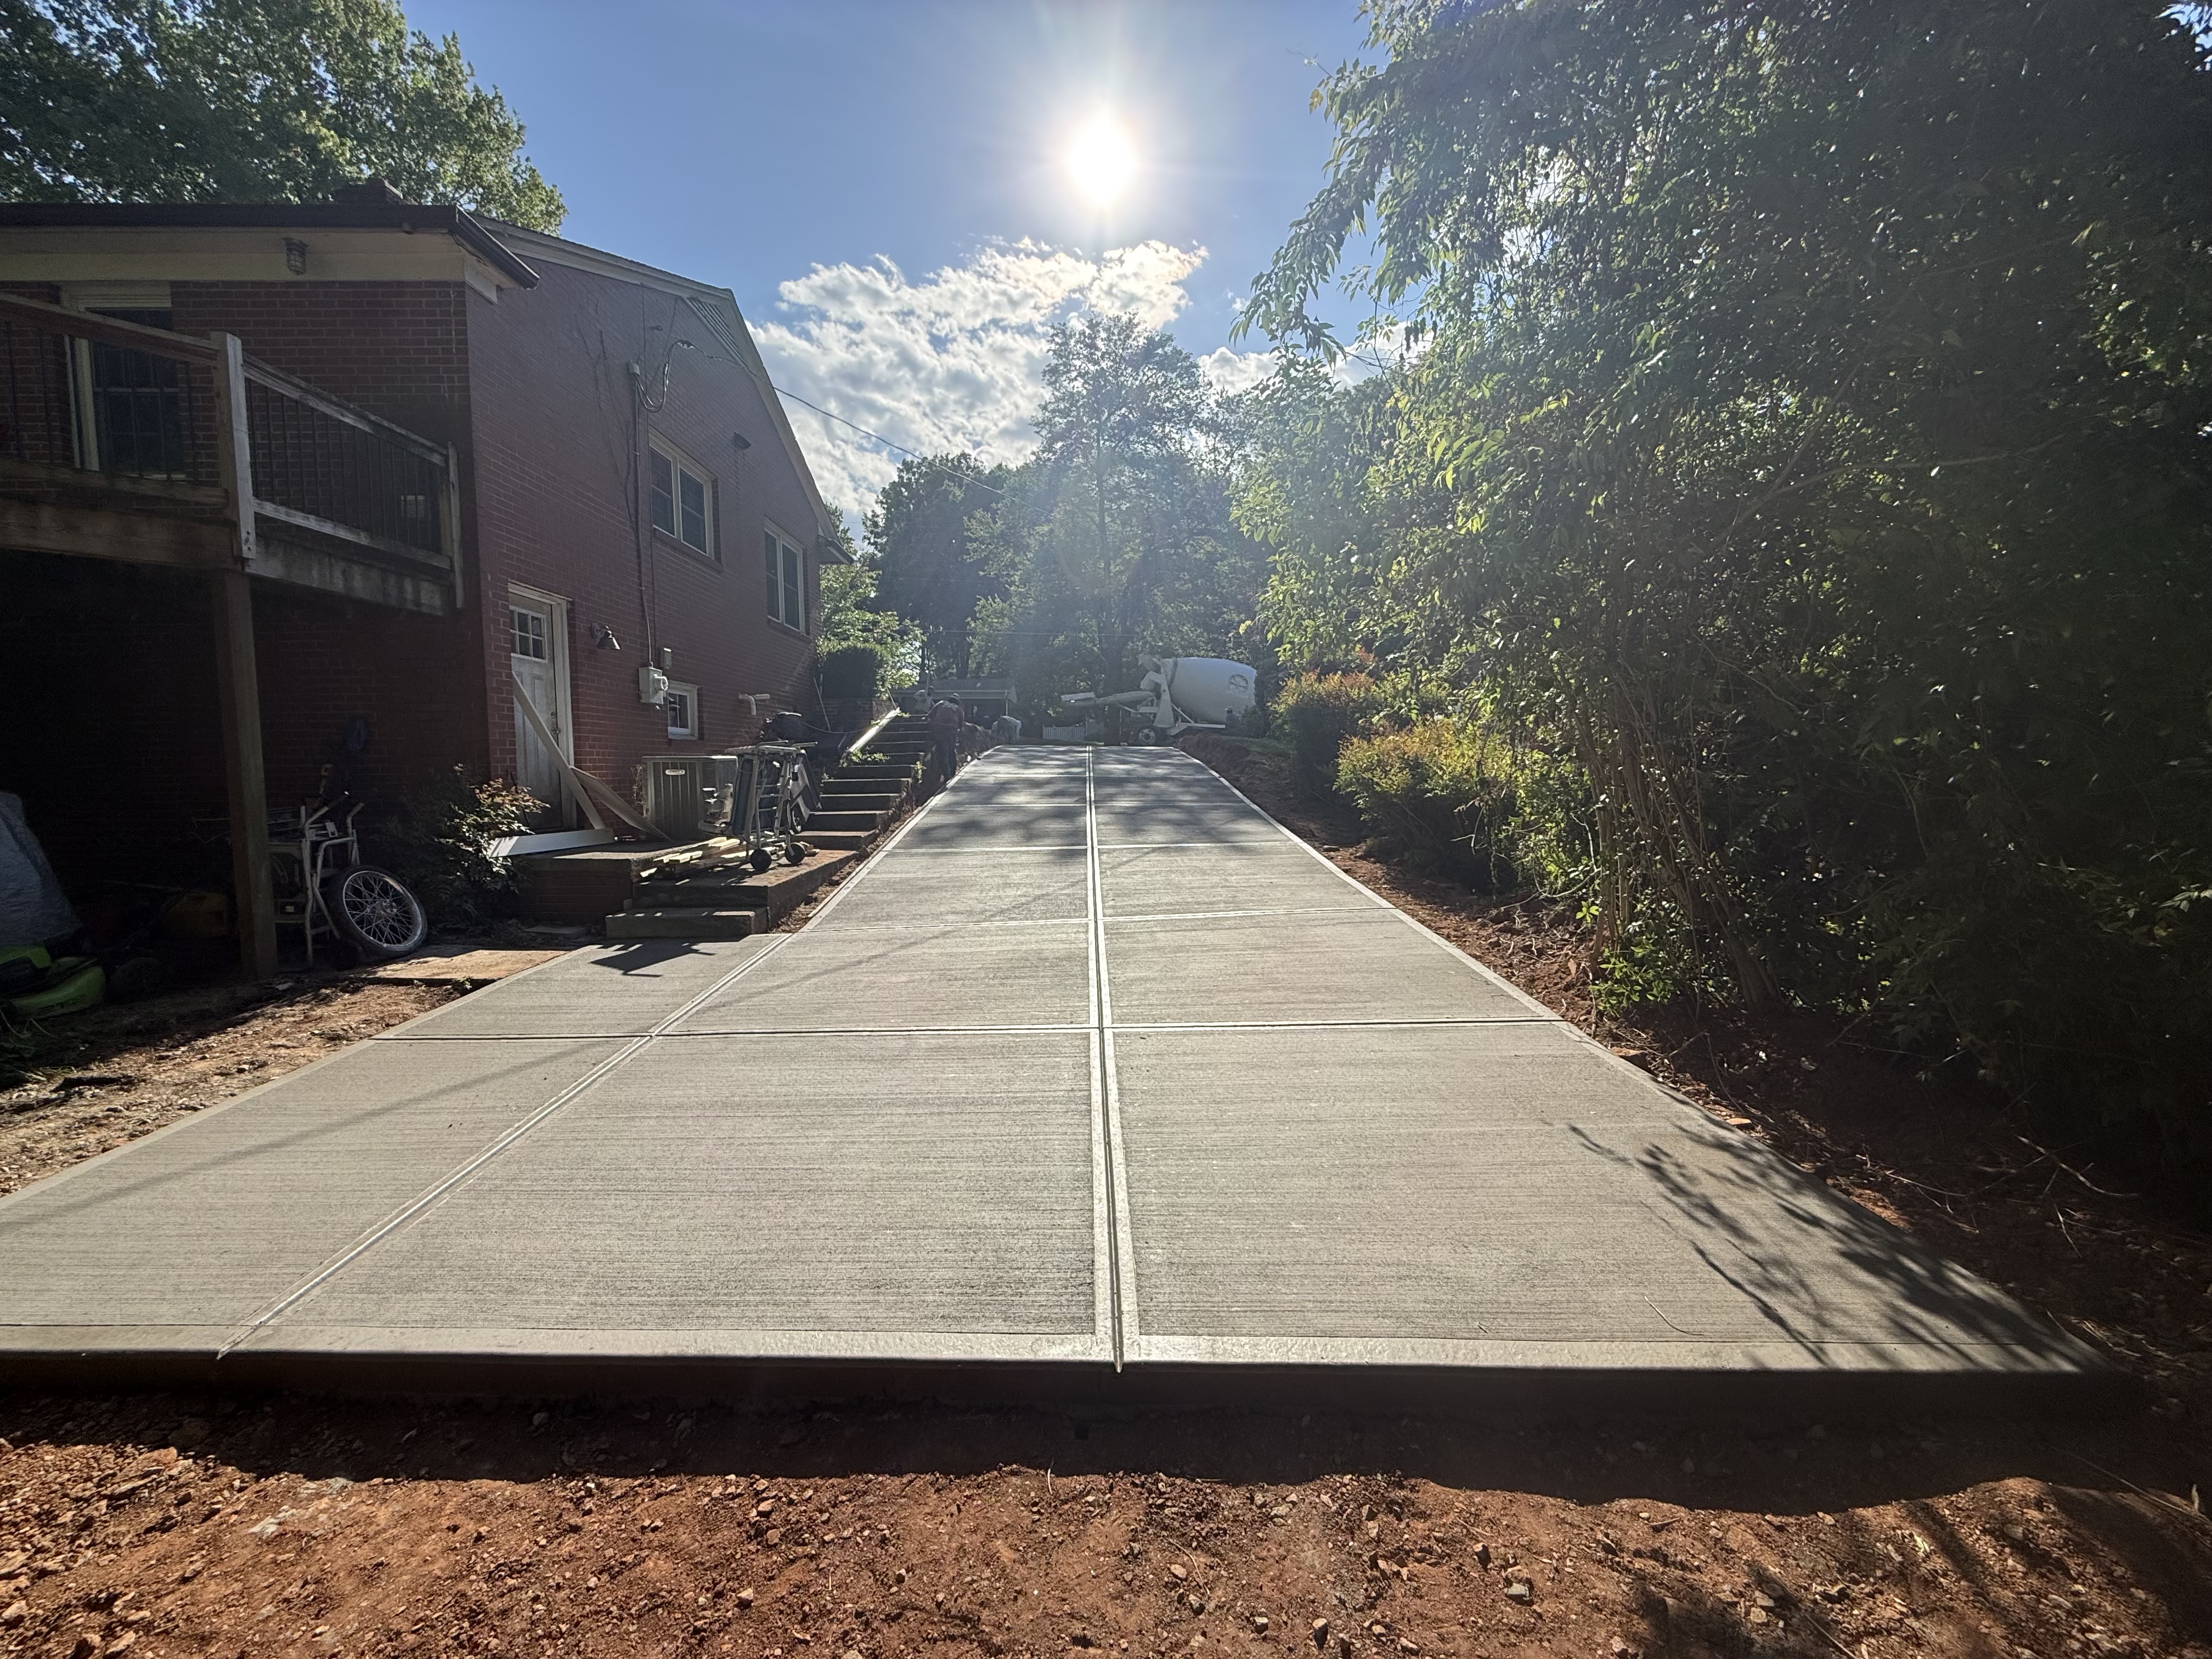
Driveway Aprons
Recent Job
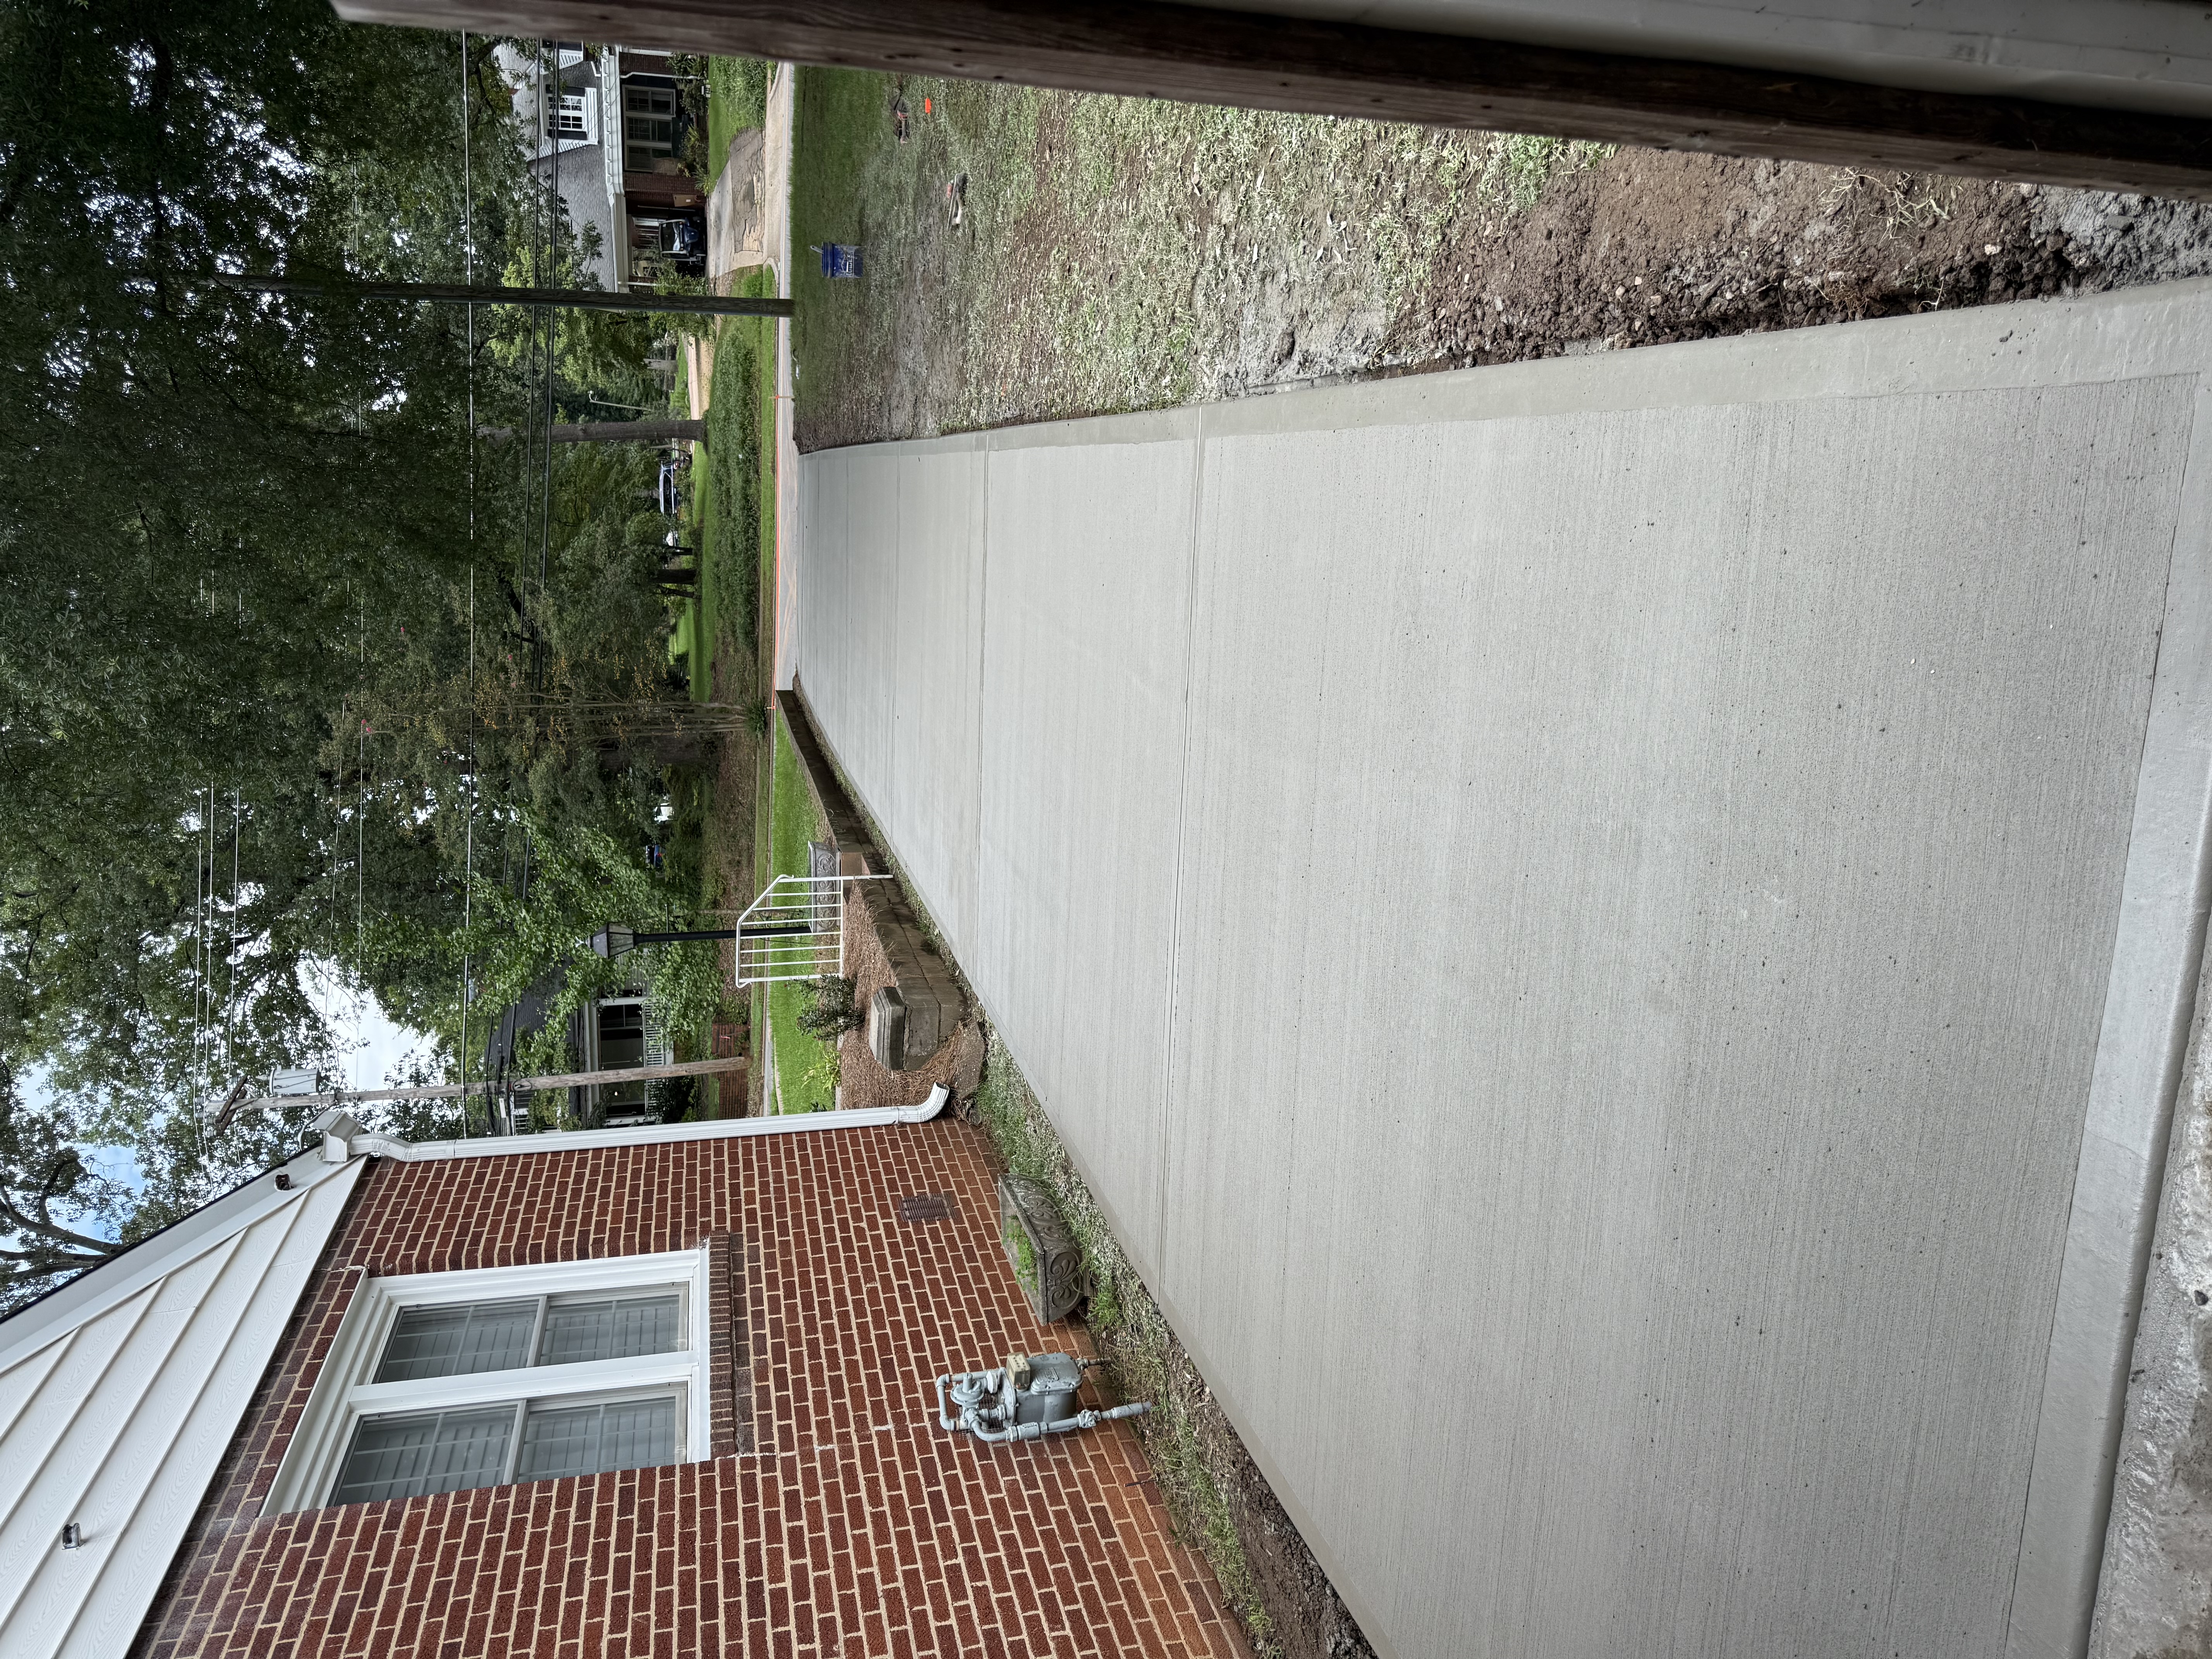
Driveway Aprons
Recent Job
Driveway Aprons
Recent Job
Driveway Aprons
Recent Job
Driveway Aprons
Recent Job
Driveway Aprons
Recent Job
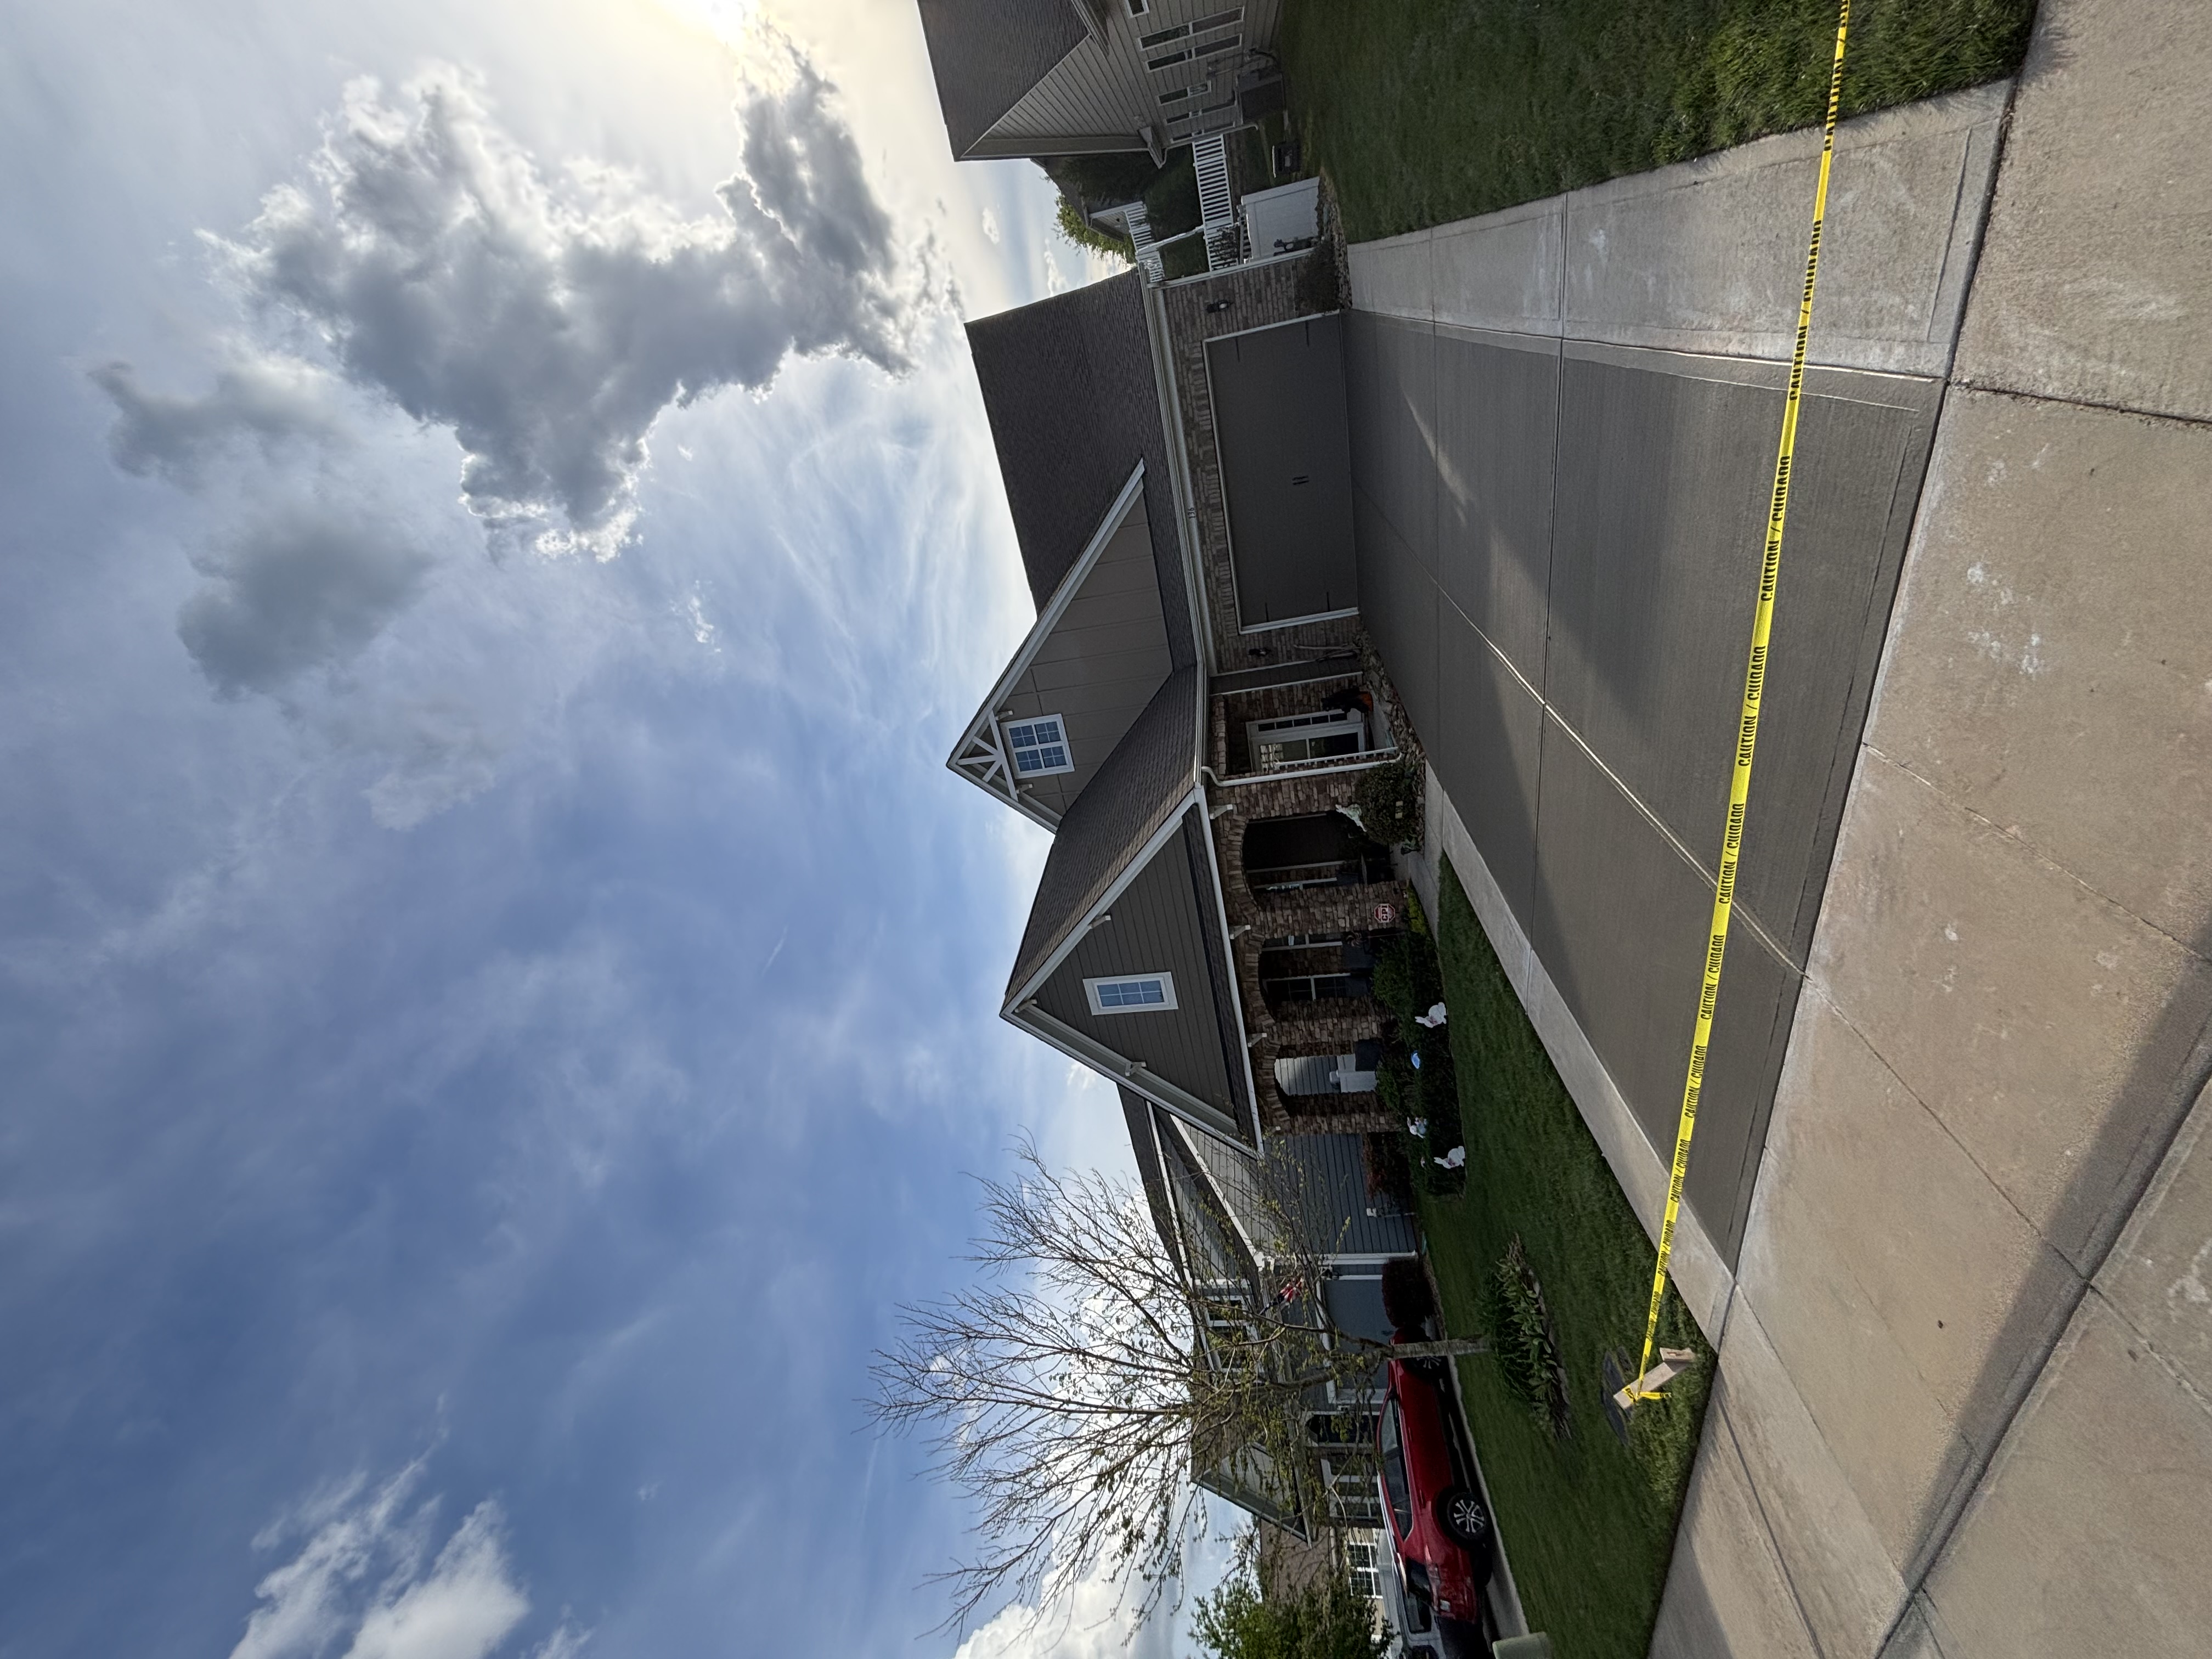
Driveway Aprons
Recent Job
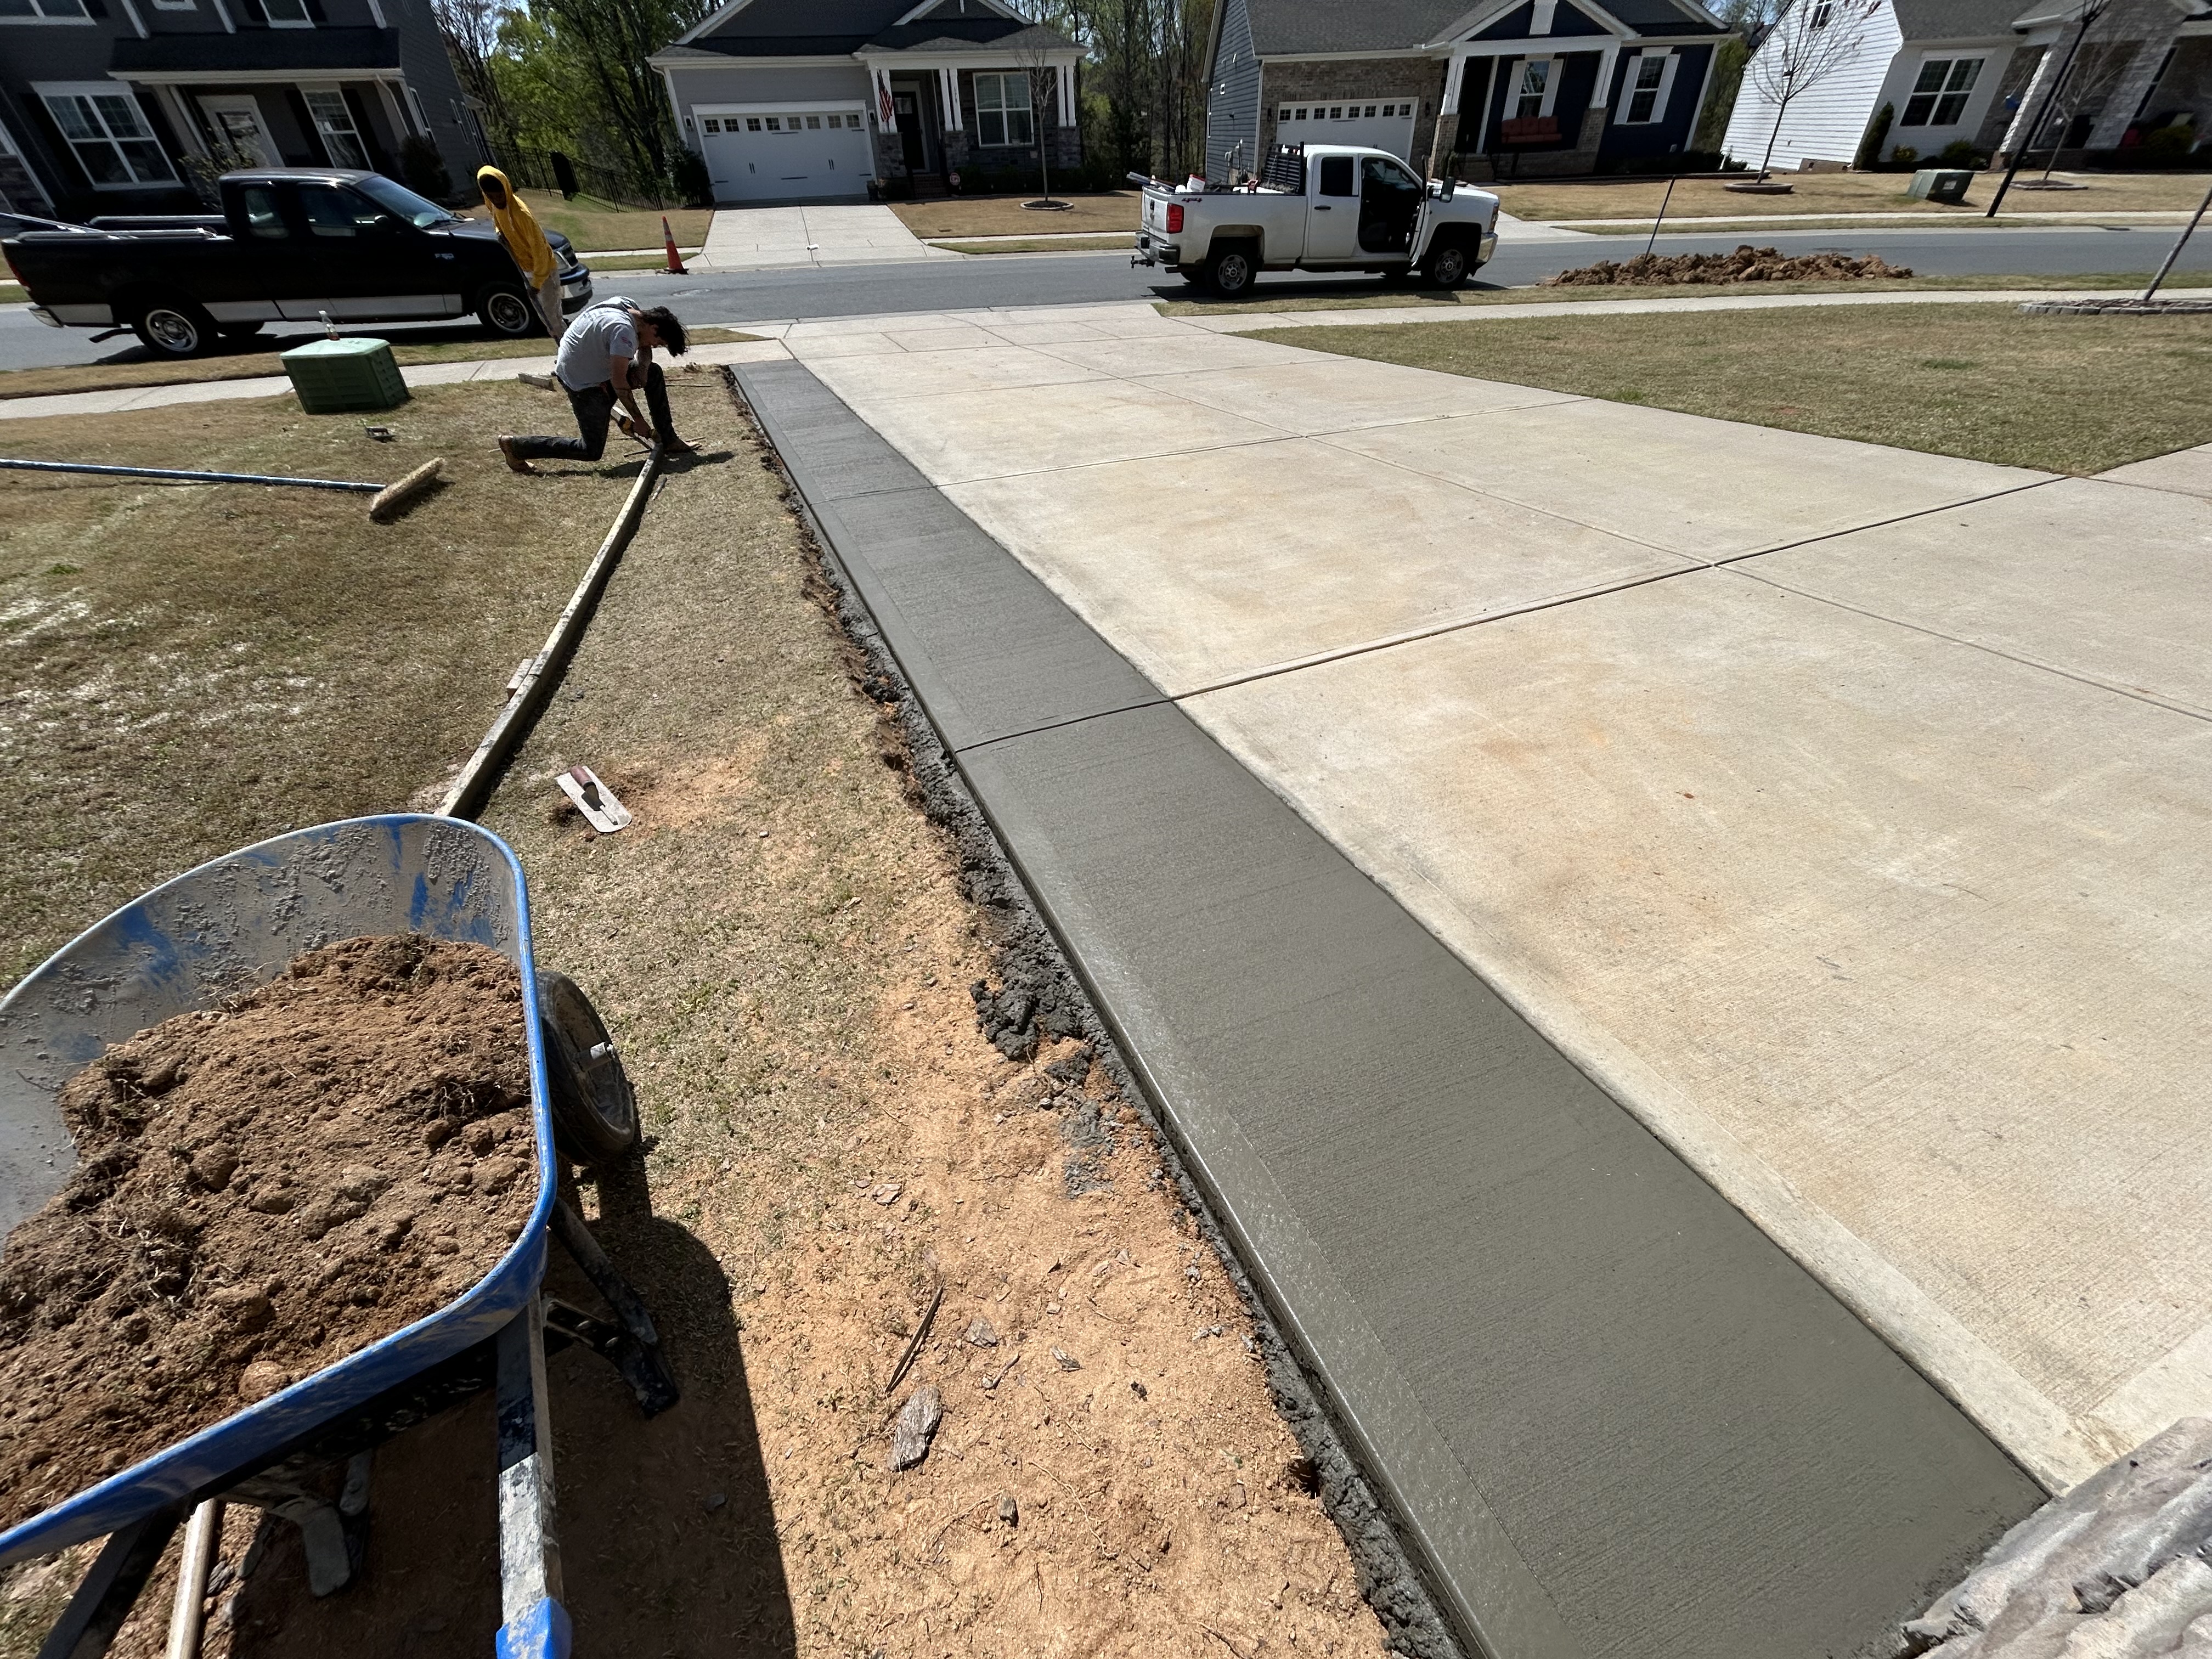
Driveway Aprons
Recent Job
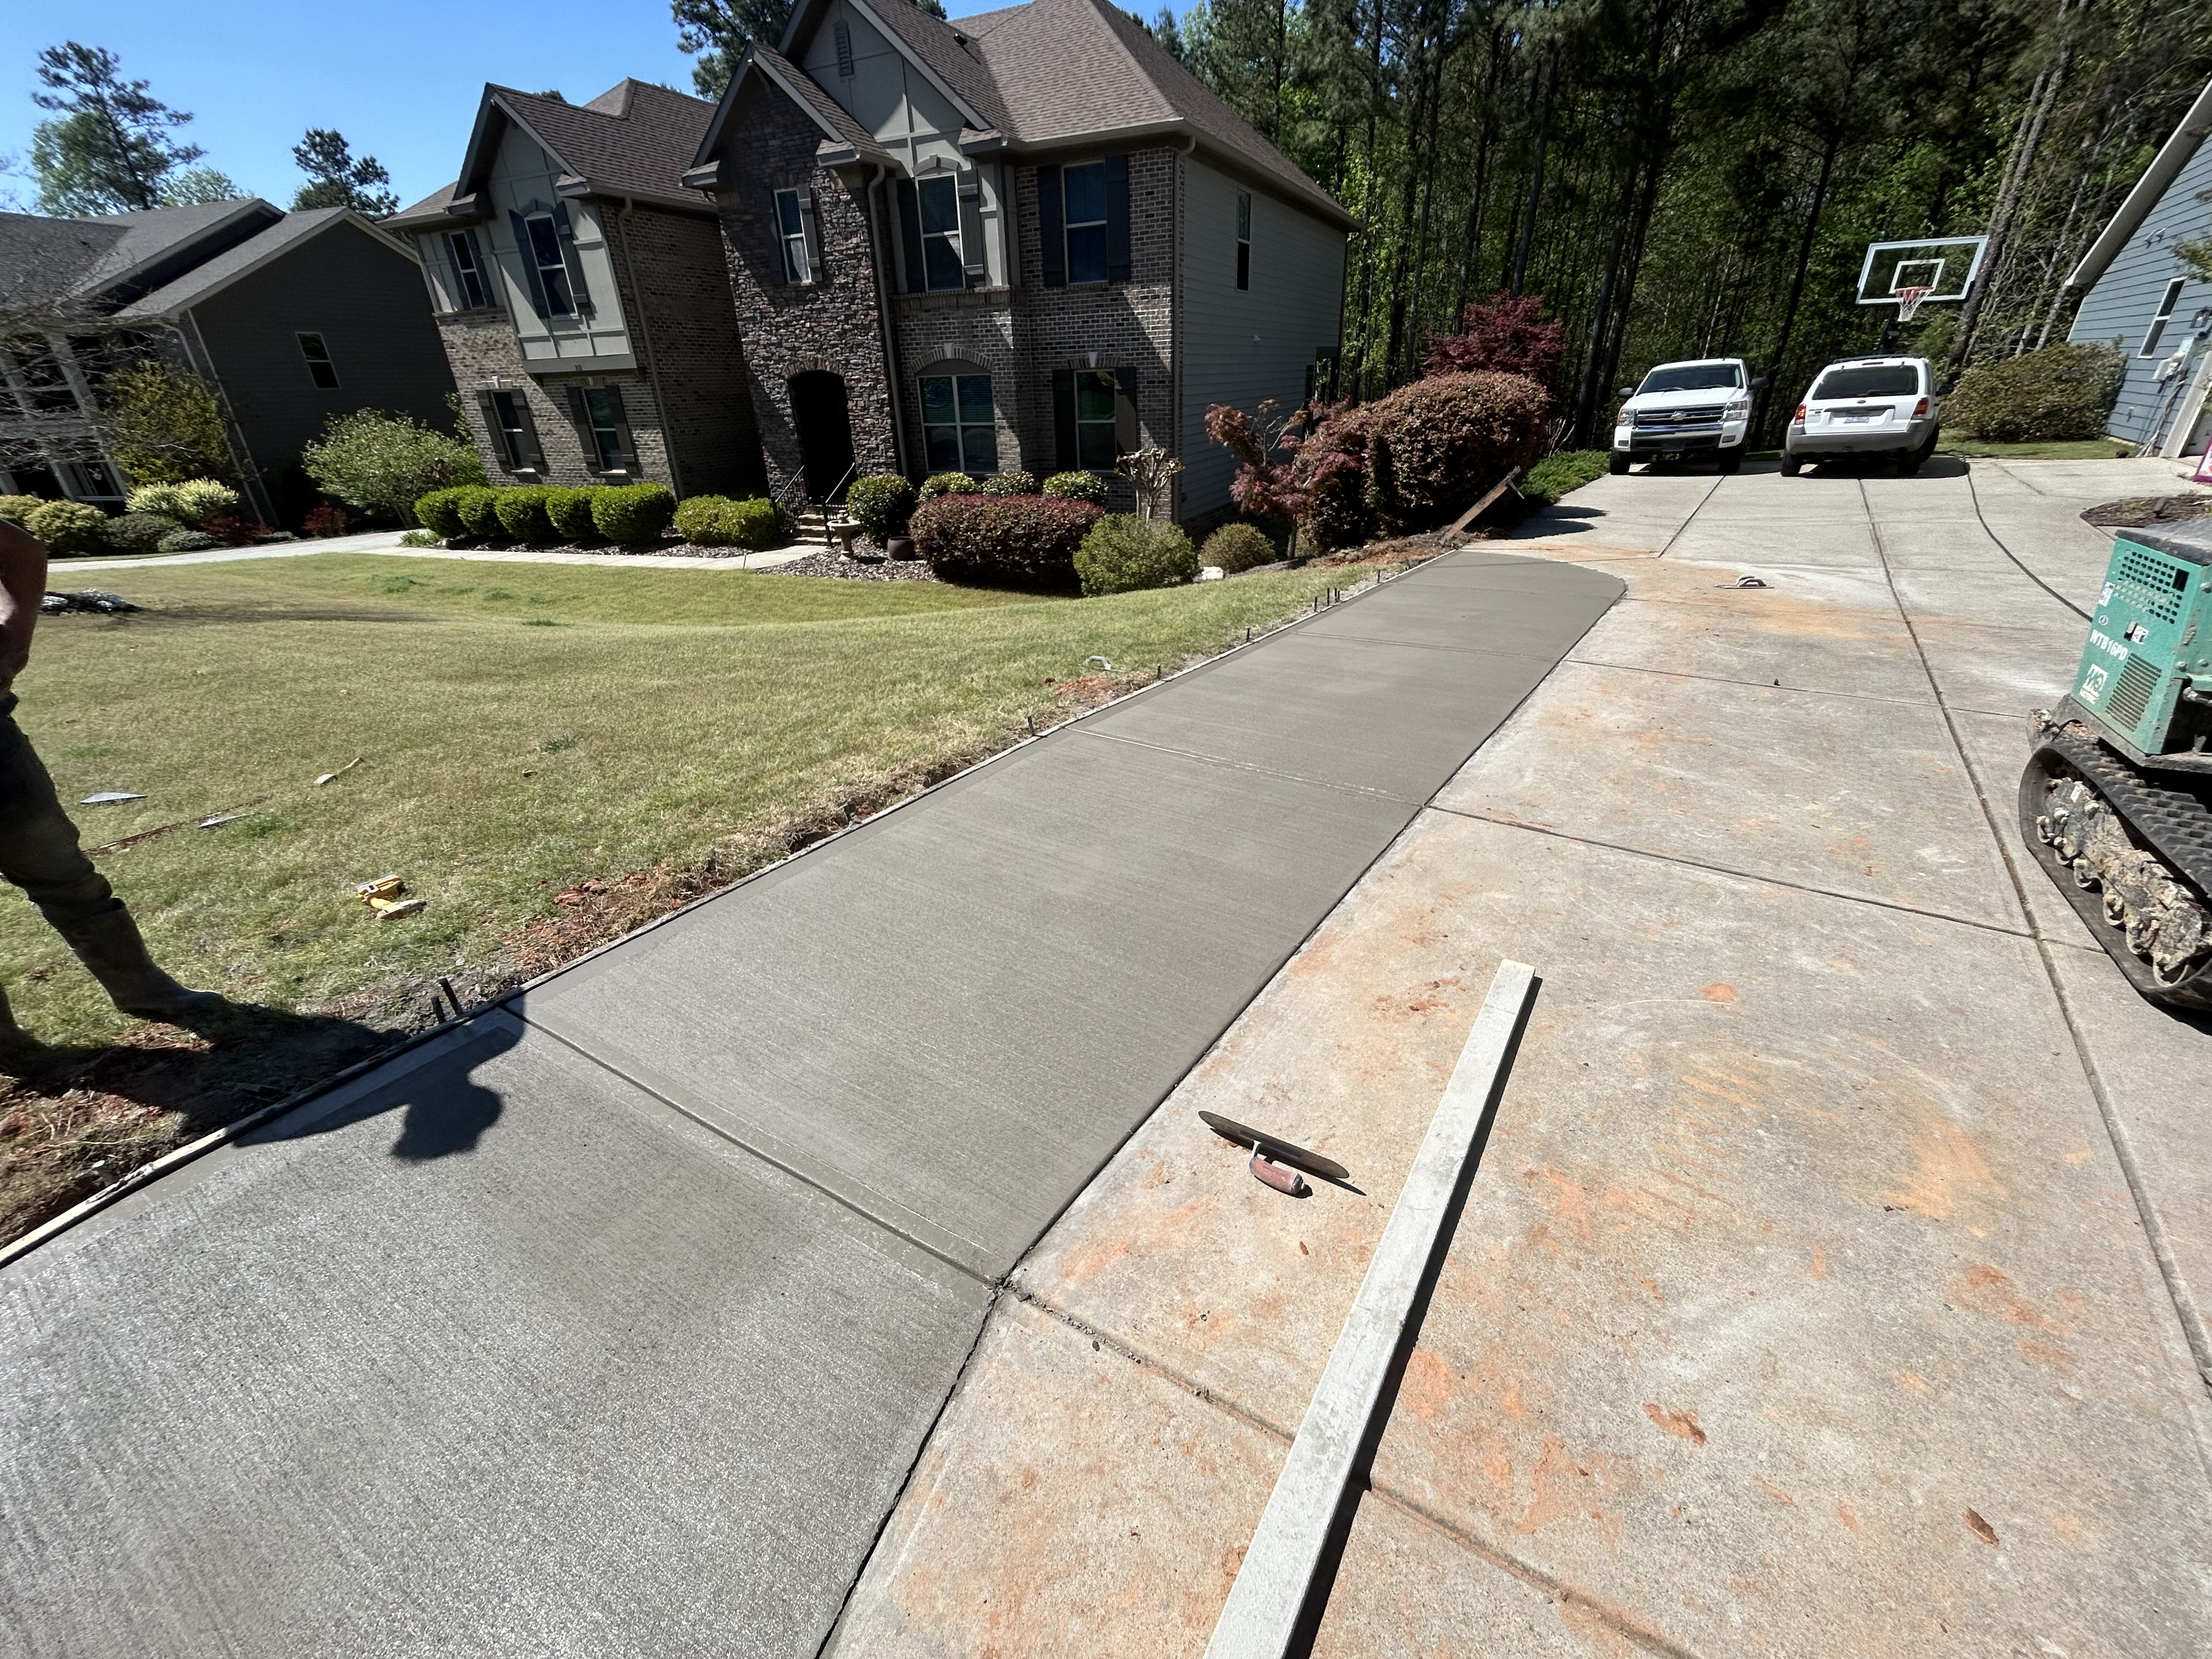
Driveway Aprons
Recent Job
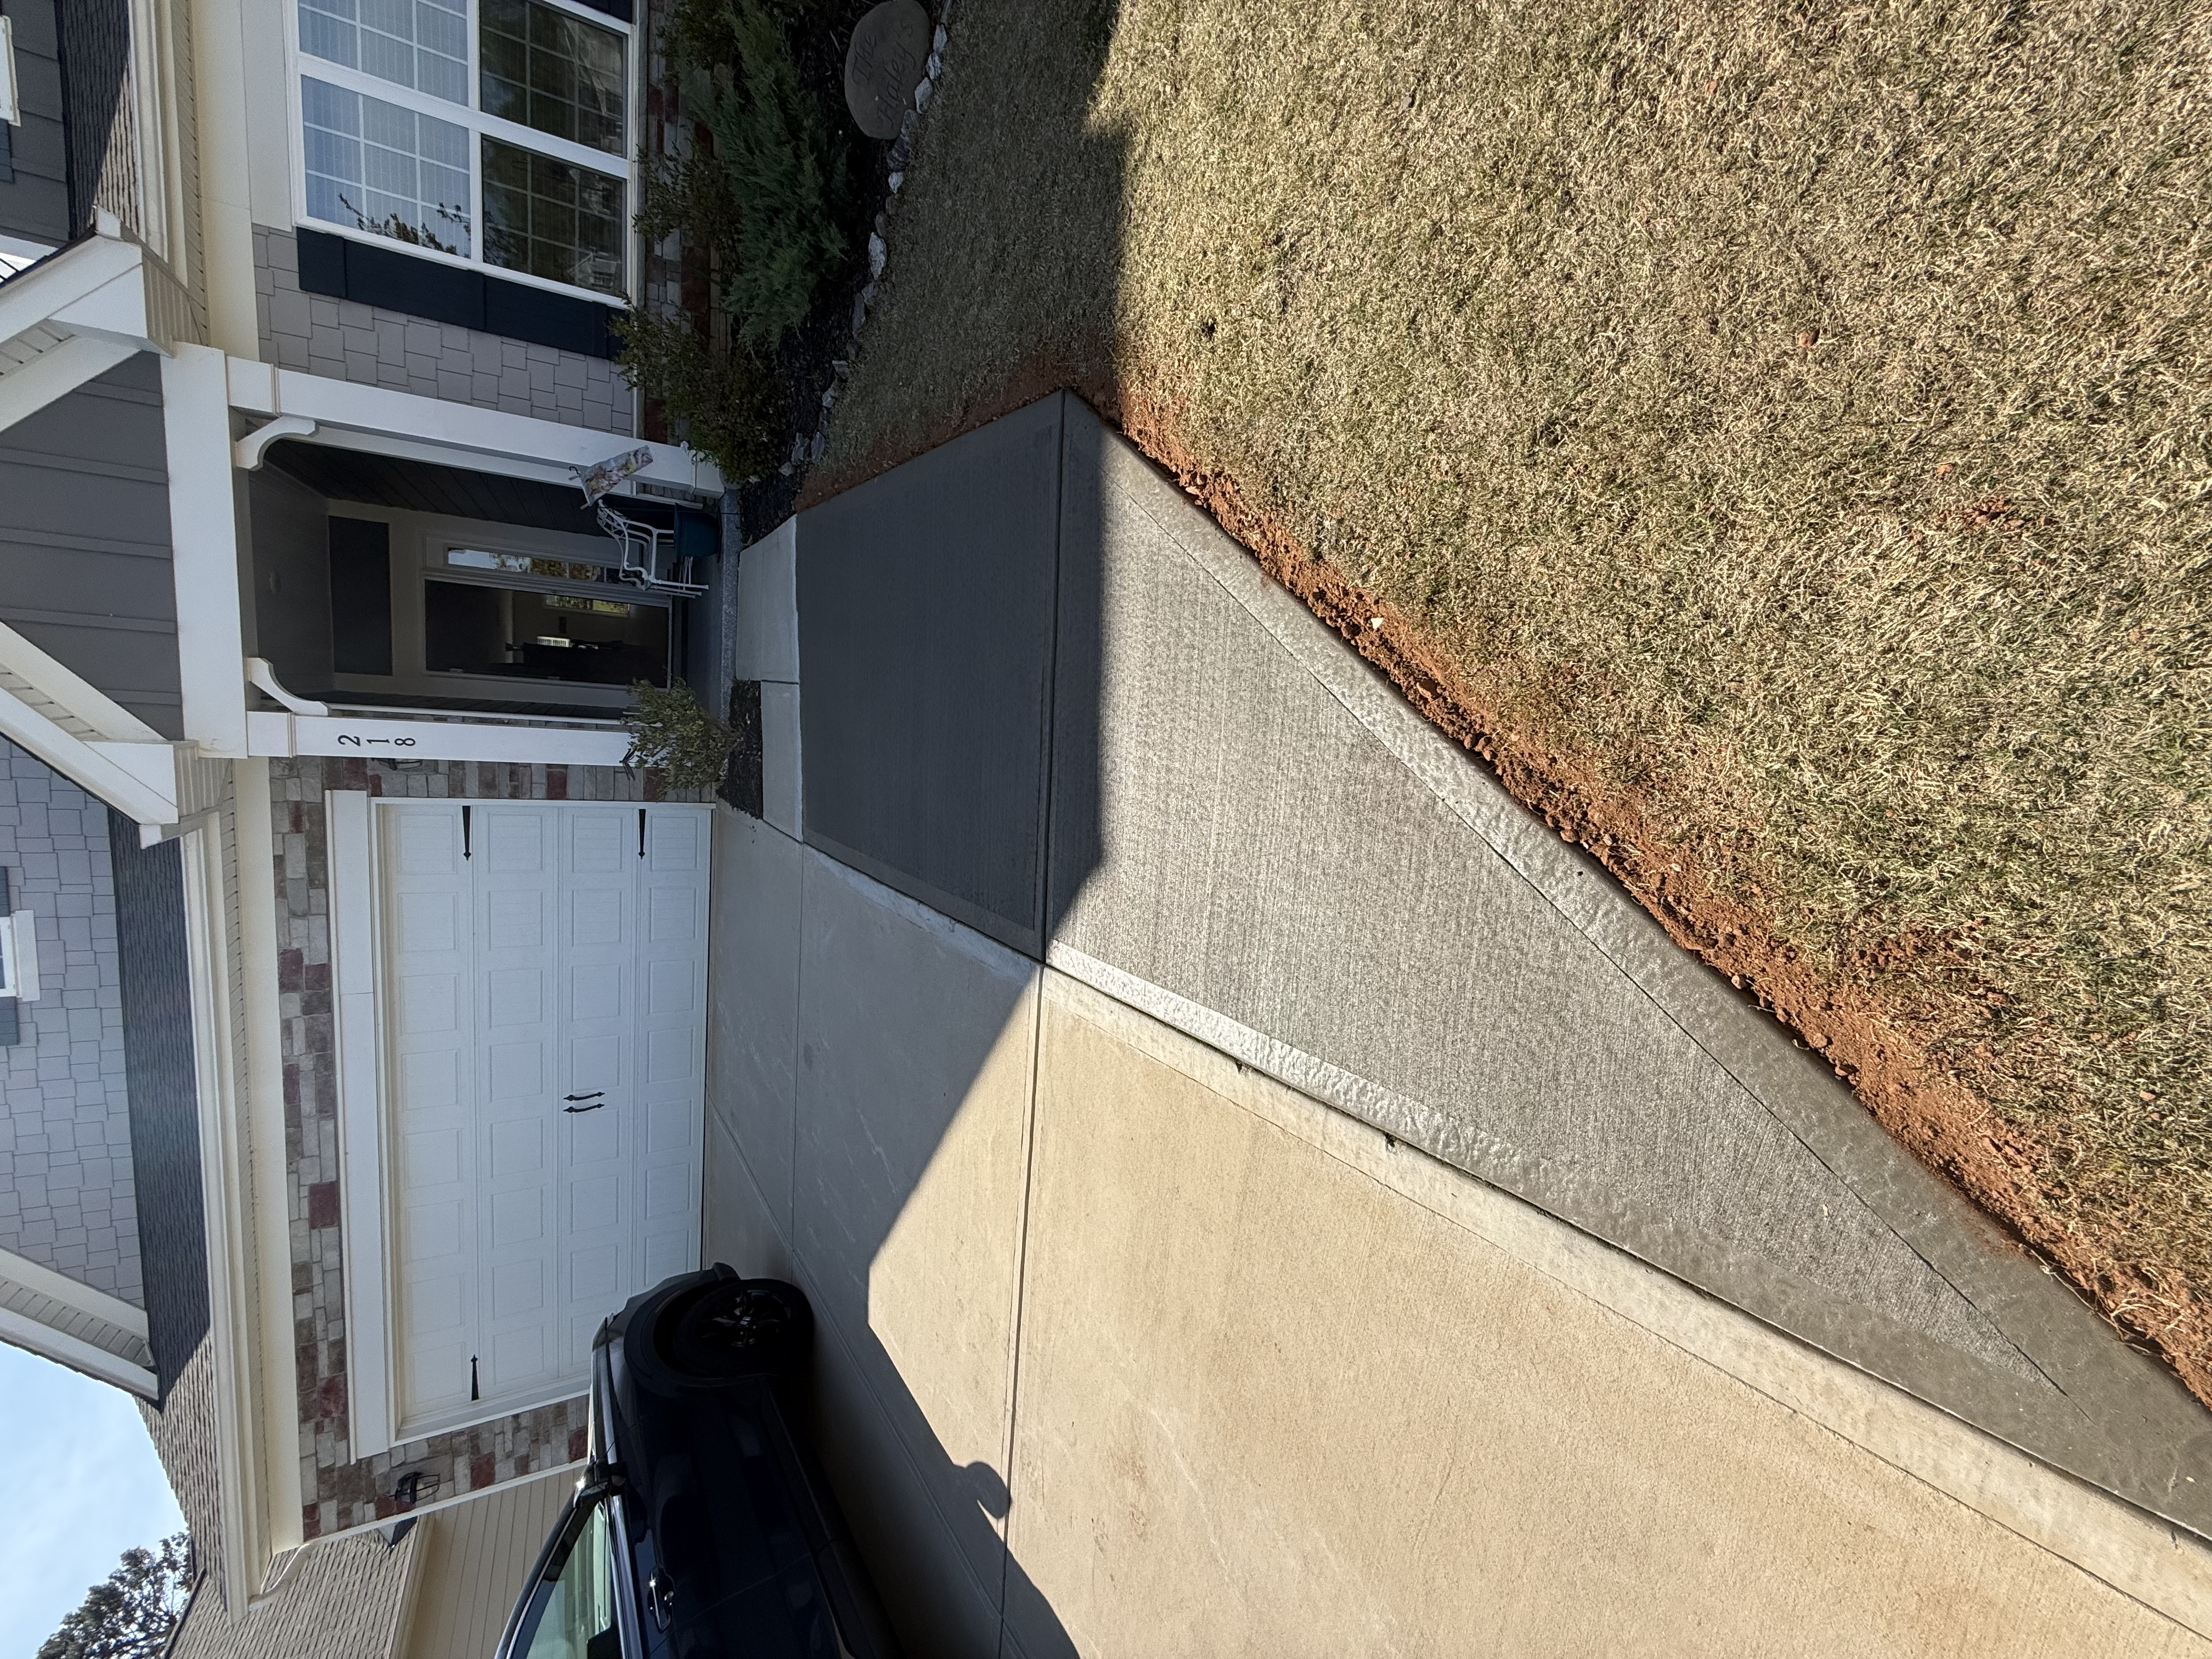
Driveway Aprons
Recent Job
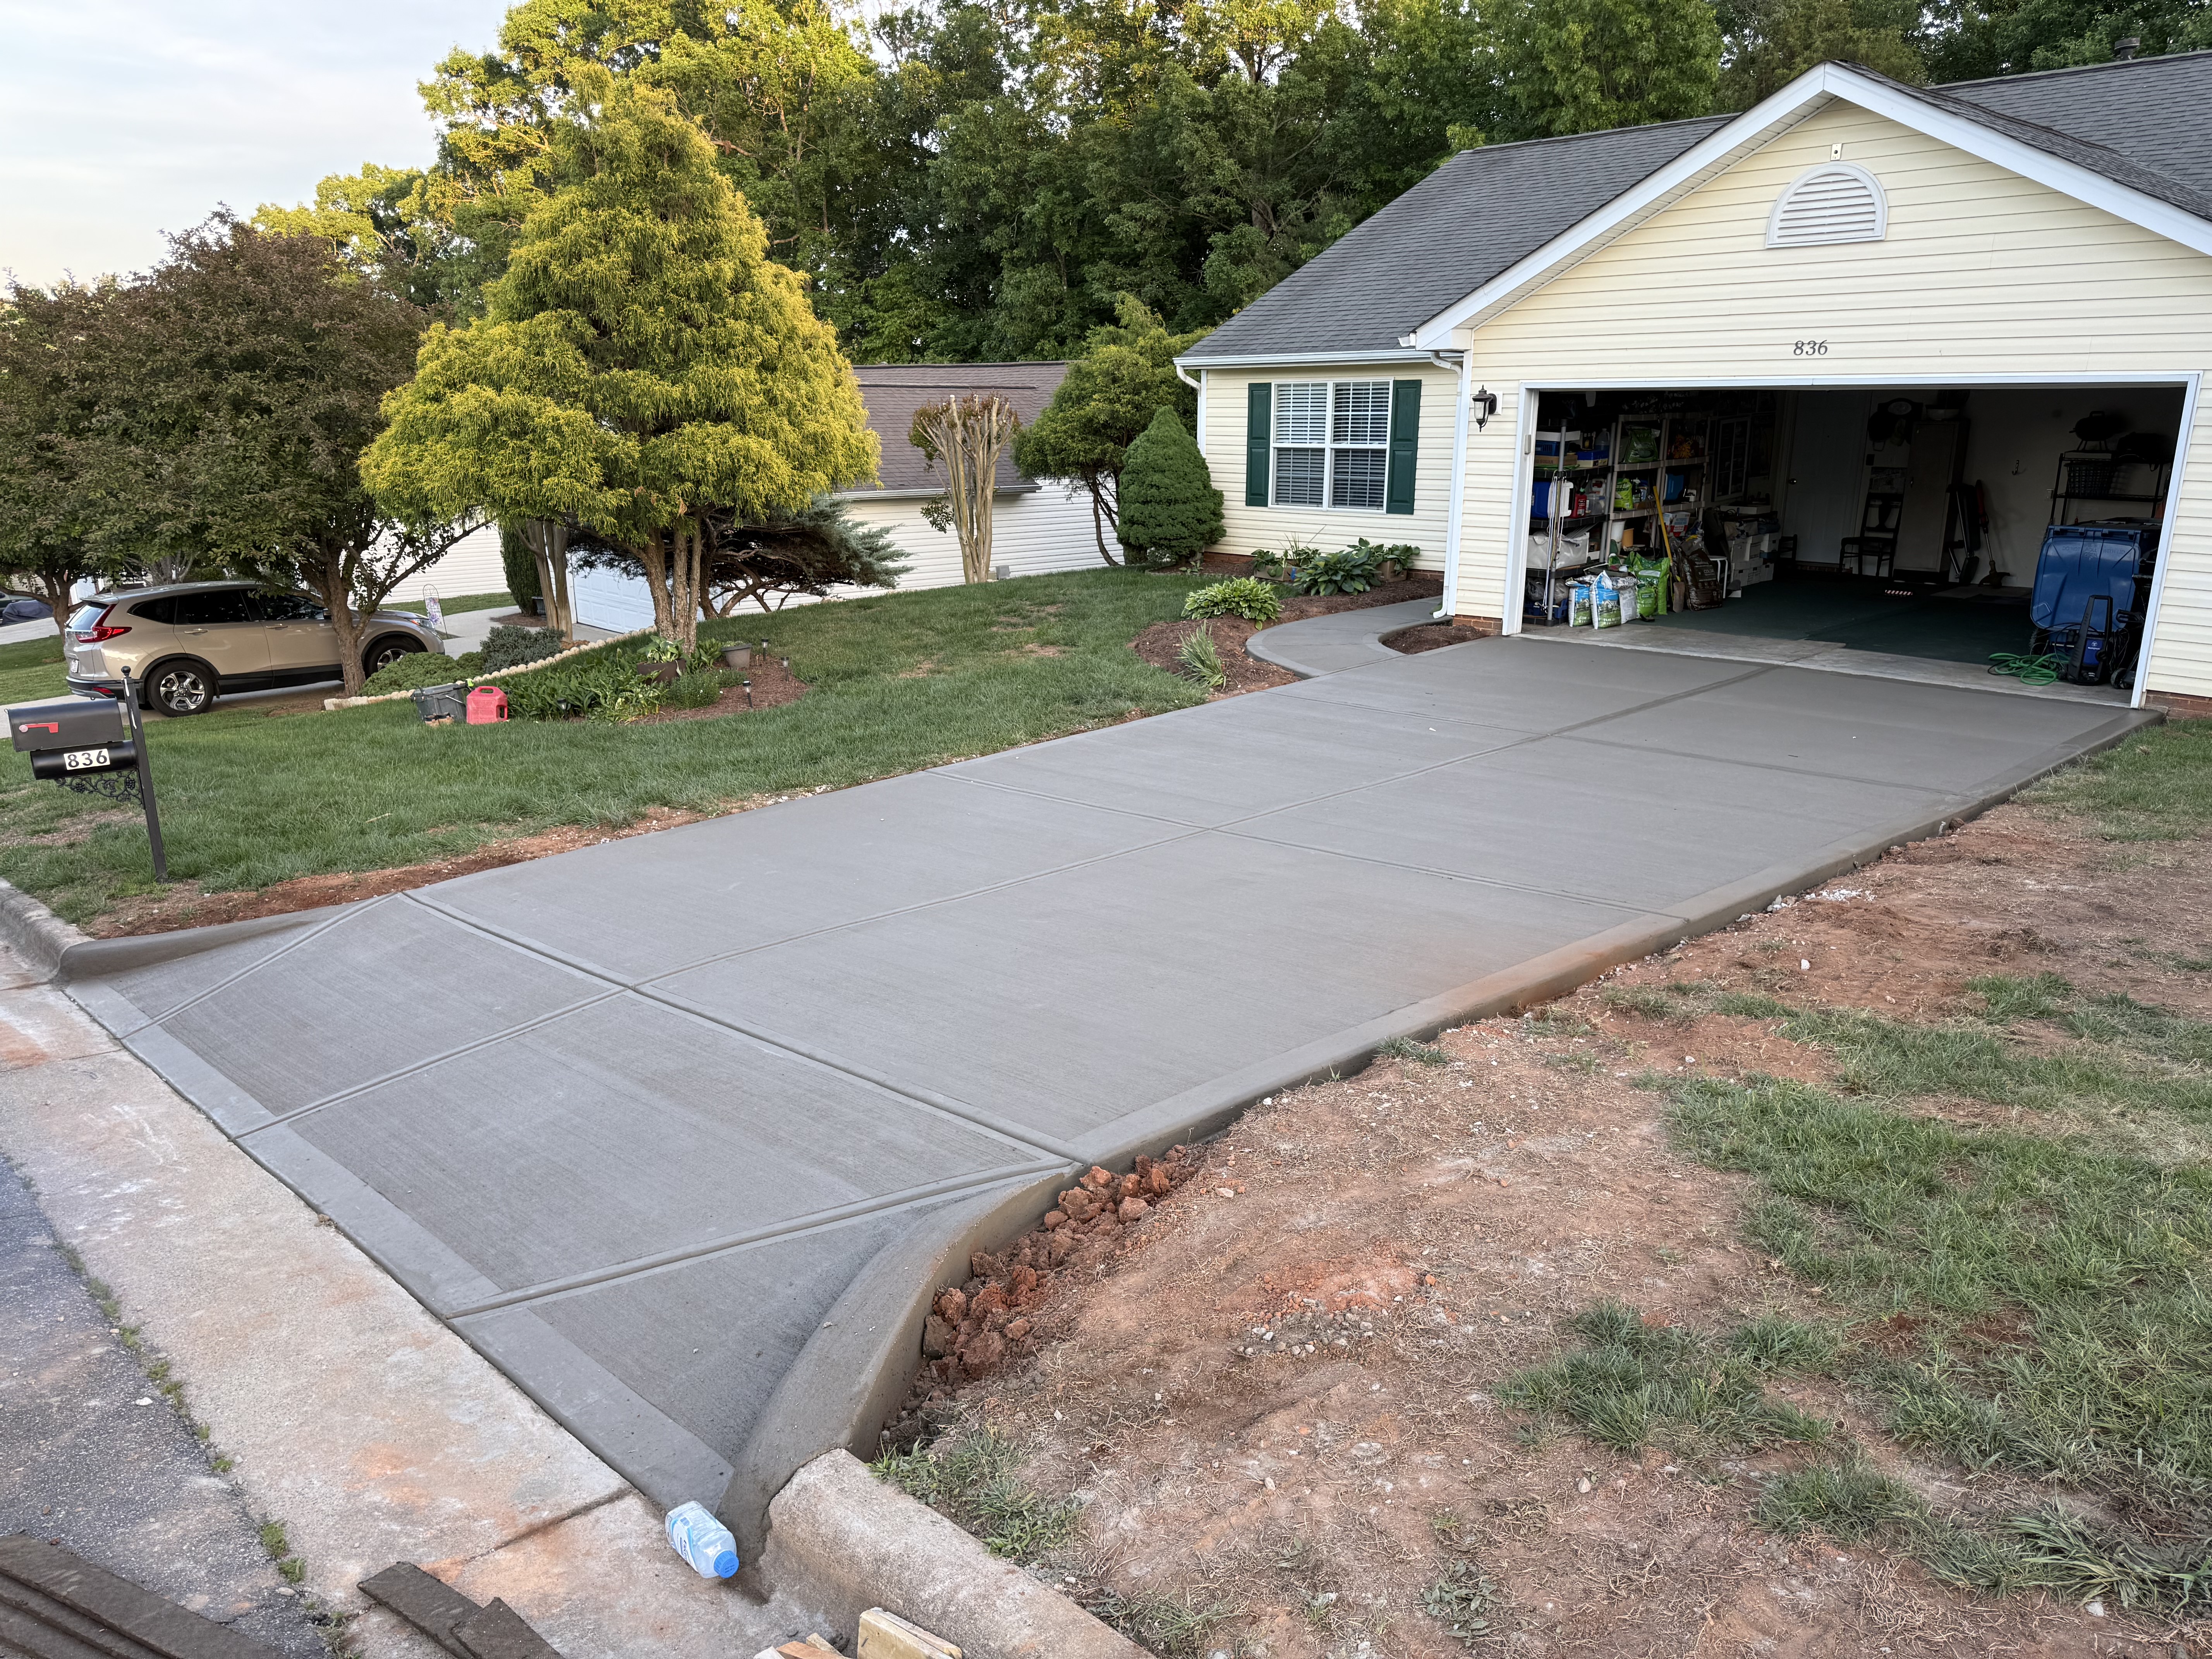
Driveway Aprons
Recent Job
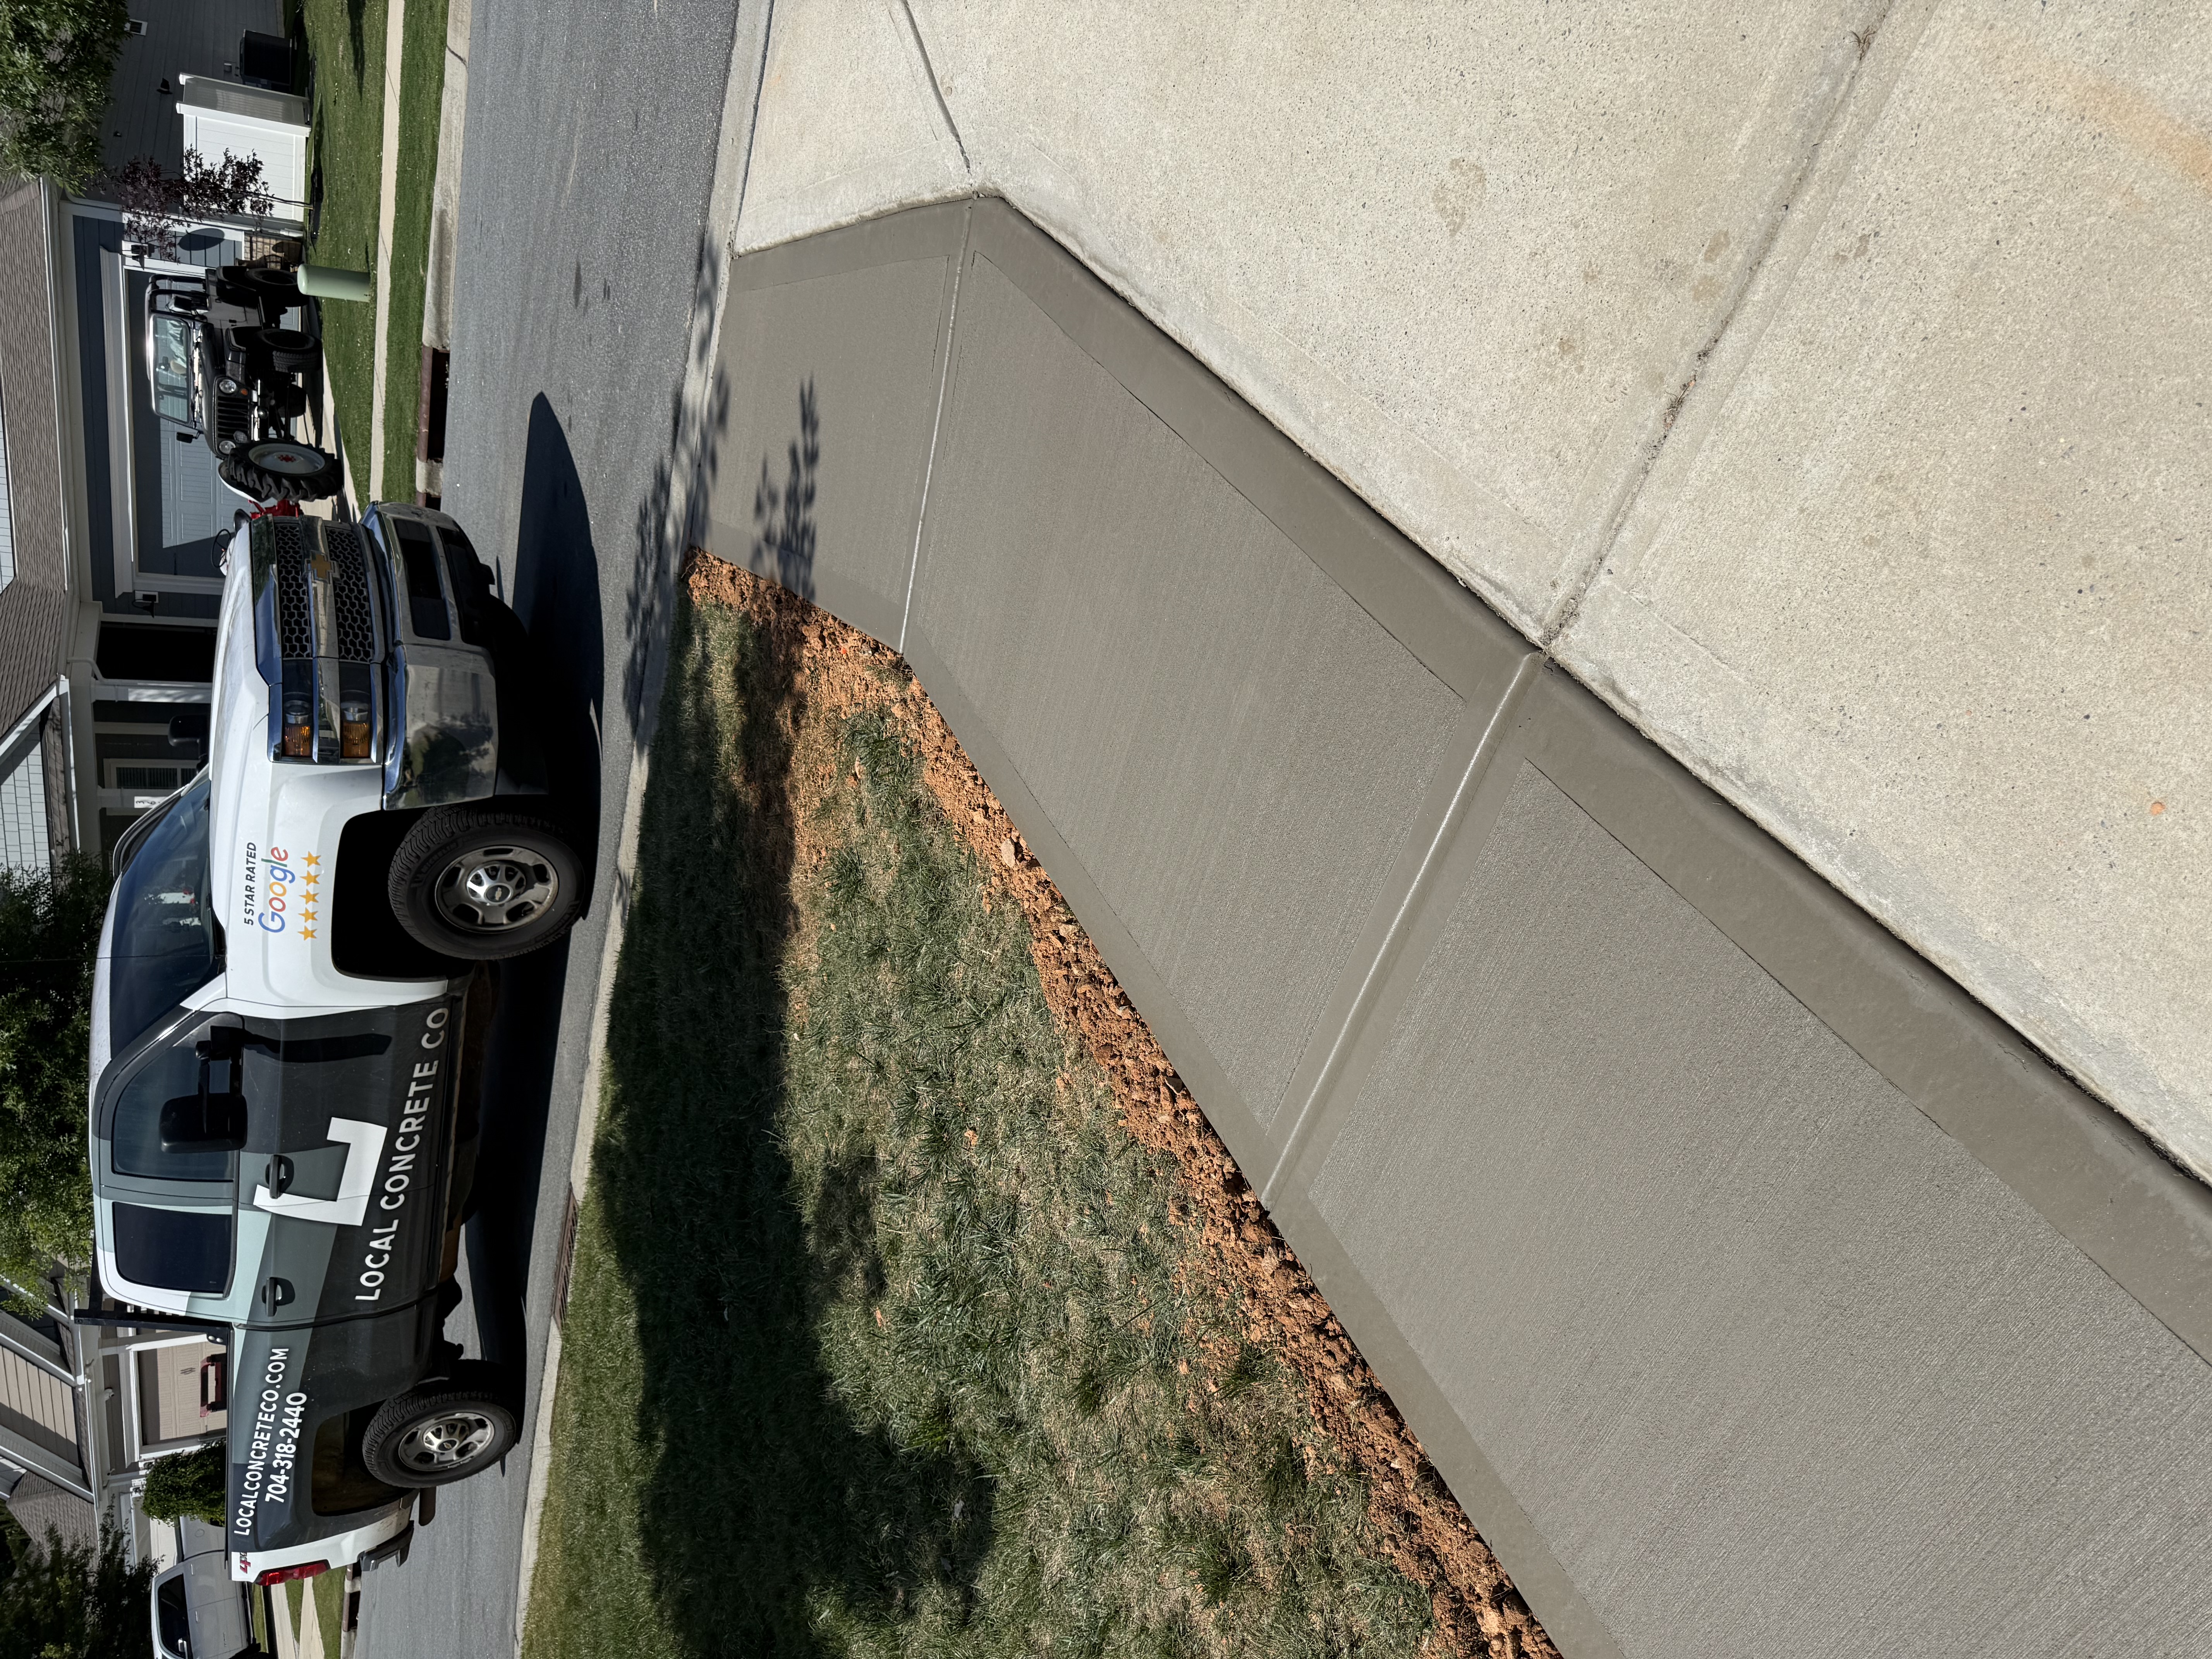
Driveway Aprons
Recent Job
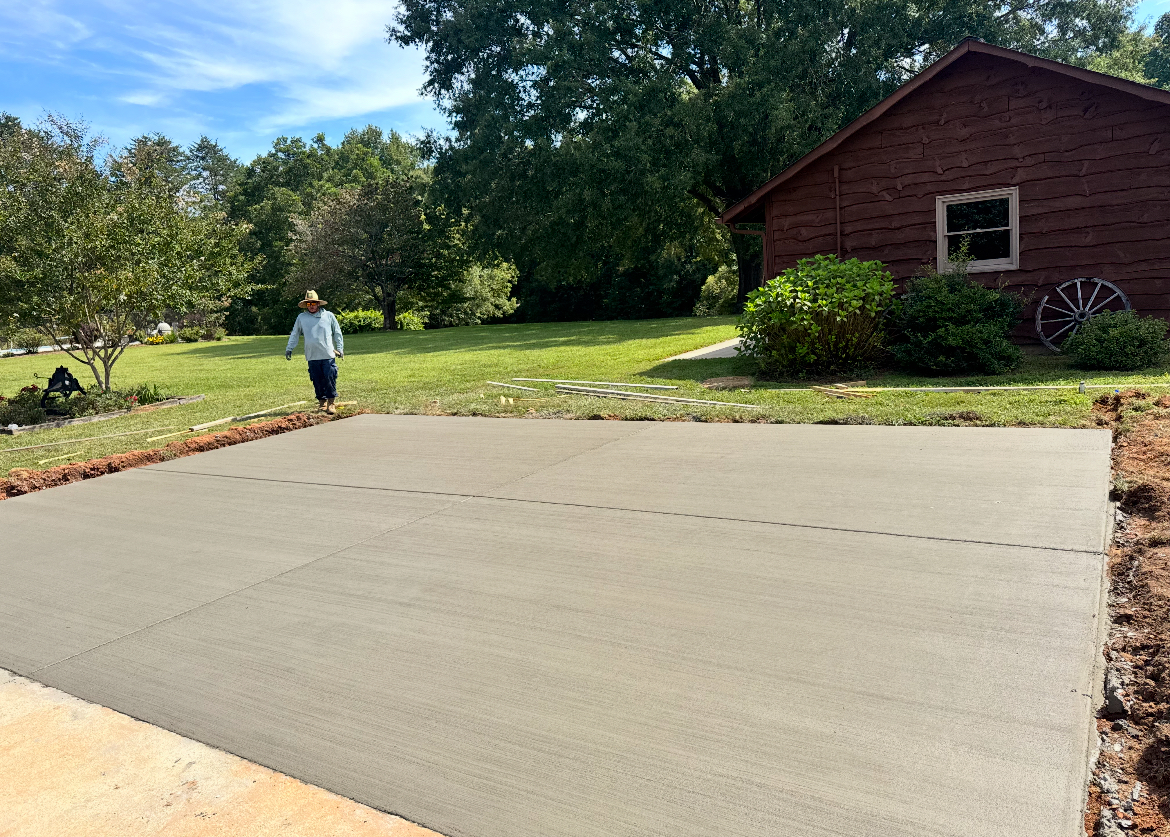
Driveway Aprons
Recent Job
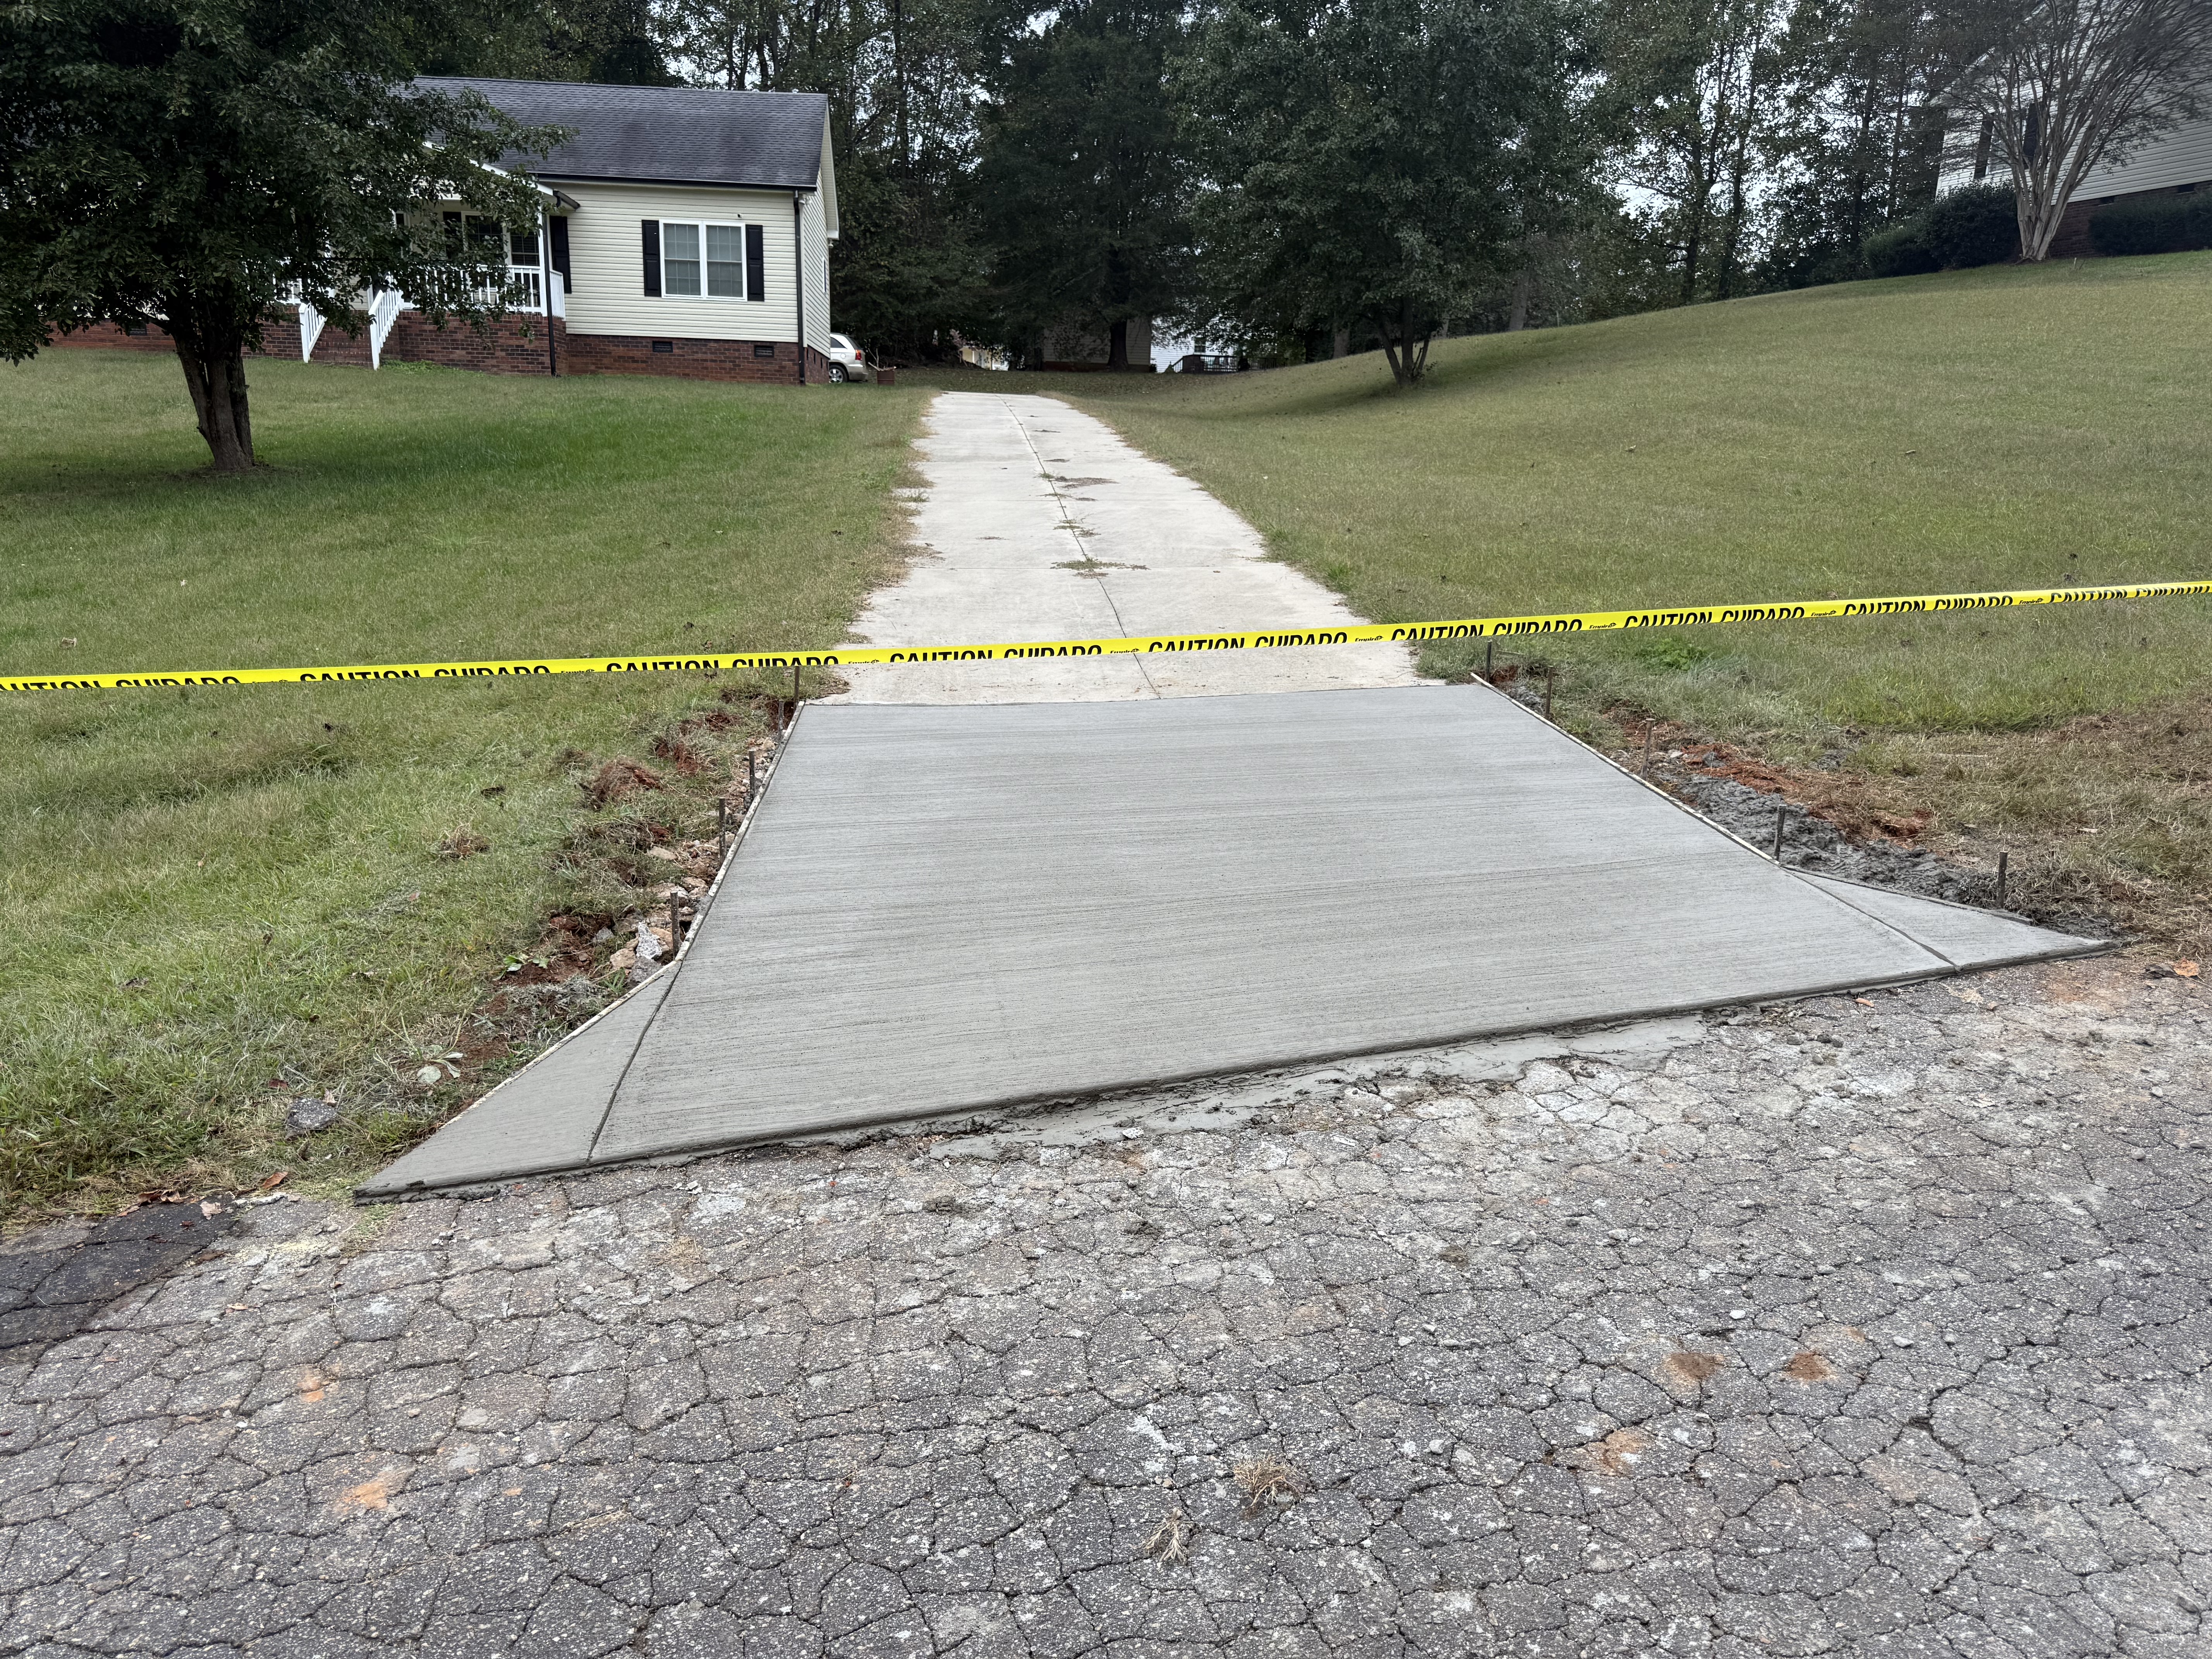
Driveway Aprons
Recent Job
Driveway Aprons
Recent Job
Driveways We've Replaced
Drag the slider to see the same driveway before demo and after we poured the replacement. Every pair below is a real project — no stock imagery.
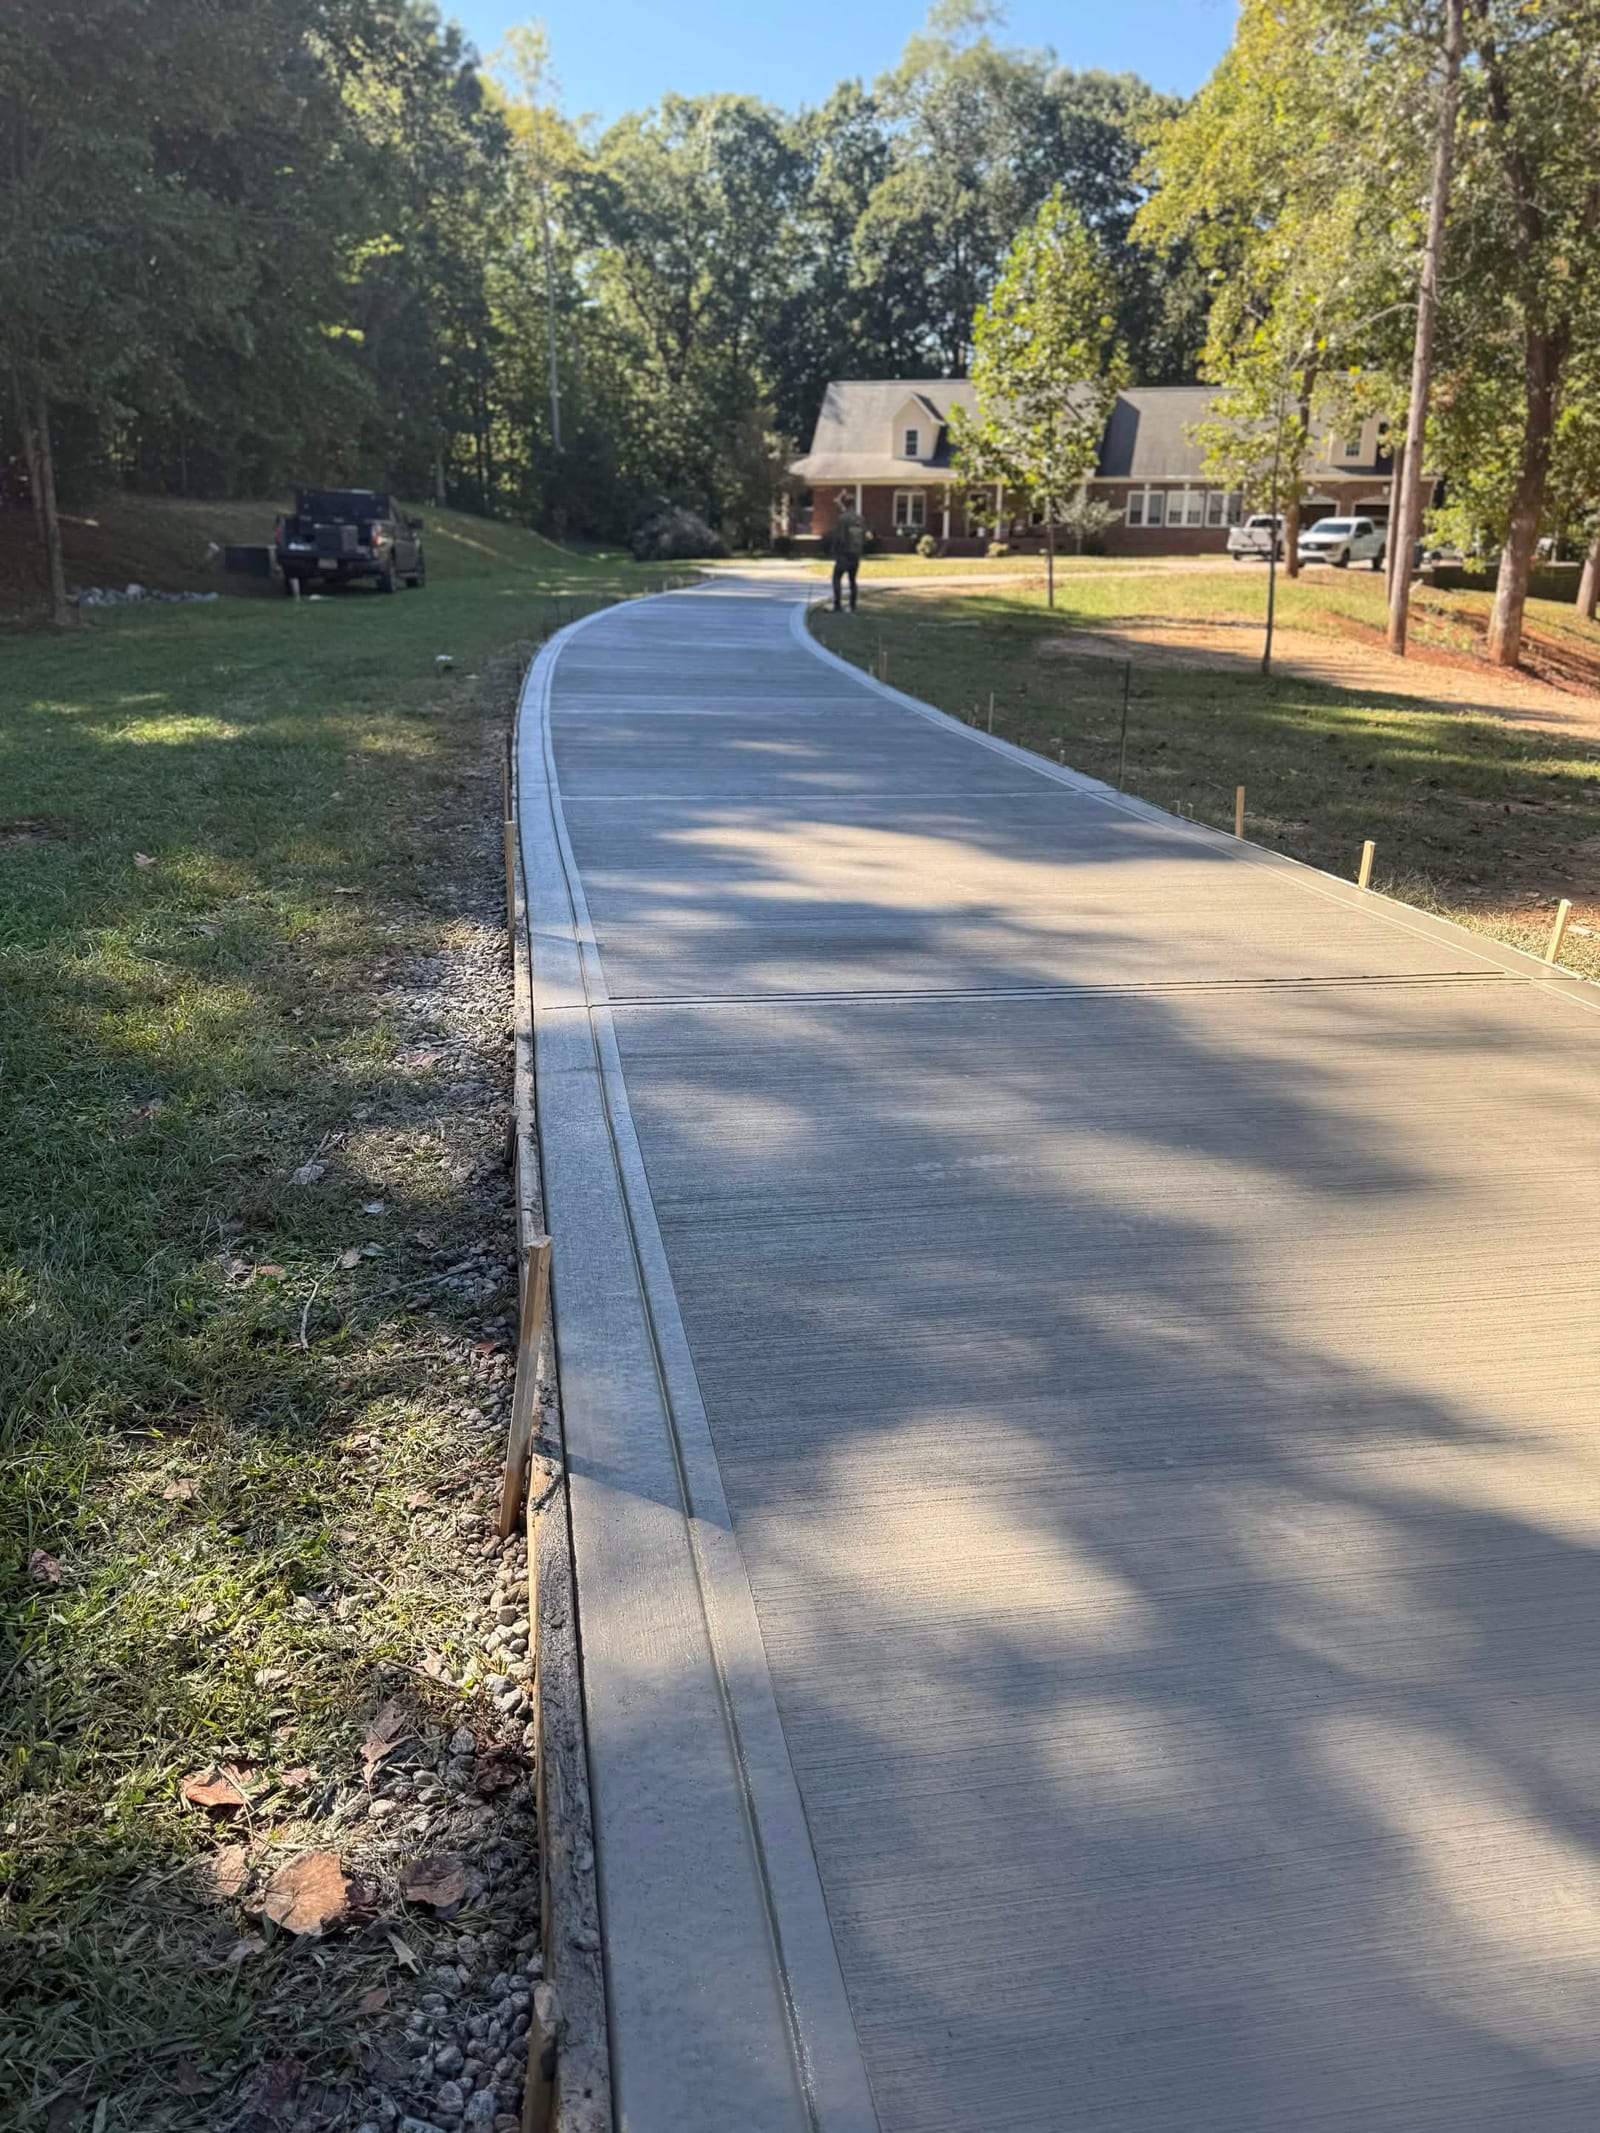

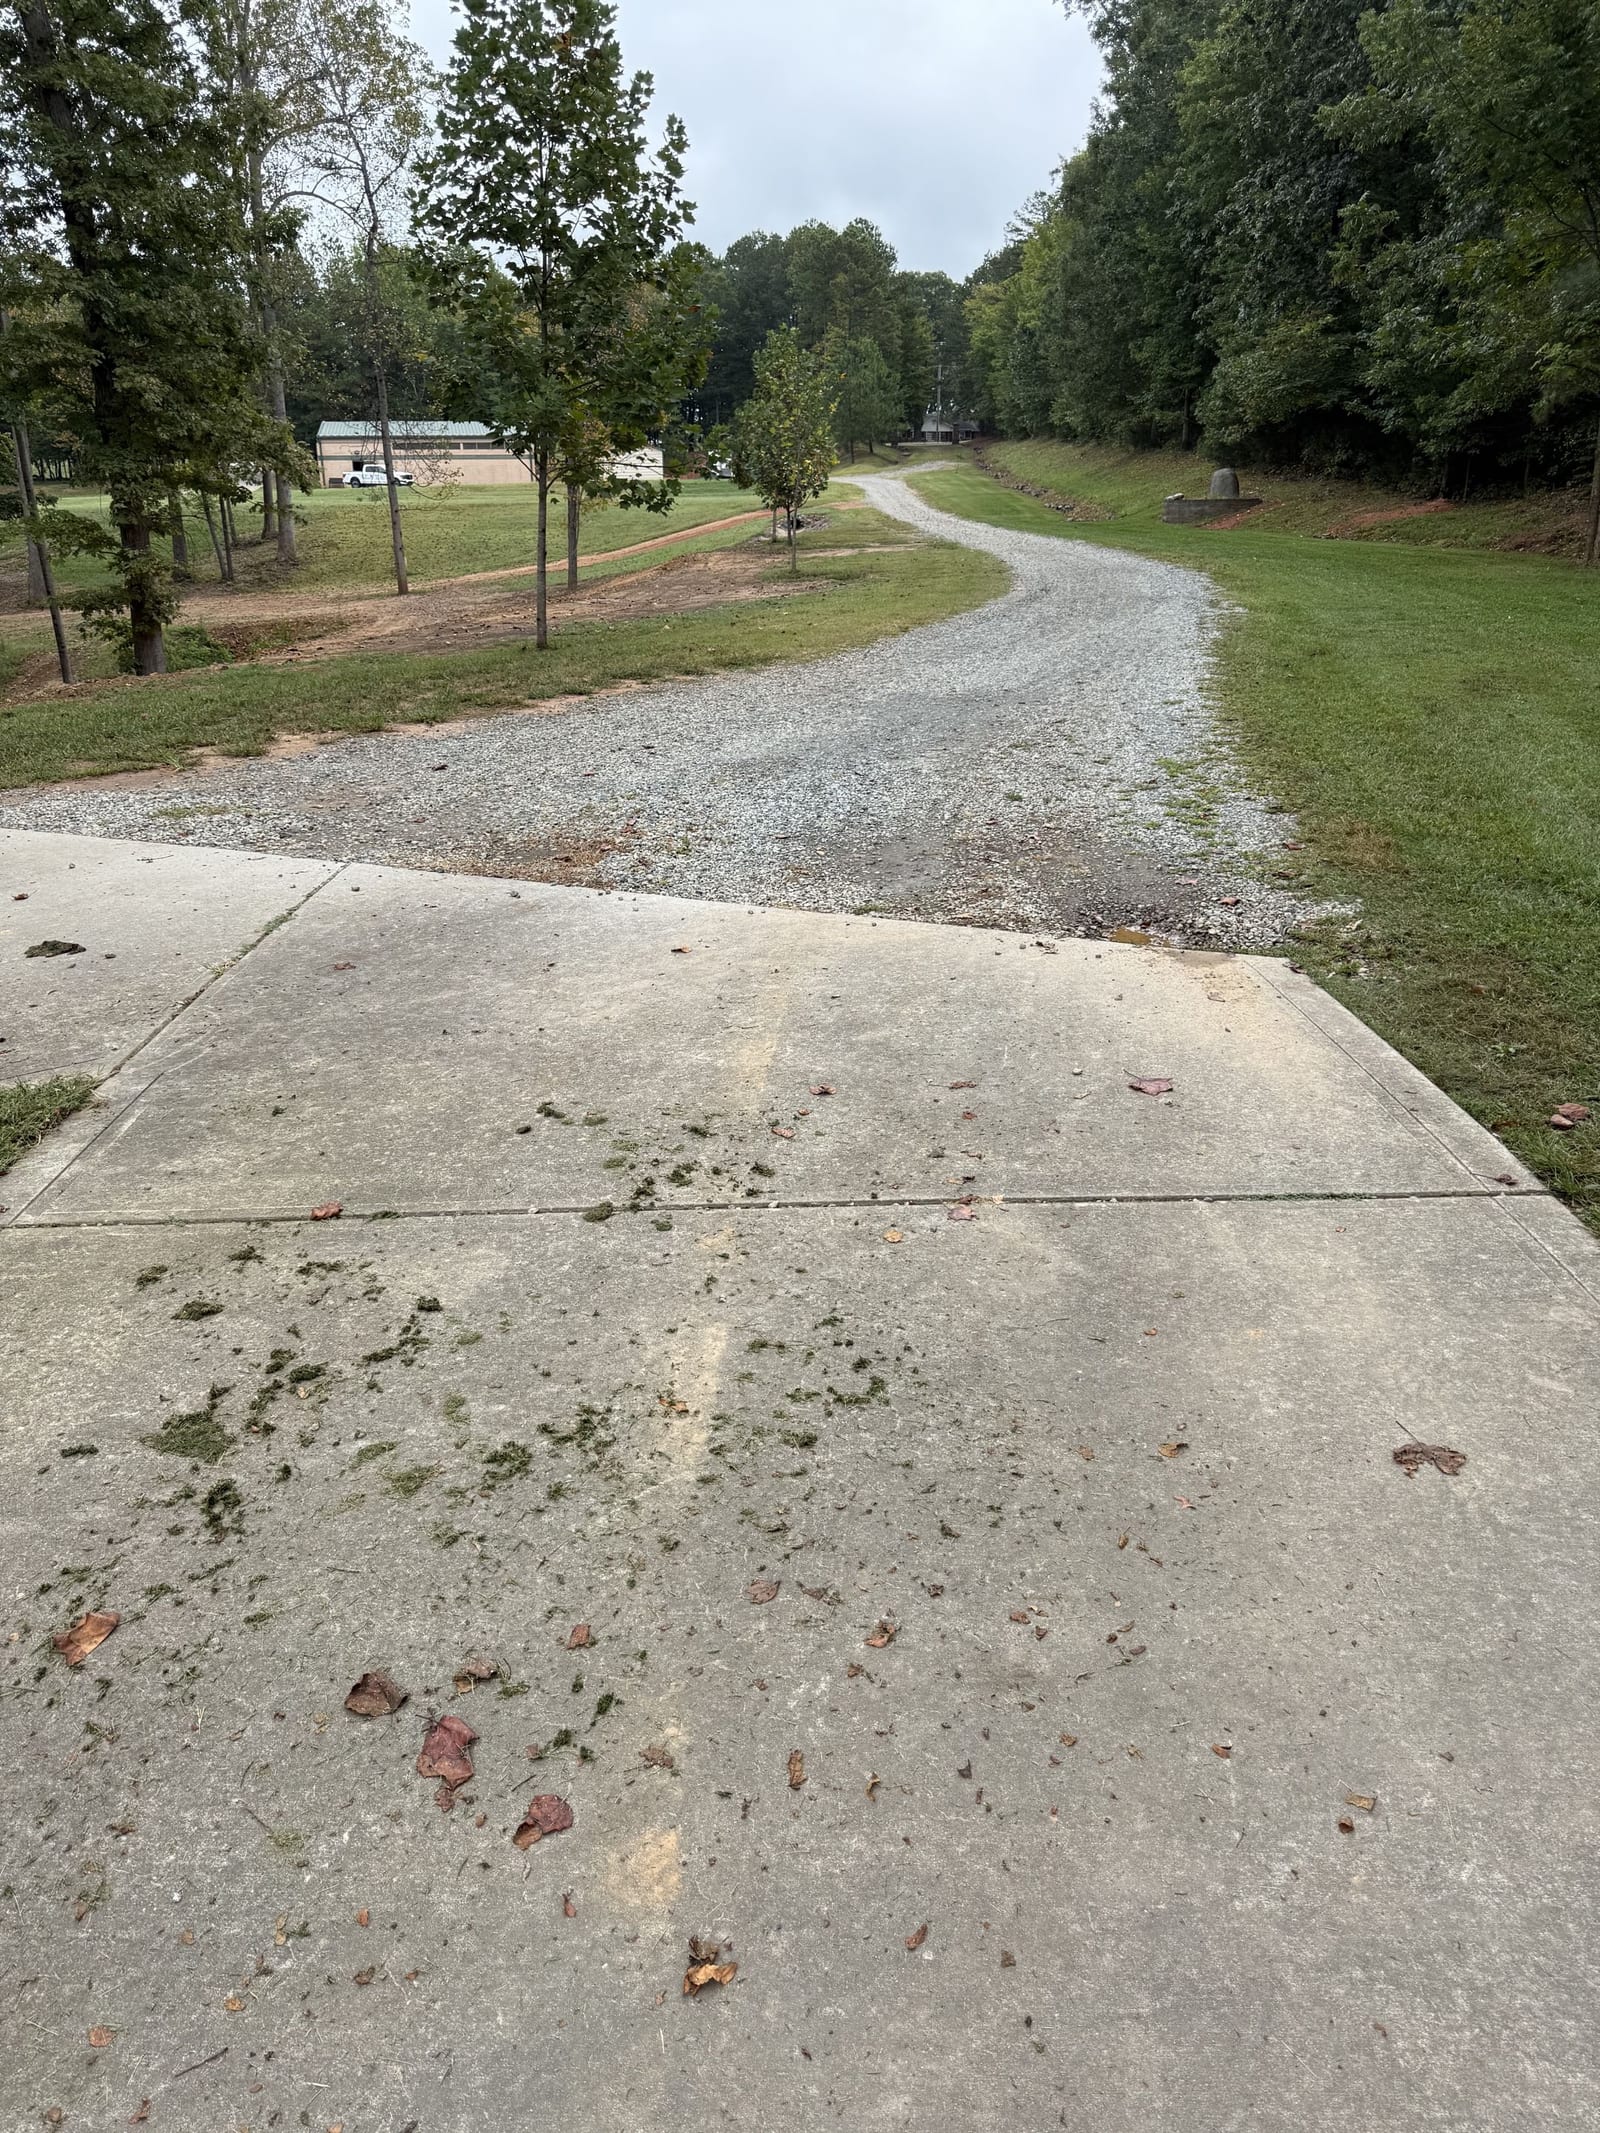
Full Residential Replacement
Old slab out, fresh pour with new apron tie-in
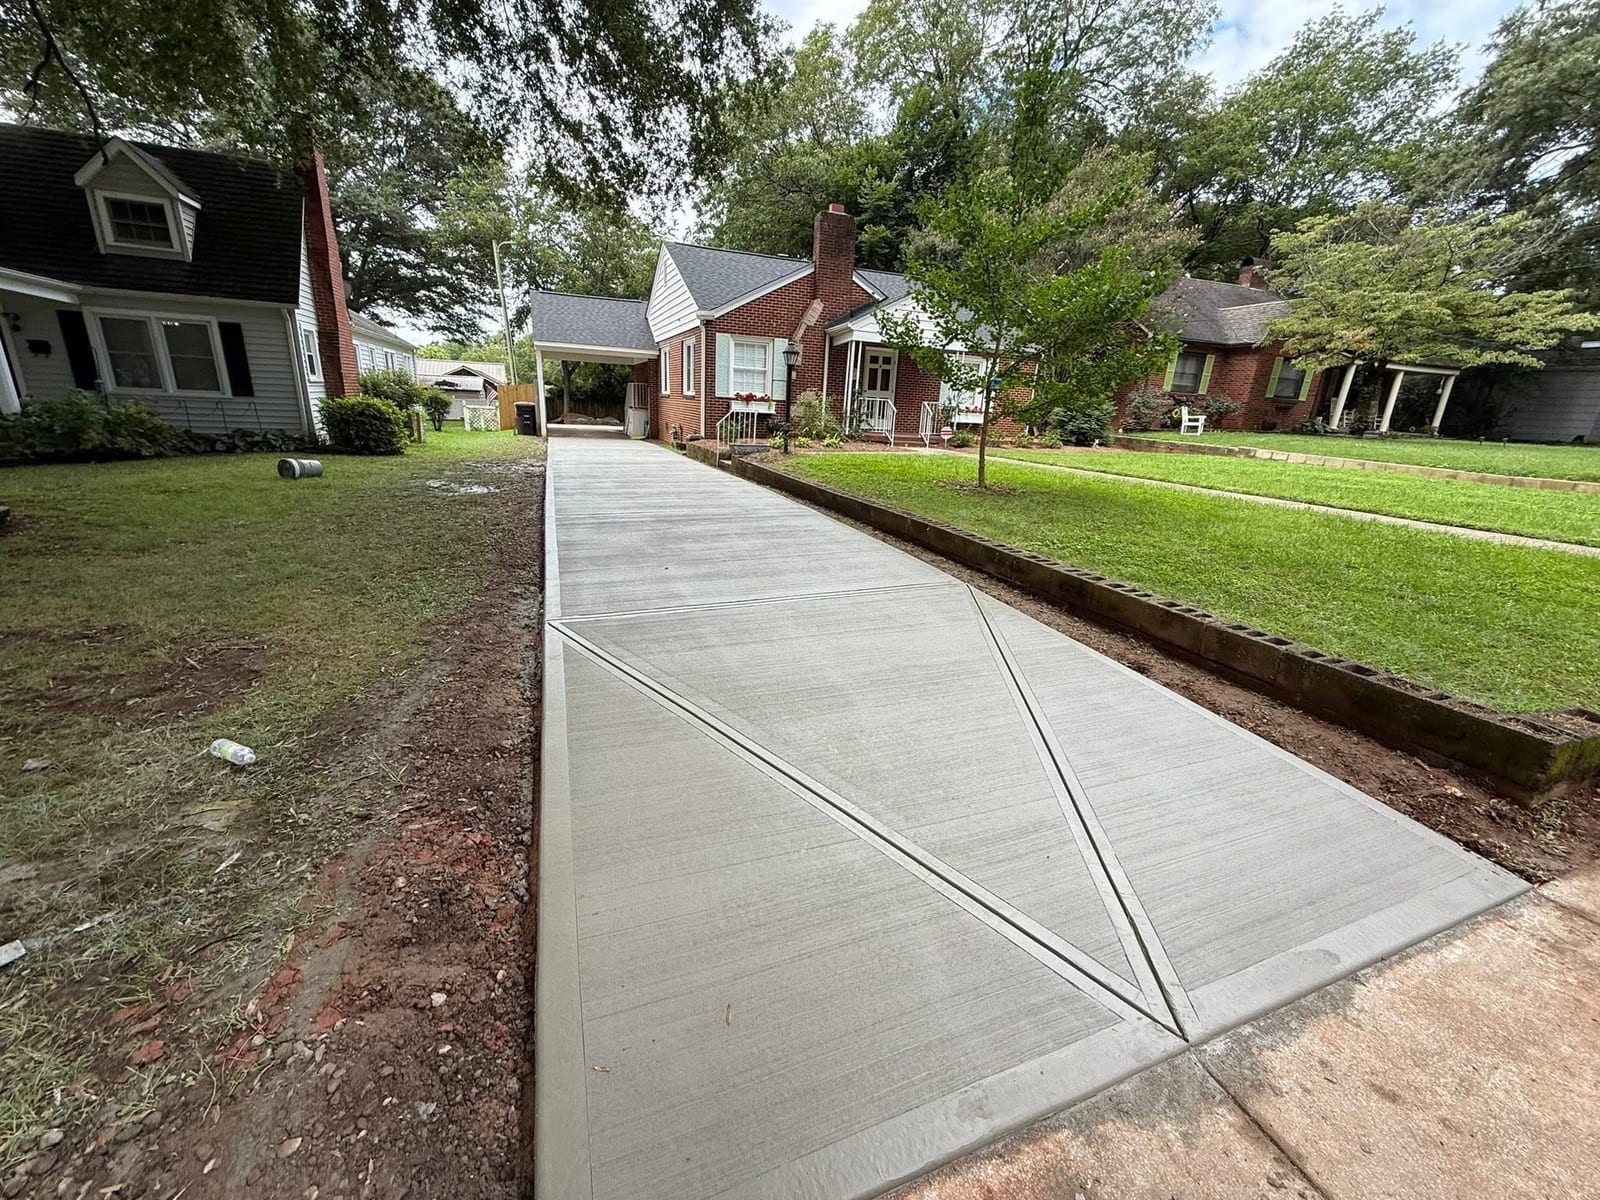
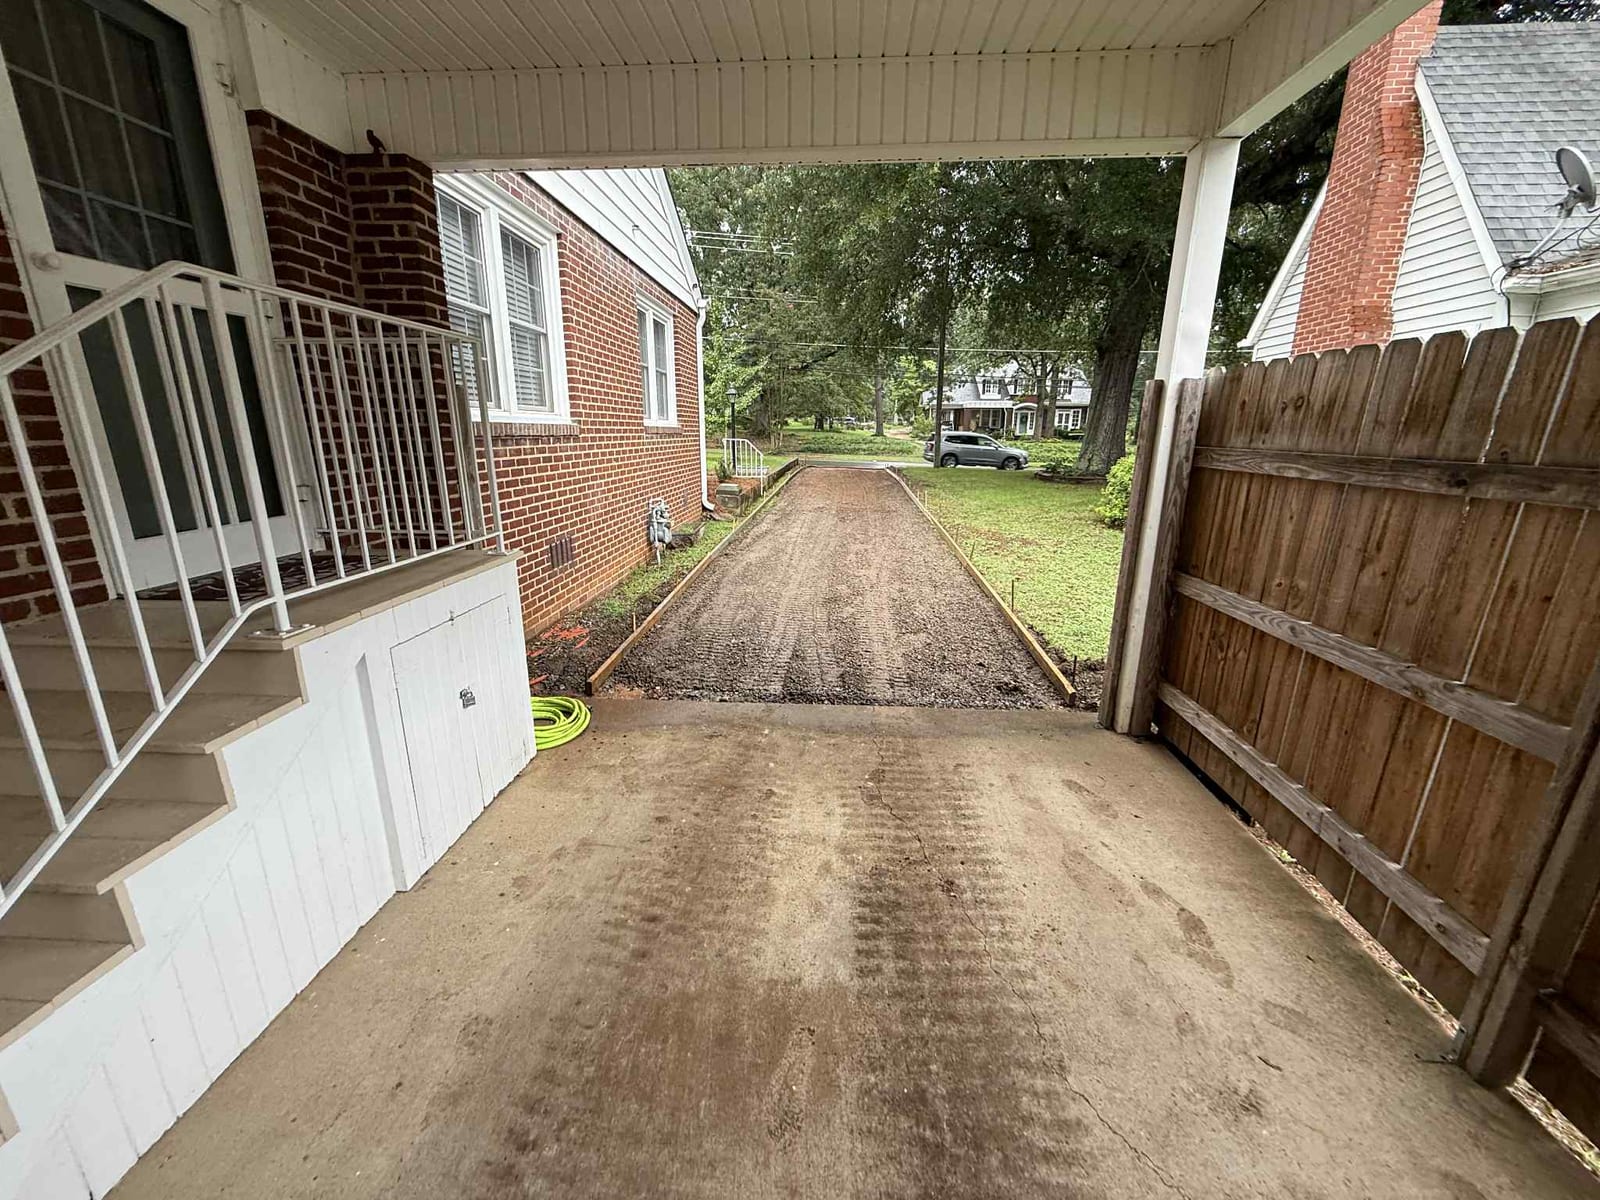
Driveway Revamp
Tear-out, re-grade, decorative border on broom field
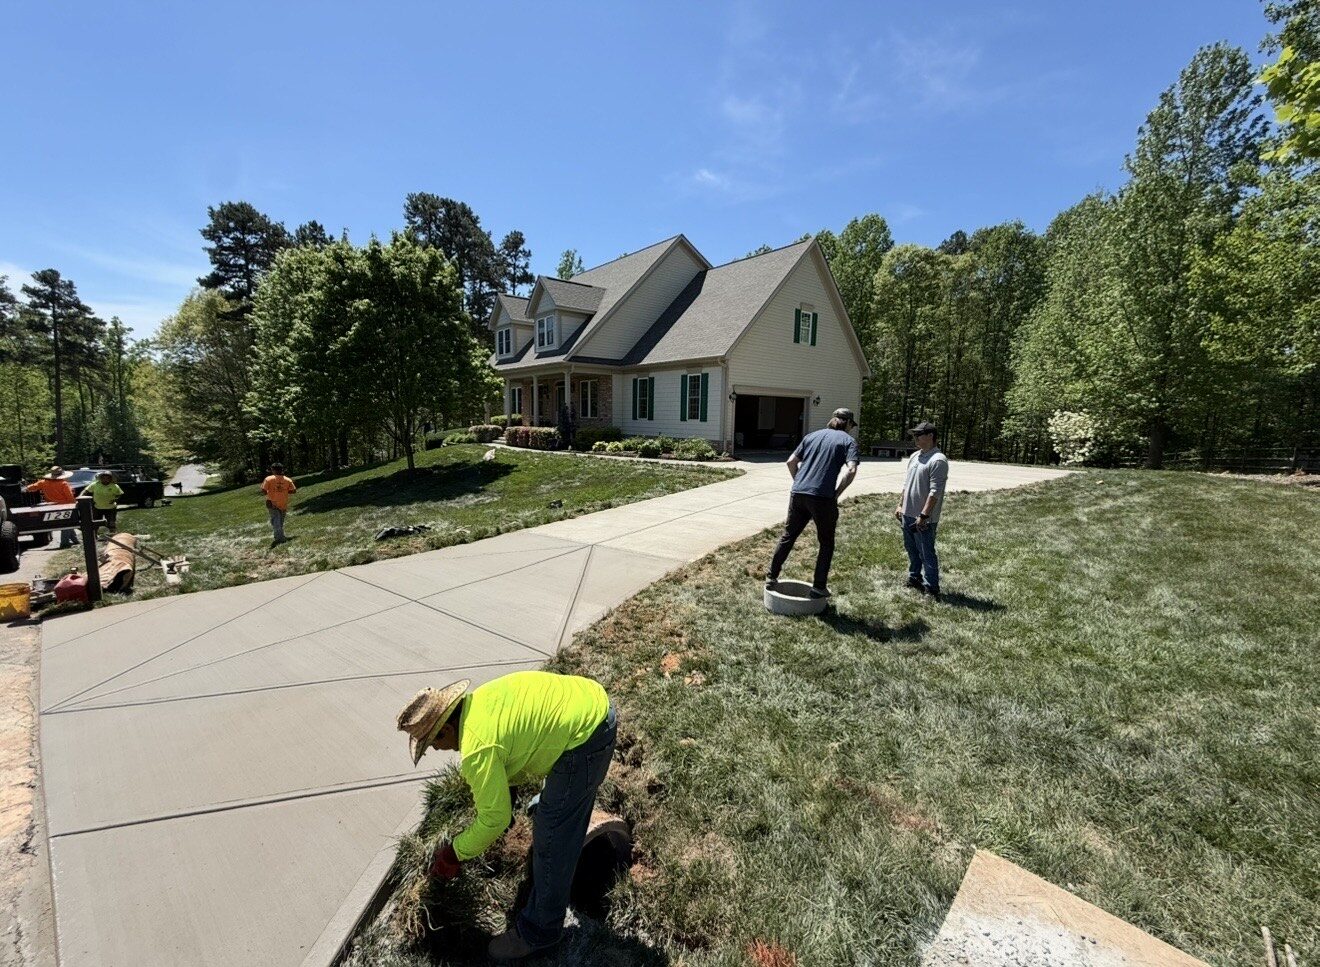
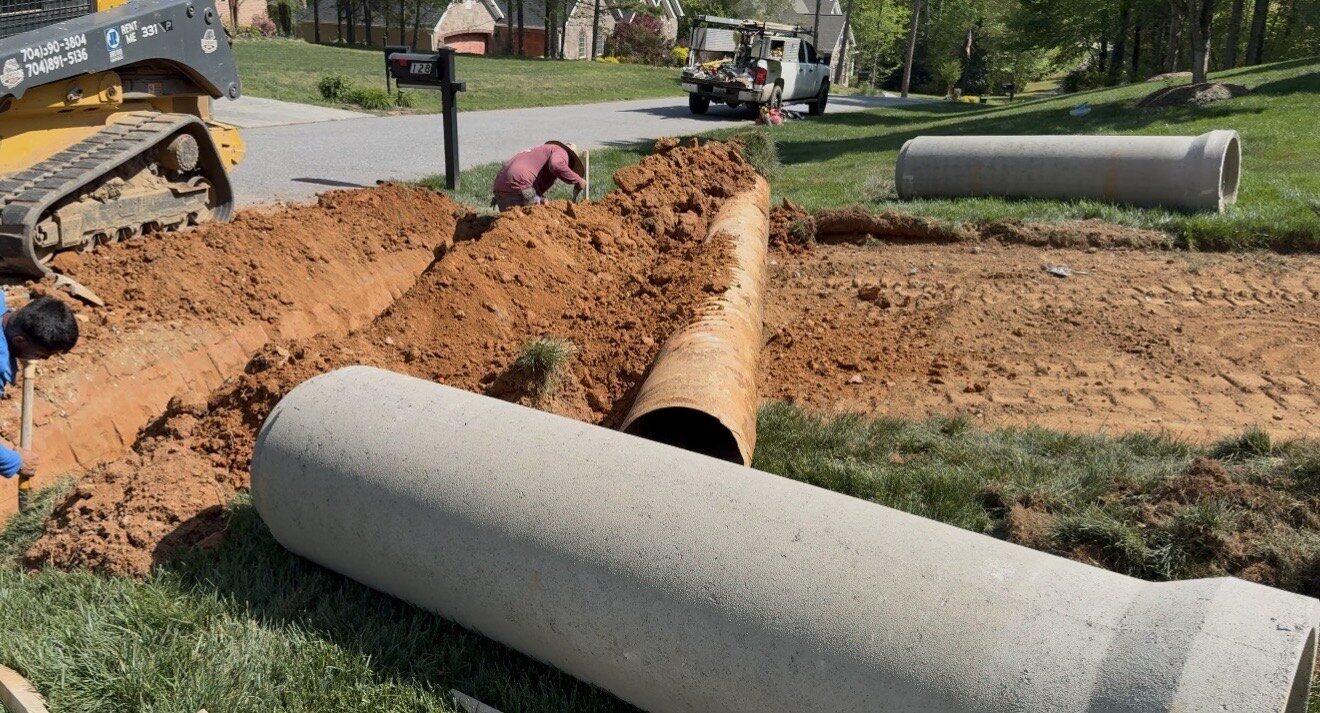
Failed Slab Replacement
Cracked and heaved slab replaced with new pour
The apron is the section of a residential driveway that meets the street, and it is almost always the first part of the drive to fail. It carries the most turning load, the most tire scrub, and the most water because stormwater sheeting down the road runs across it. Base loss under the apron shows up as settlement, a lip that catches low bumpers, cracked and separating panels, or a full break at the joint where the apron meets the main slab. Patching a failing apron rarely holds because the underlying subgrade has already moved.
Local Concrete Contractor scopes apron work across North Carolina starting with a walk of the existing drive from the street back to the garage. We look at how far the failure extends past the apron, whether the city curb or DOT pavement needs a controlled tie-in, how water sheds off the road, subgrade condition at depth, and whether the main slab is holding up or coming out with the apron. That walk turns into a written spec covering demo scope, base rebuild, thickness, reinforcement, joint plan, drainage detail at the road edge, and any encroachment permit needed. You see the number and where it came from. No deposit up front, no pressure.
Our Driveway Apron Services
Apron work covers a range of scopes depending on how far the failure has traveled and whether the tie-in touches a city curb or a DOT road edge.
- Full apron replacement—demo, haul-away, subgrade correction, and fresh pour of the road-tie section
- Apron plus one or two adjacent panels when settlement has traveled up the drive
- Apron widening at a narrow curb cut where drivers keep clipping the edge
- Curb-cut tie-ins where the city curb has been cut for a new drive or the existing cut needs squaring up
- DOT apron work on state-maintained roads with the required encroachment permit
- Thickened-edge aprons for drives that see heavy trucks, RVs, or trailers
- Drainage correction at the road edge where the apron is sending water at the garage
- Full apron rebuilds after a utility cut or driveway repair from another trade
An apron replacement is usually a one-day pour once demo and base work are done. Cure time before you can back over it is 5 to 7 days for passenger vehicles.
Why Aprons Fail First on Older Drives
The apron sees load and water that no other section of the drive sees, so it is not surprising that it fails first. Understanding why helps decide whether an apron-only replacement is enough or whether the failure has already moved up the slab.
- Base loss from stormwater sheeting off the road undermines the subgrade at the road edge
- Turning-tire scrub concentrates lateral load on the apron more than on any other panel
- Snowplow strikes and city curb equipment take chips out of the apron edge every winter
- Freeze-thaw cycles work water into any early crack and pry it wider each season
- Poor original base prep at the road tie-in—the section closest to the street is often the section built with the least attention
- Drainage misdirection where the apron slope was set to shed water at the garage instead of at the street
- Tree roots at the street verge lifting the apron out of plane
When the apron is failing and the rest of the drive is holding, an apron-only replacement is the right call. When settlement has traveled 10 or 15 feet up the drive, a partial or full replacement usually comes out cheaper on the ten-year math.
Get your free quote
We respond in less than 2 hours.
Why Local Concrete Contractor?
- 01.Precision craftsmanship
- 02.Transparent pricing models
- 03.Dedicated project manager
- 04.Zero Deposit Required
Our Concrete Installation Process
Every driveway aprons we pour runs through the same 18 checkpoints — from the on-site consult through the final walkthrough.
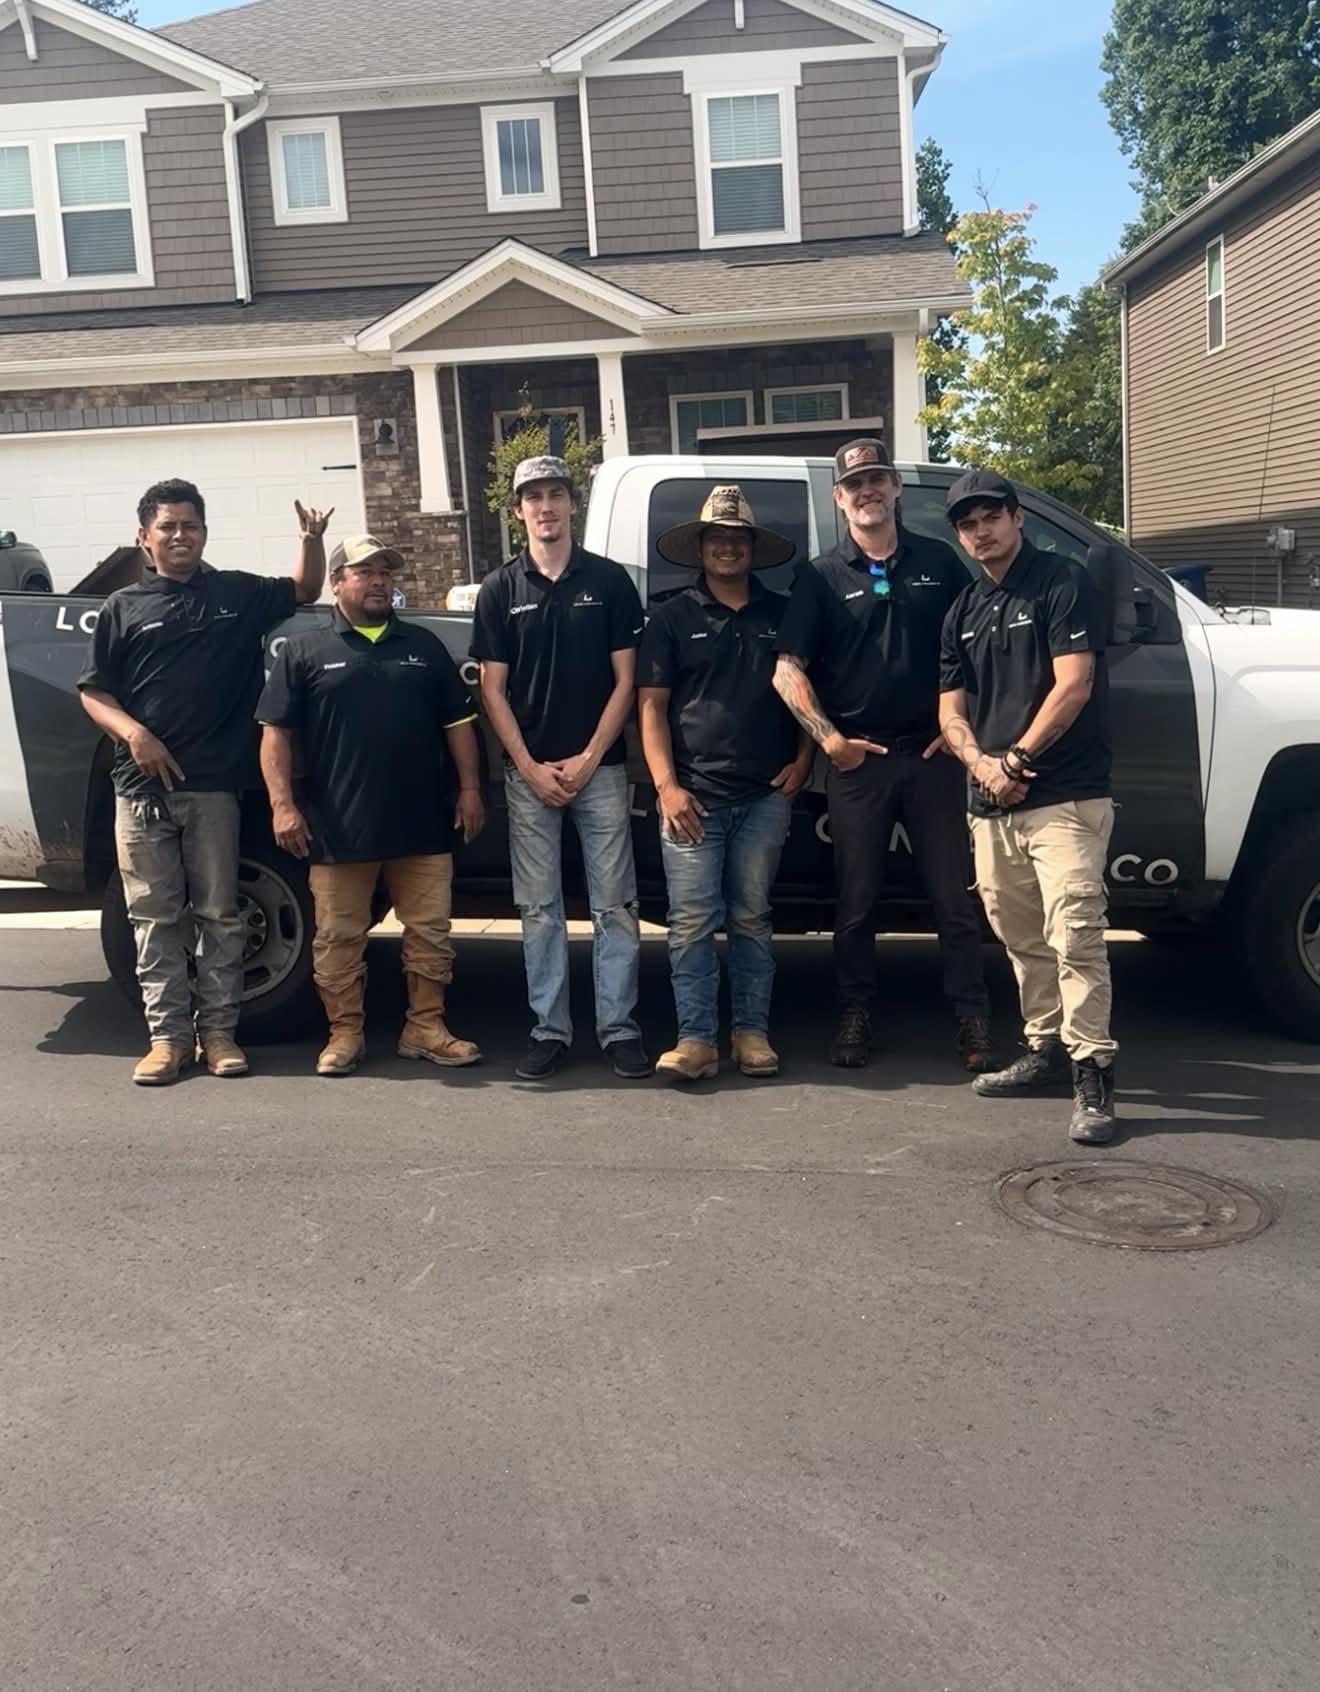
Scope Walk & Written Bid
A crew lead walks the site (or reviews plans), scopes the failure mode or new pour against your operational constraints, and delivers a written fixed-price bid with milestone draw structure.

Logistics & Scheduling
Coordinating crew, equipment, and weather windows to ensure a seamless project start.
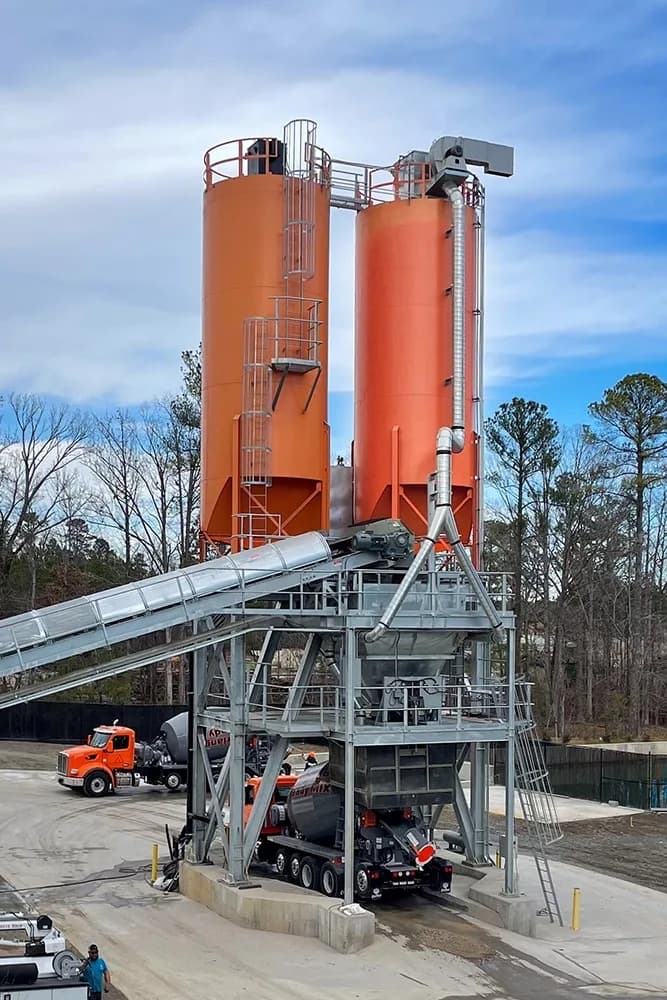
Custom Mix Design
Ordering specific concrete additives and slump requirements based on current temperature and humidity patterns.
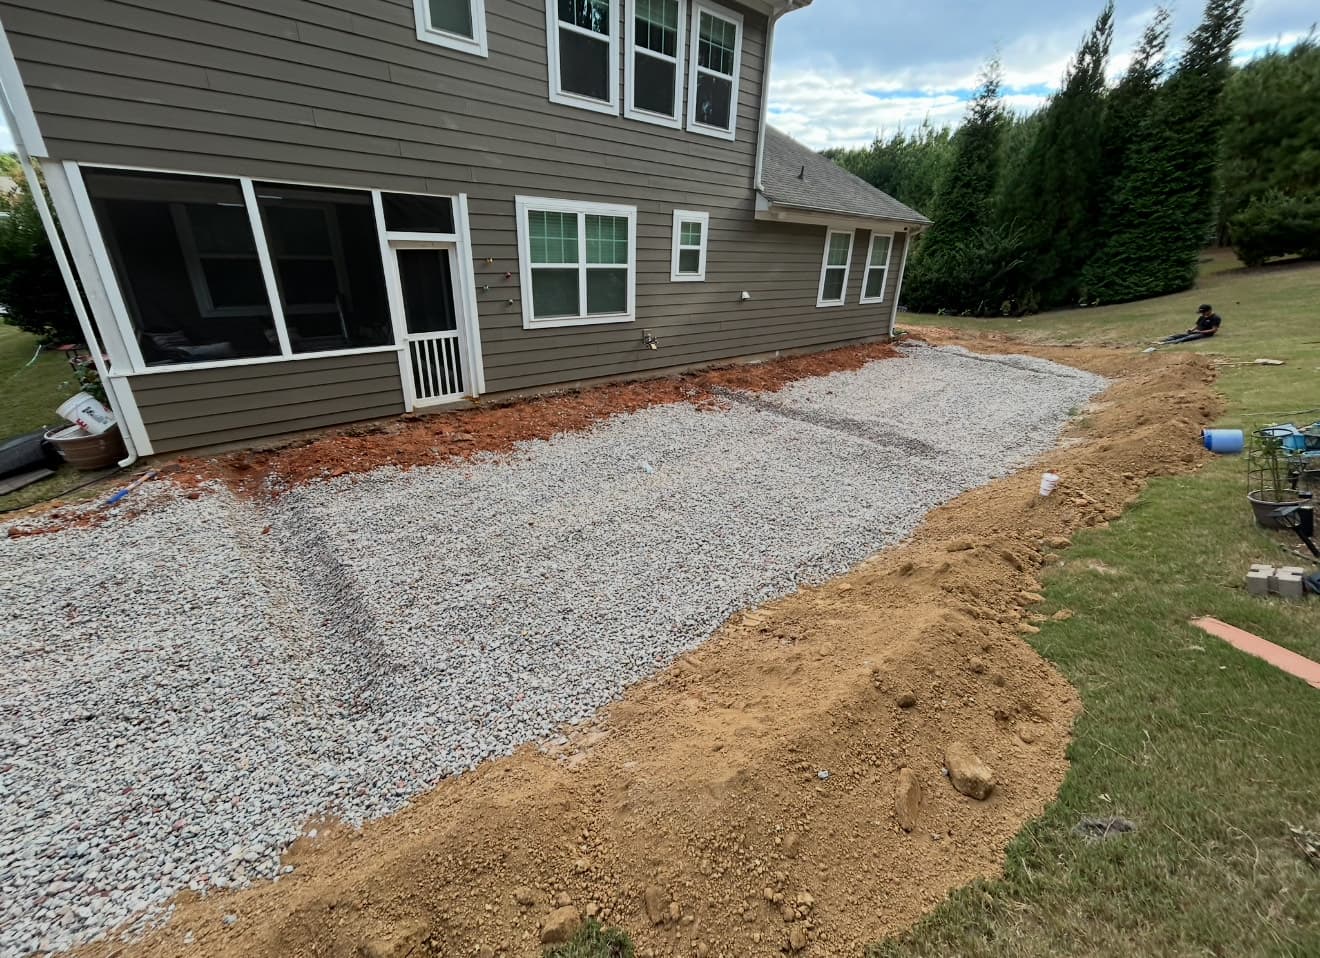
Site Preparation
Preparing the workspace and establishing safe access routes for our equipment and crew.
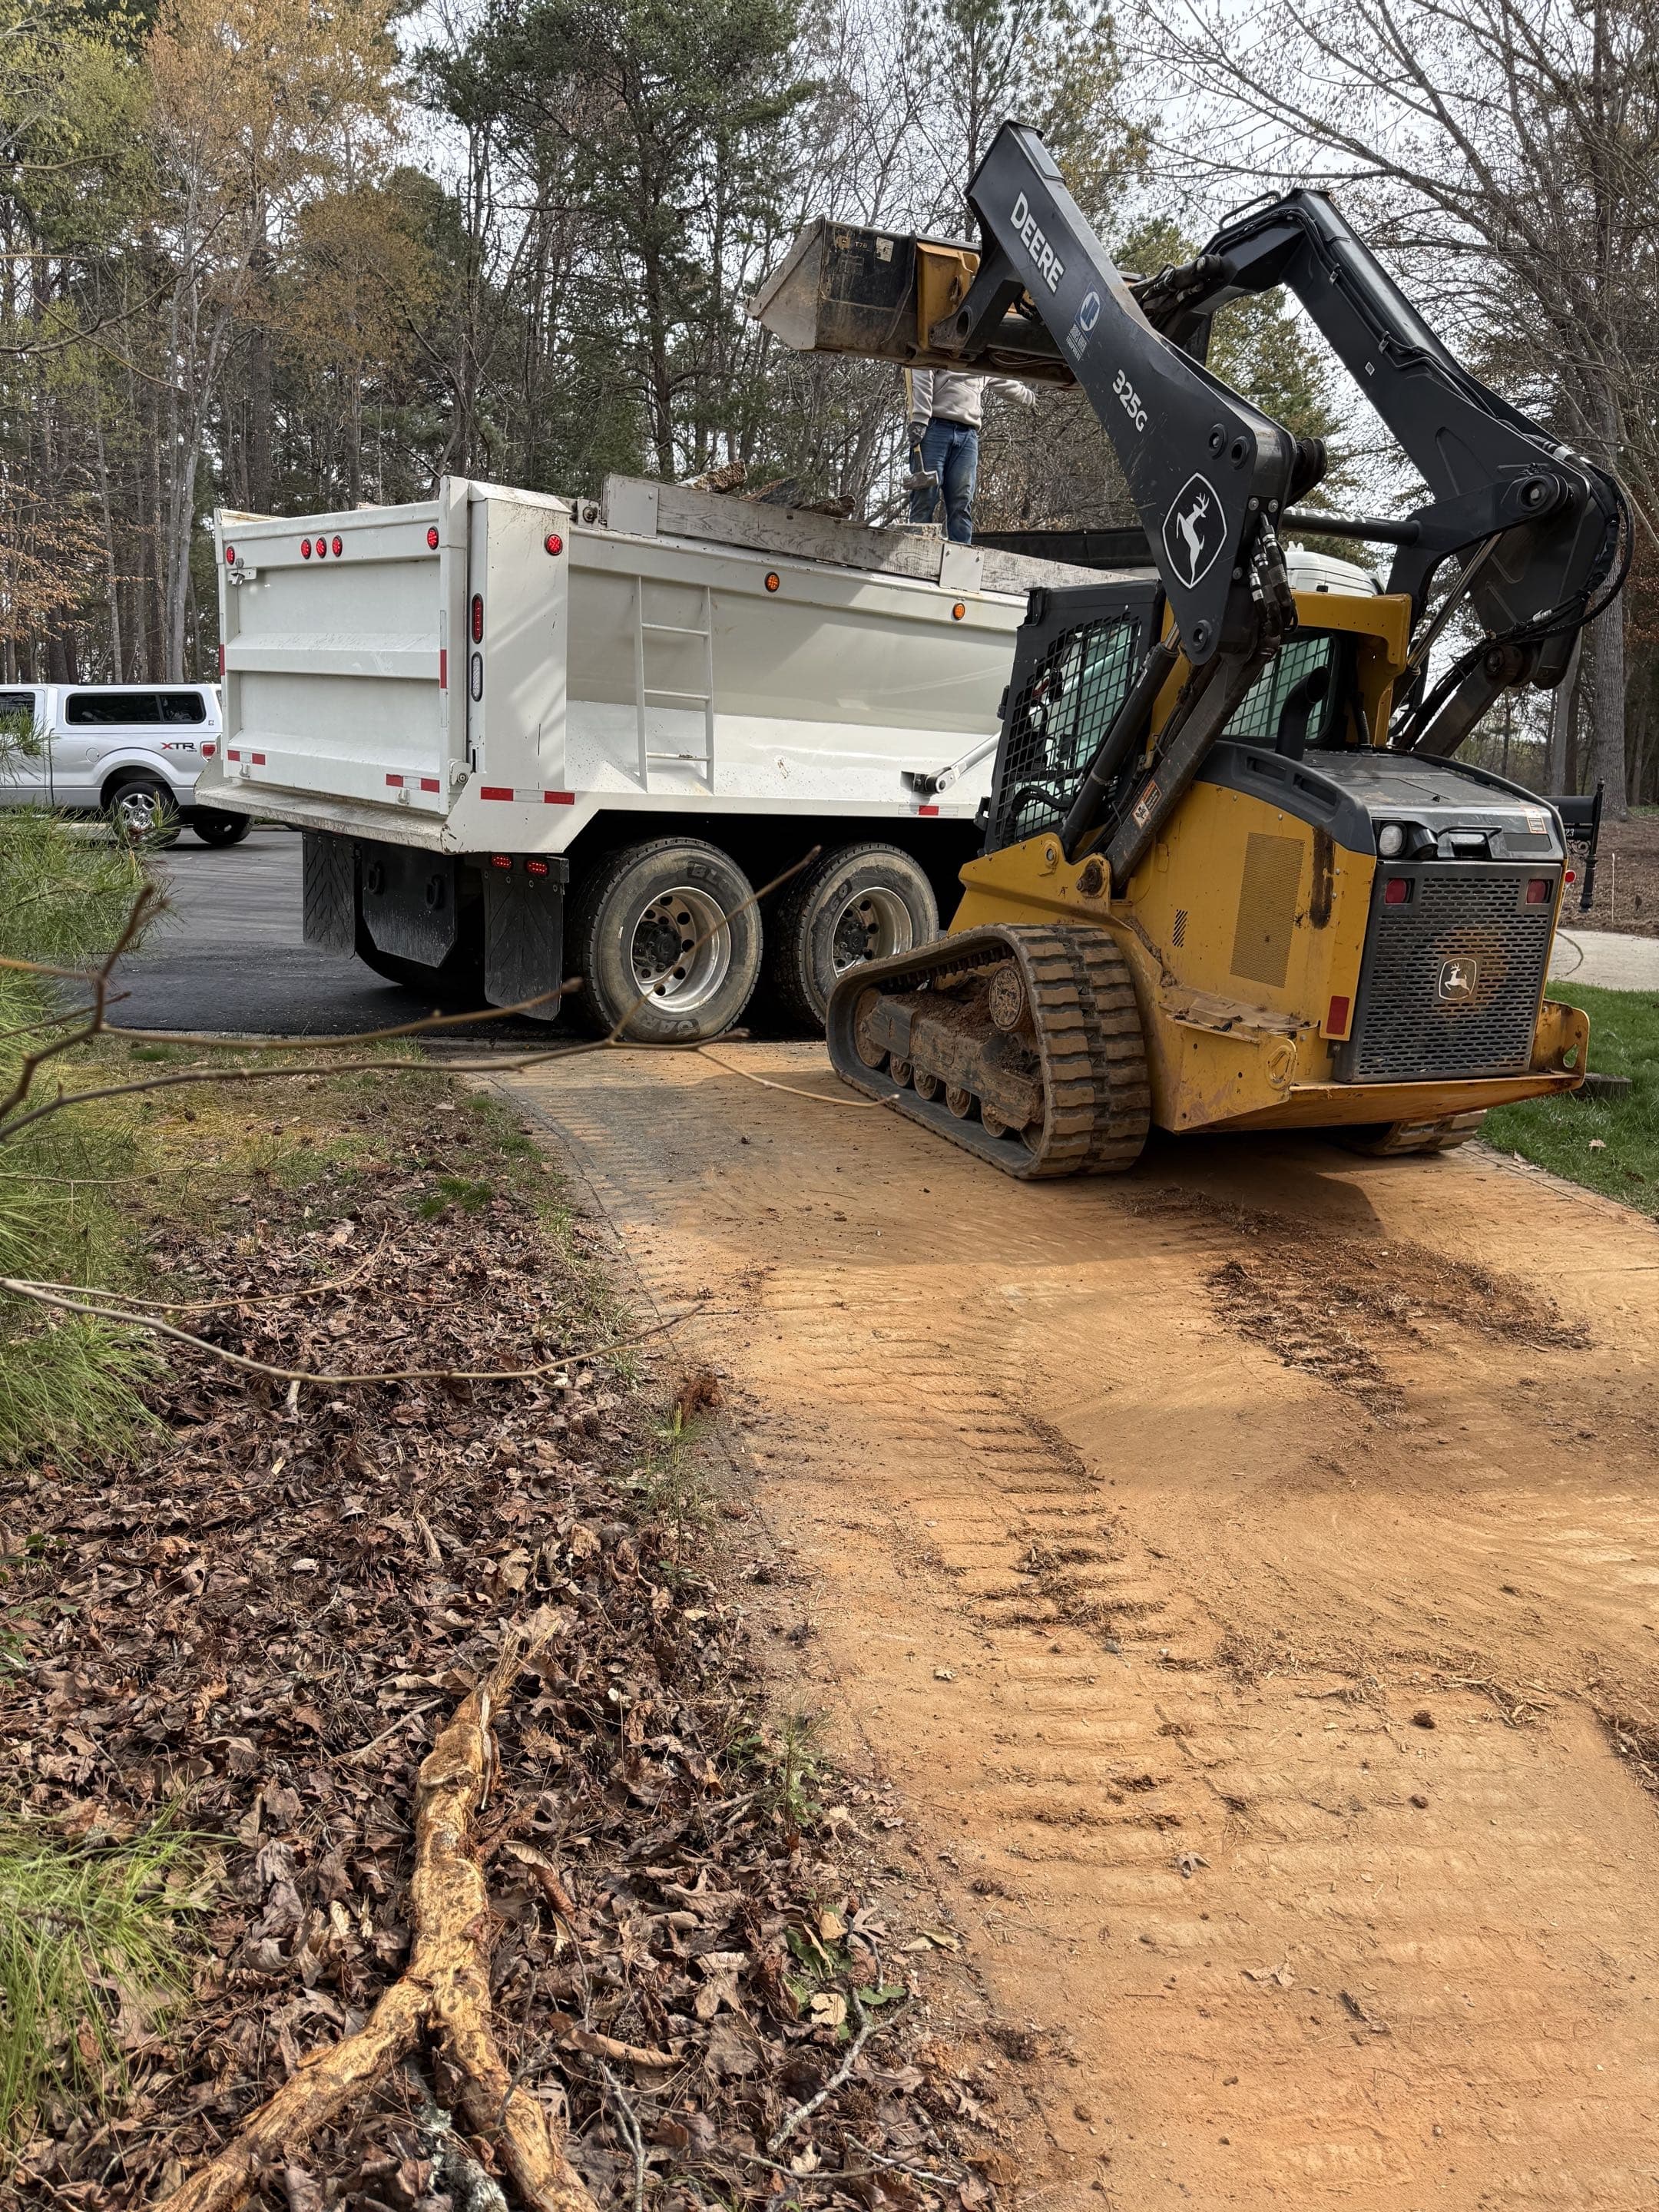
Demolition
Removal and disposal of existing concrete, leaving a clean slate for your new installation.
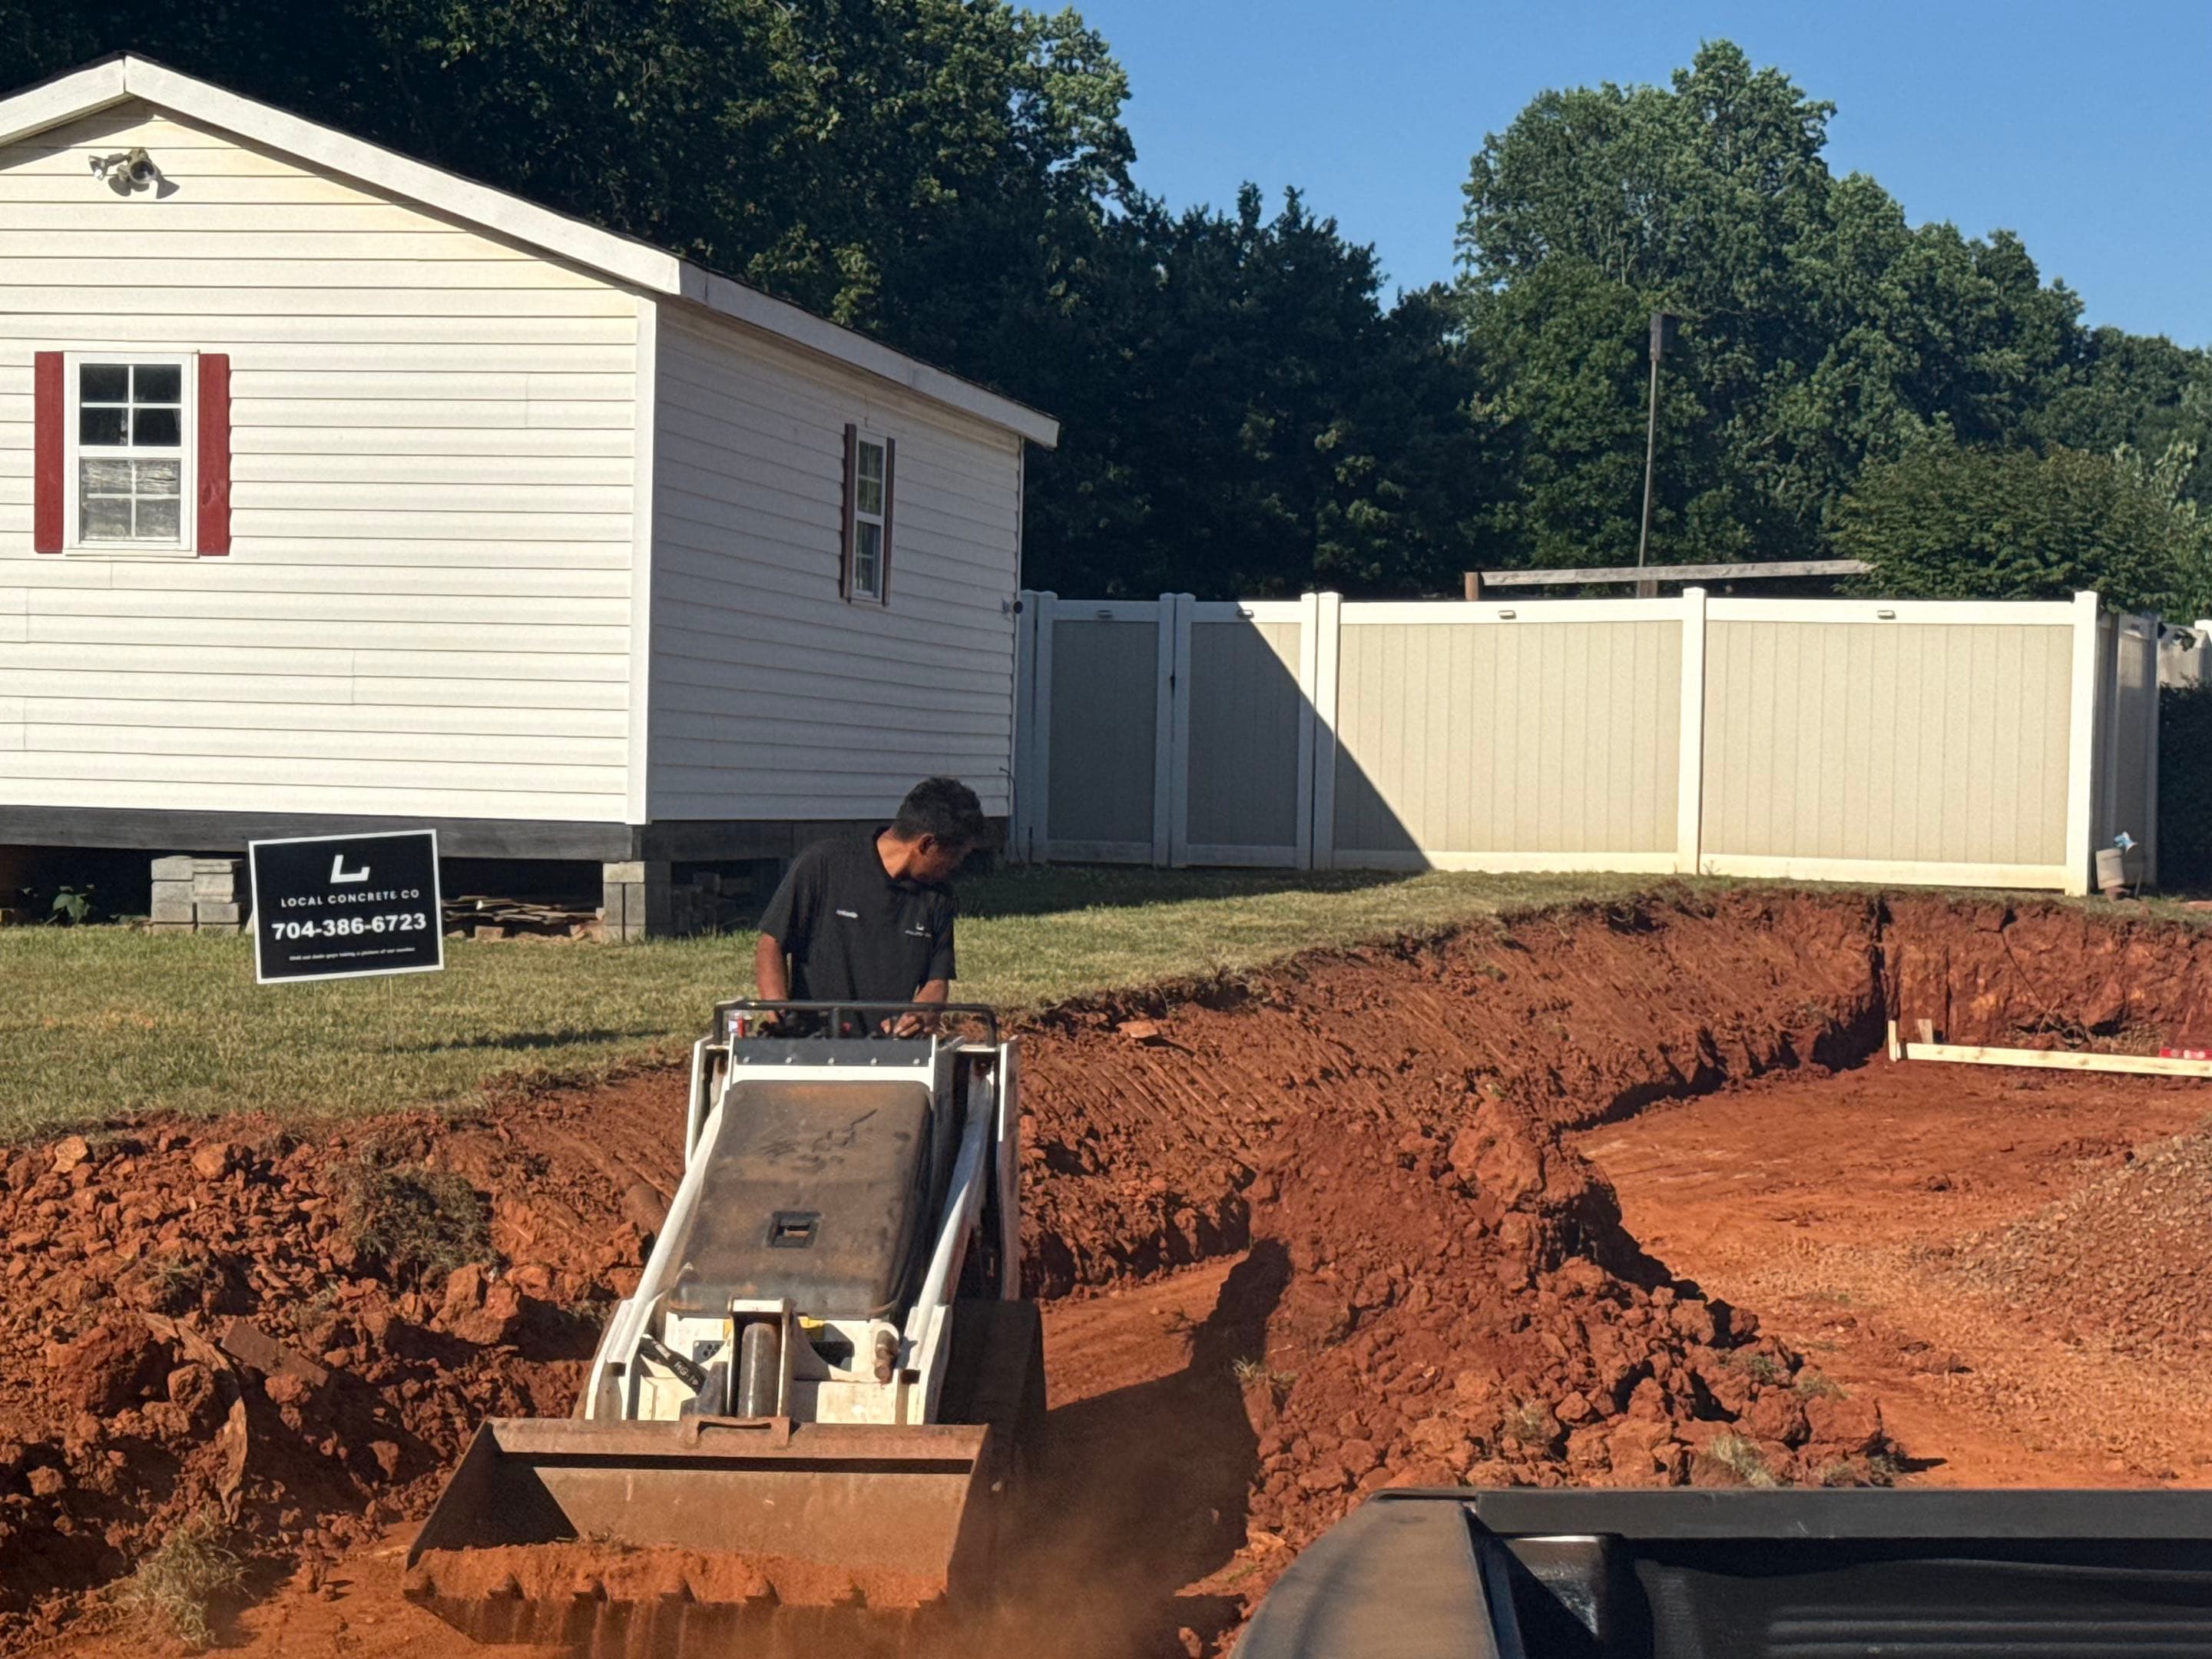
Grading & Forming
Expert grading for proper drainage and setting high-quality lumber forms for clean edges.
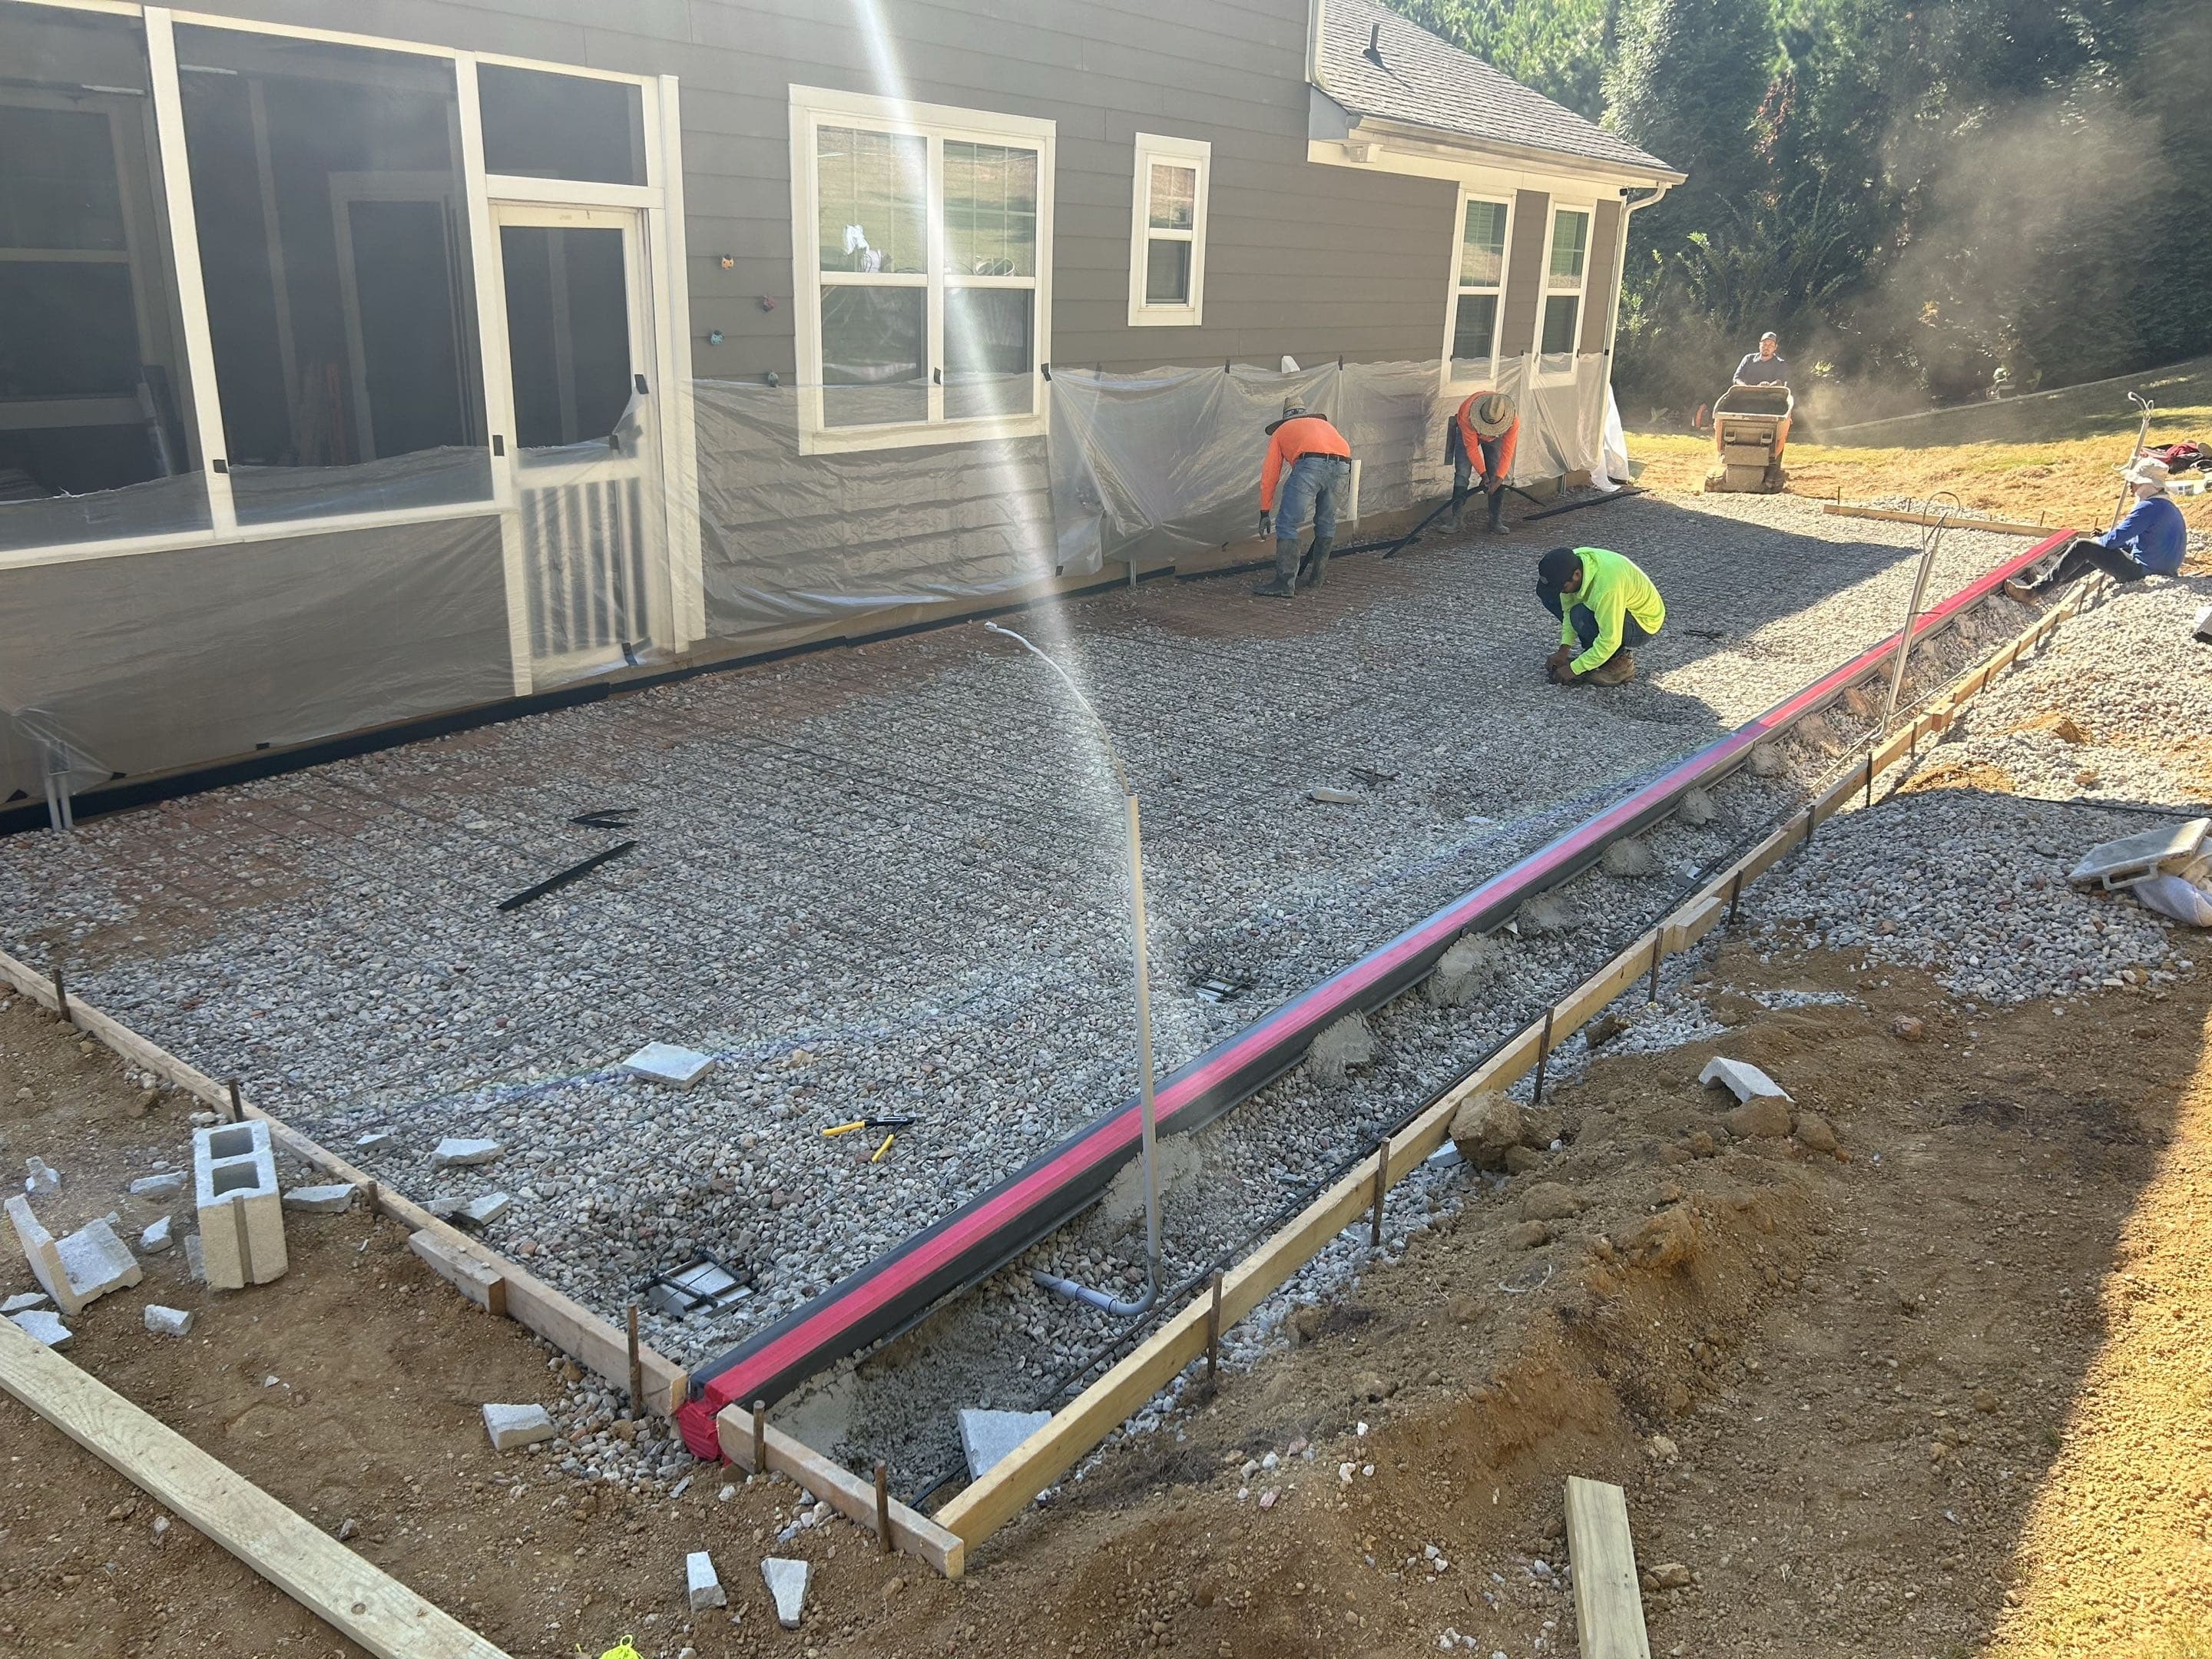
Reinforcement
Installation of steel rebar or wire mesh grid, using 1/2 inch grid for structural tensile strength.
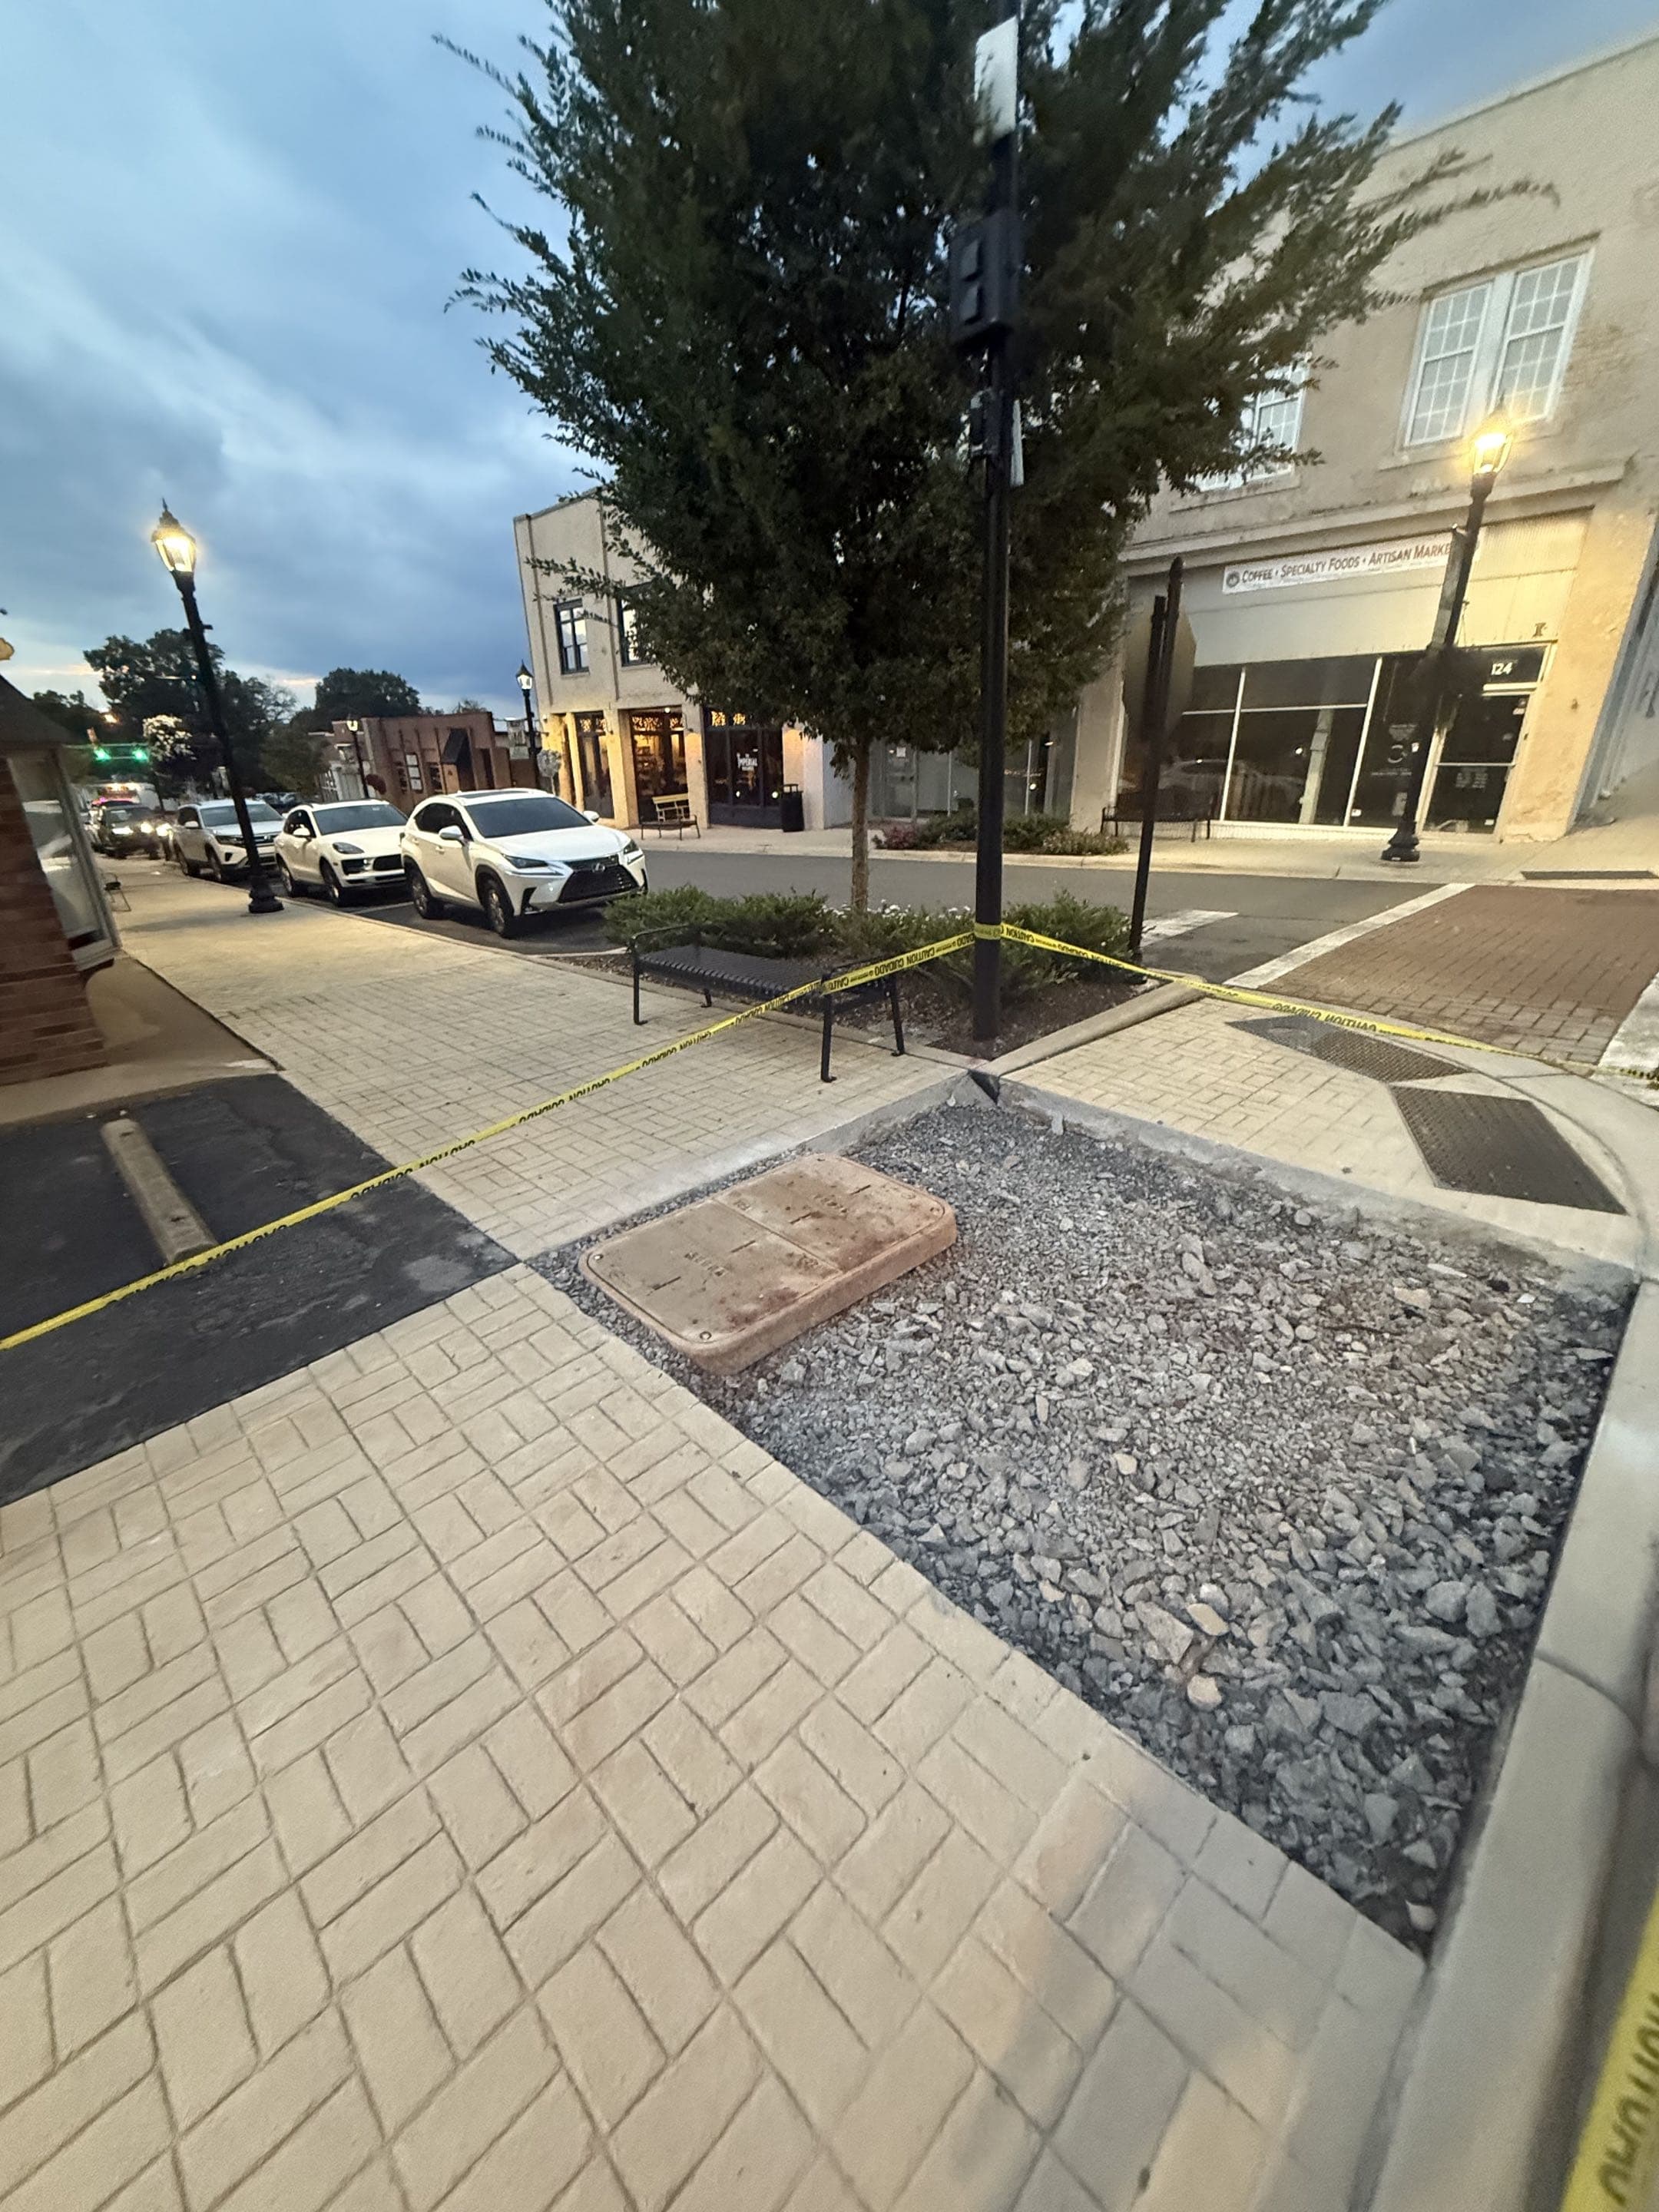
Pre-Pour Inspection
A final check of elevation, form stability, and reinforcement placement before the truck arrives.
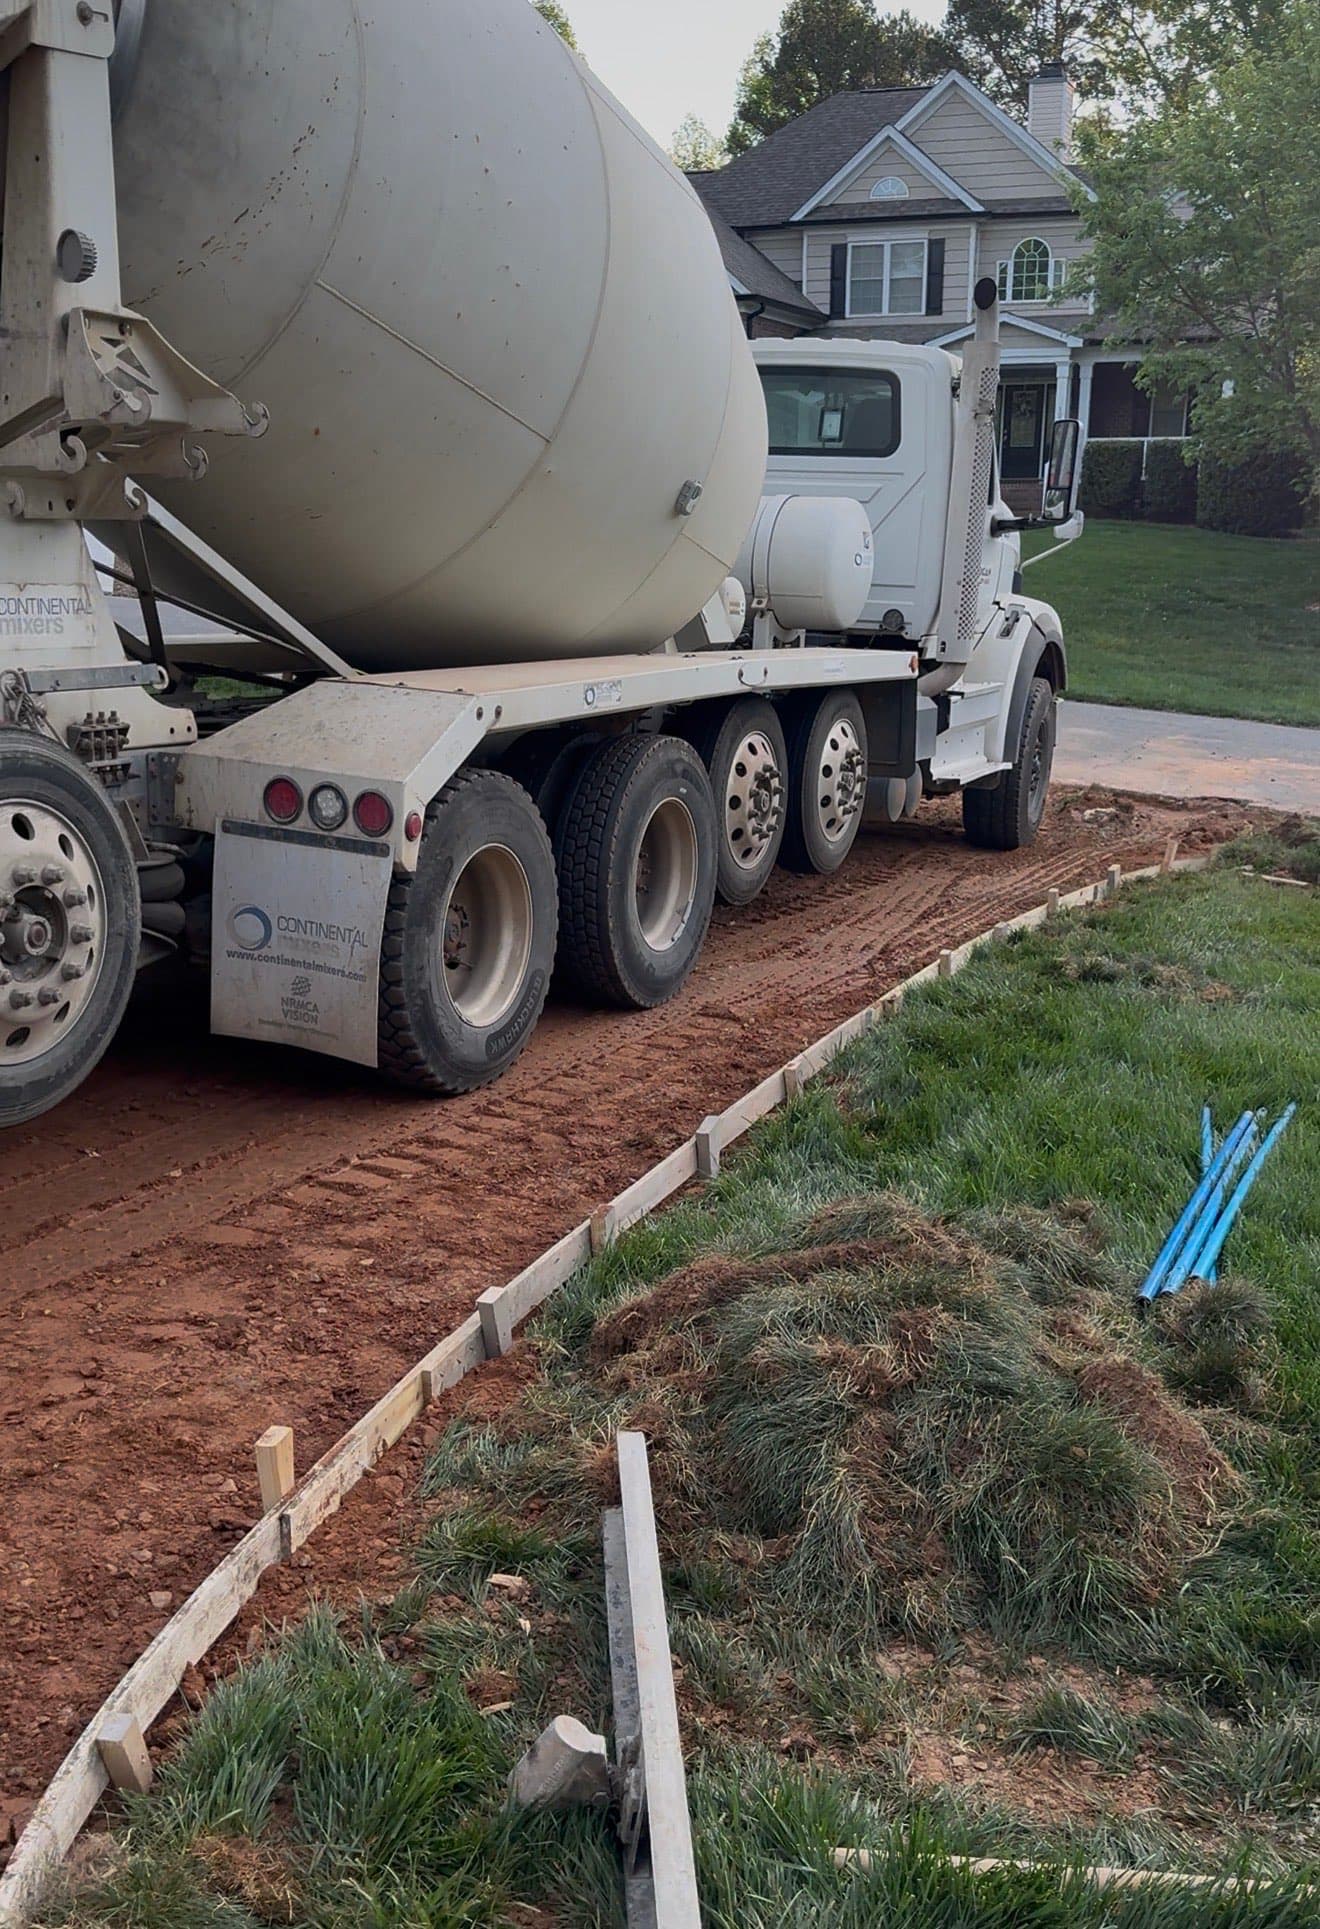
Slump Testing
Verifying concrete consistency on-site to ensure it meets the engineered mix design.
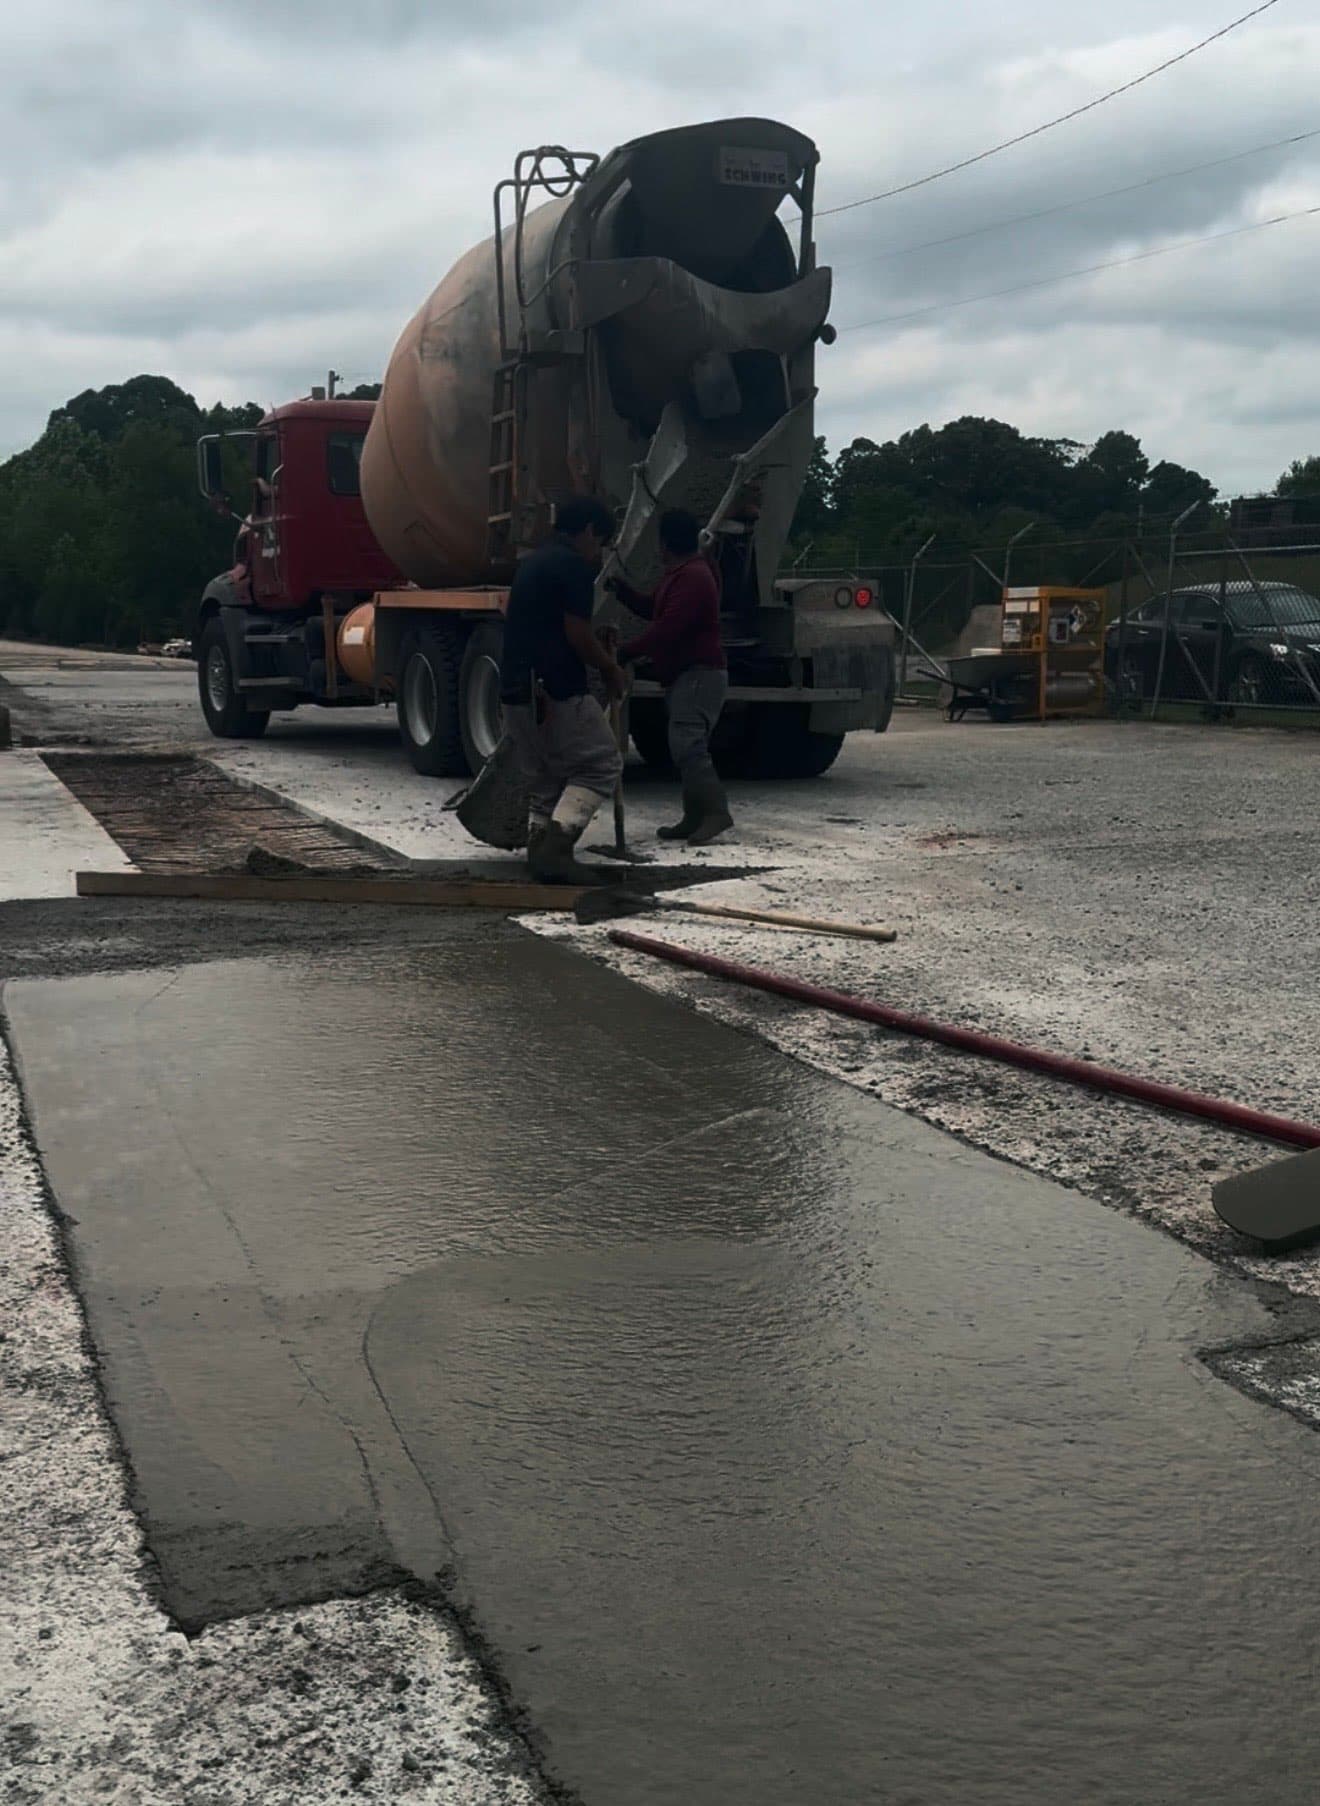
Placement
Controlled pouring and placement of concrete to avoid cold joints and ensure uniformity.
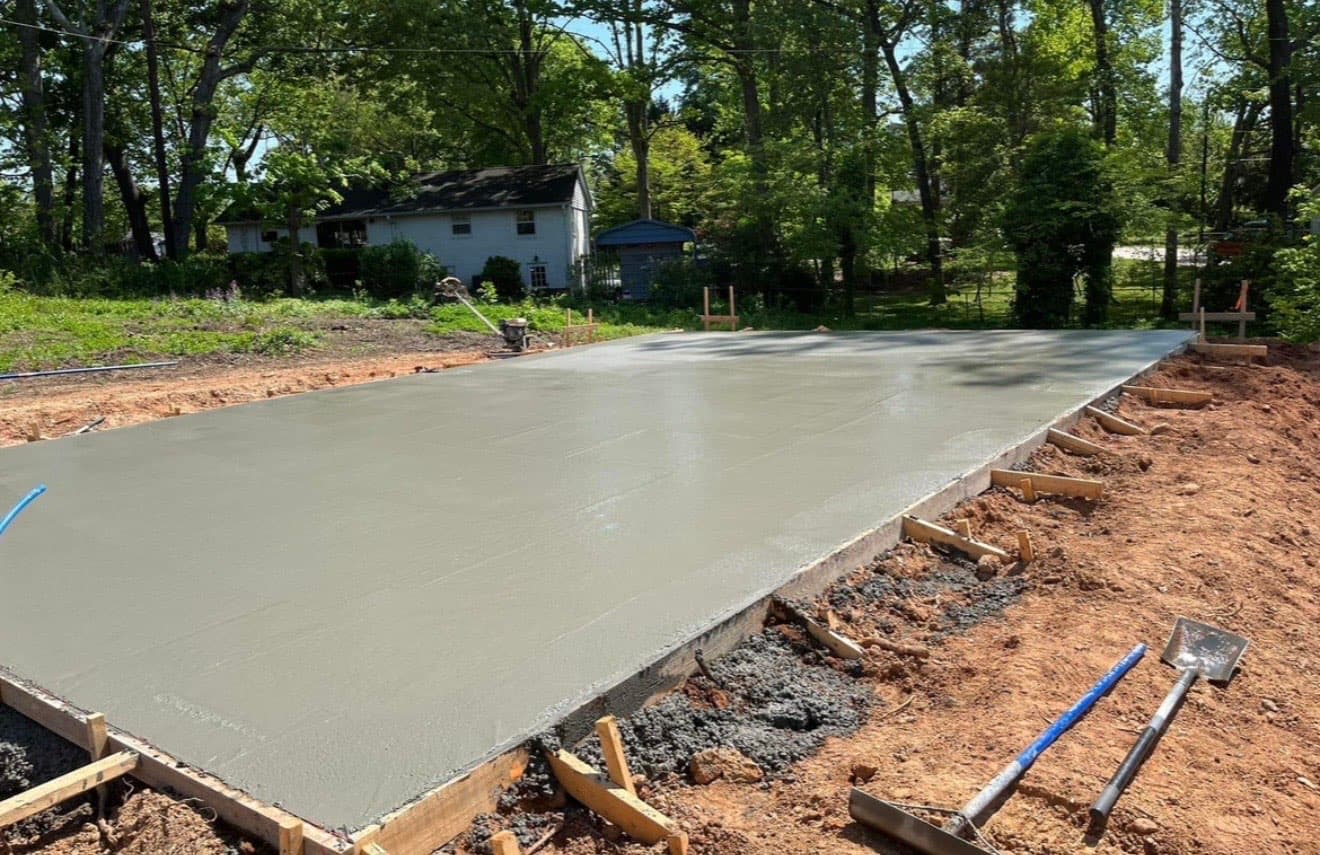
Bull Floating
Pushing aggregate down and bringing 'cream' to the surface for a smooth finishable layer.
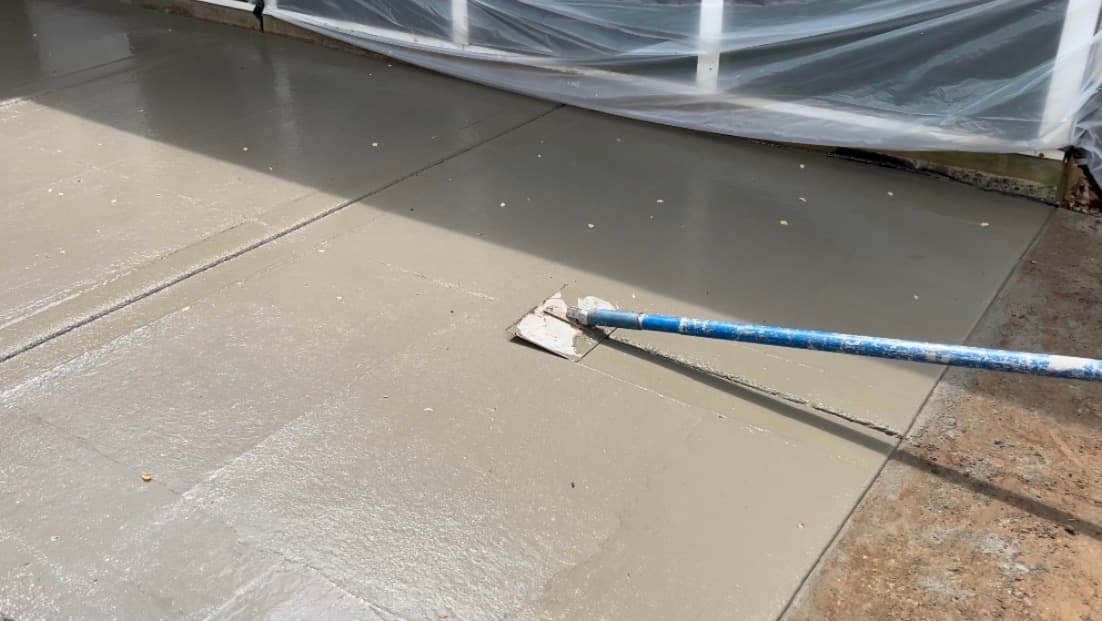
Edging & Jointing
Creating rounded edges for durability and cutting control joints to manage expansion.
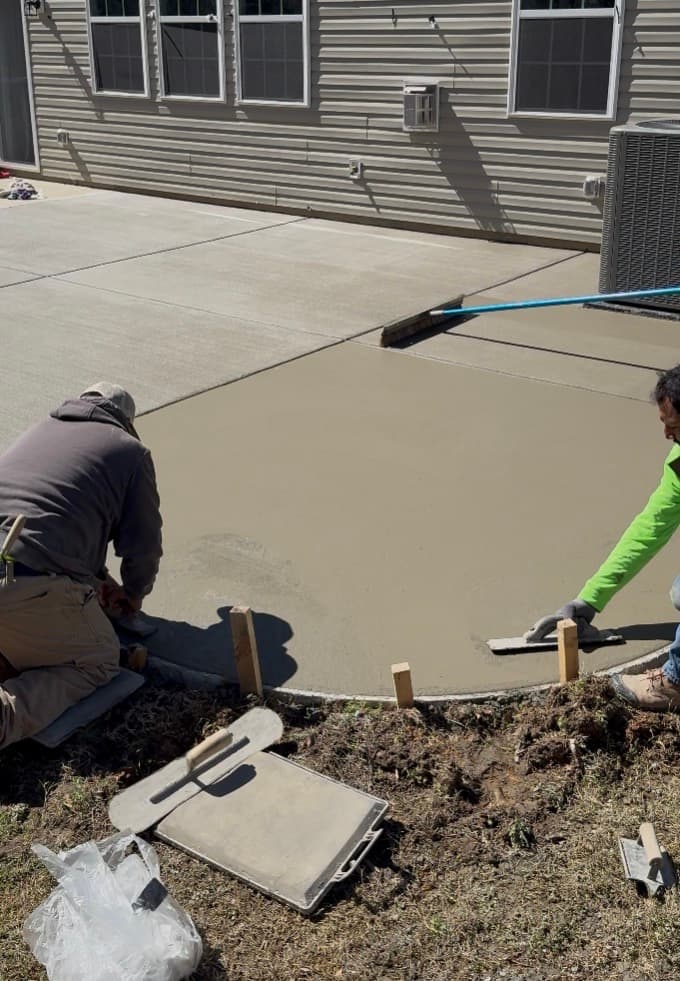
Fresno Finish
Final smoothing pass to close the surface pores and prepare for texturing.
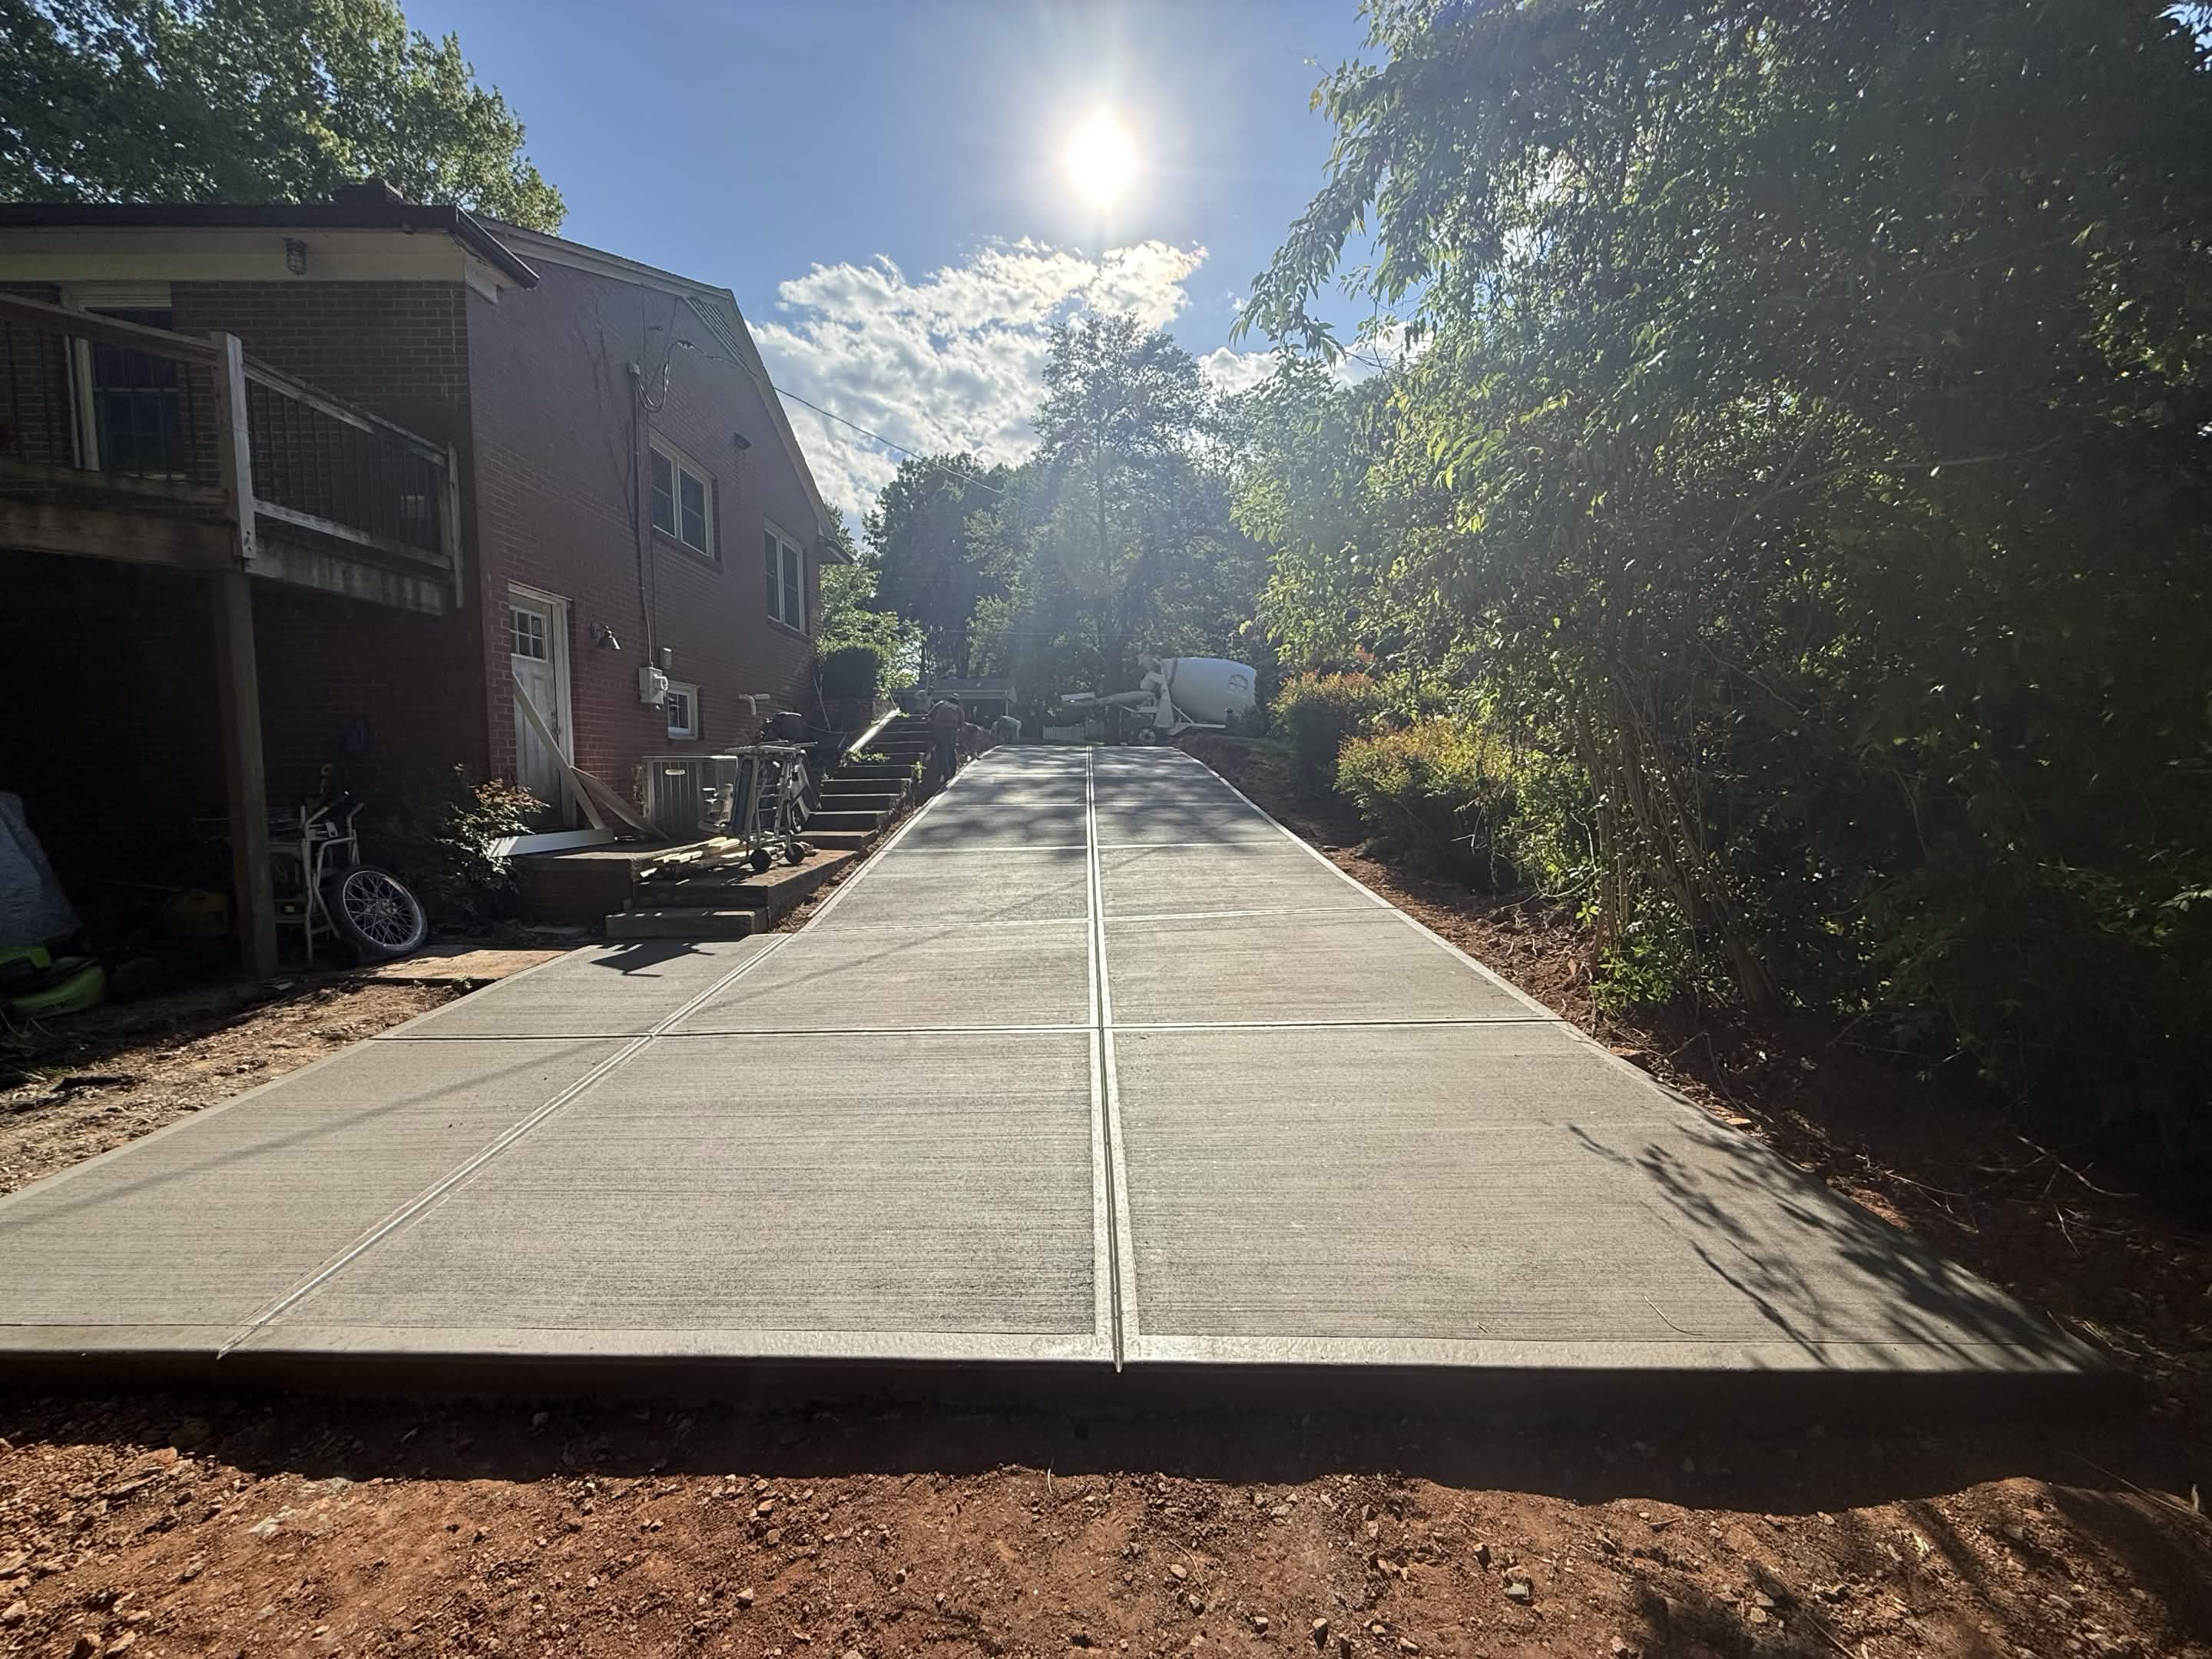
Decorative Detailing
Applying final broom texture, stamp patterns, or color treatments as specified for your project.
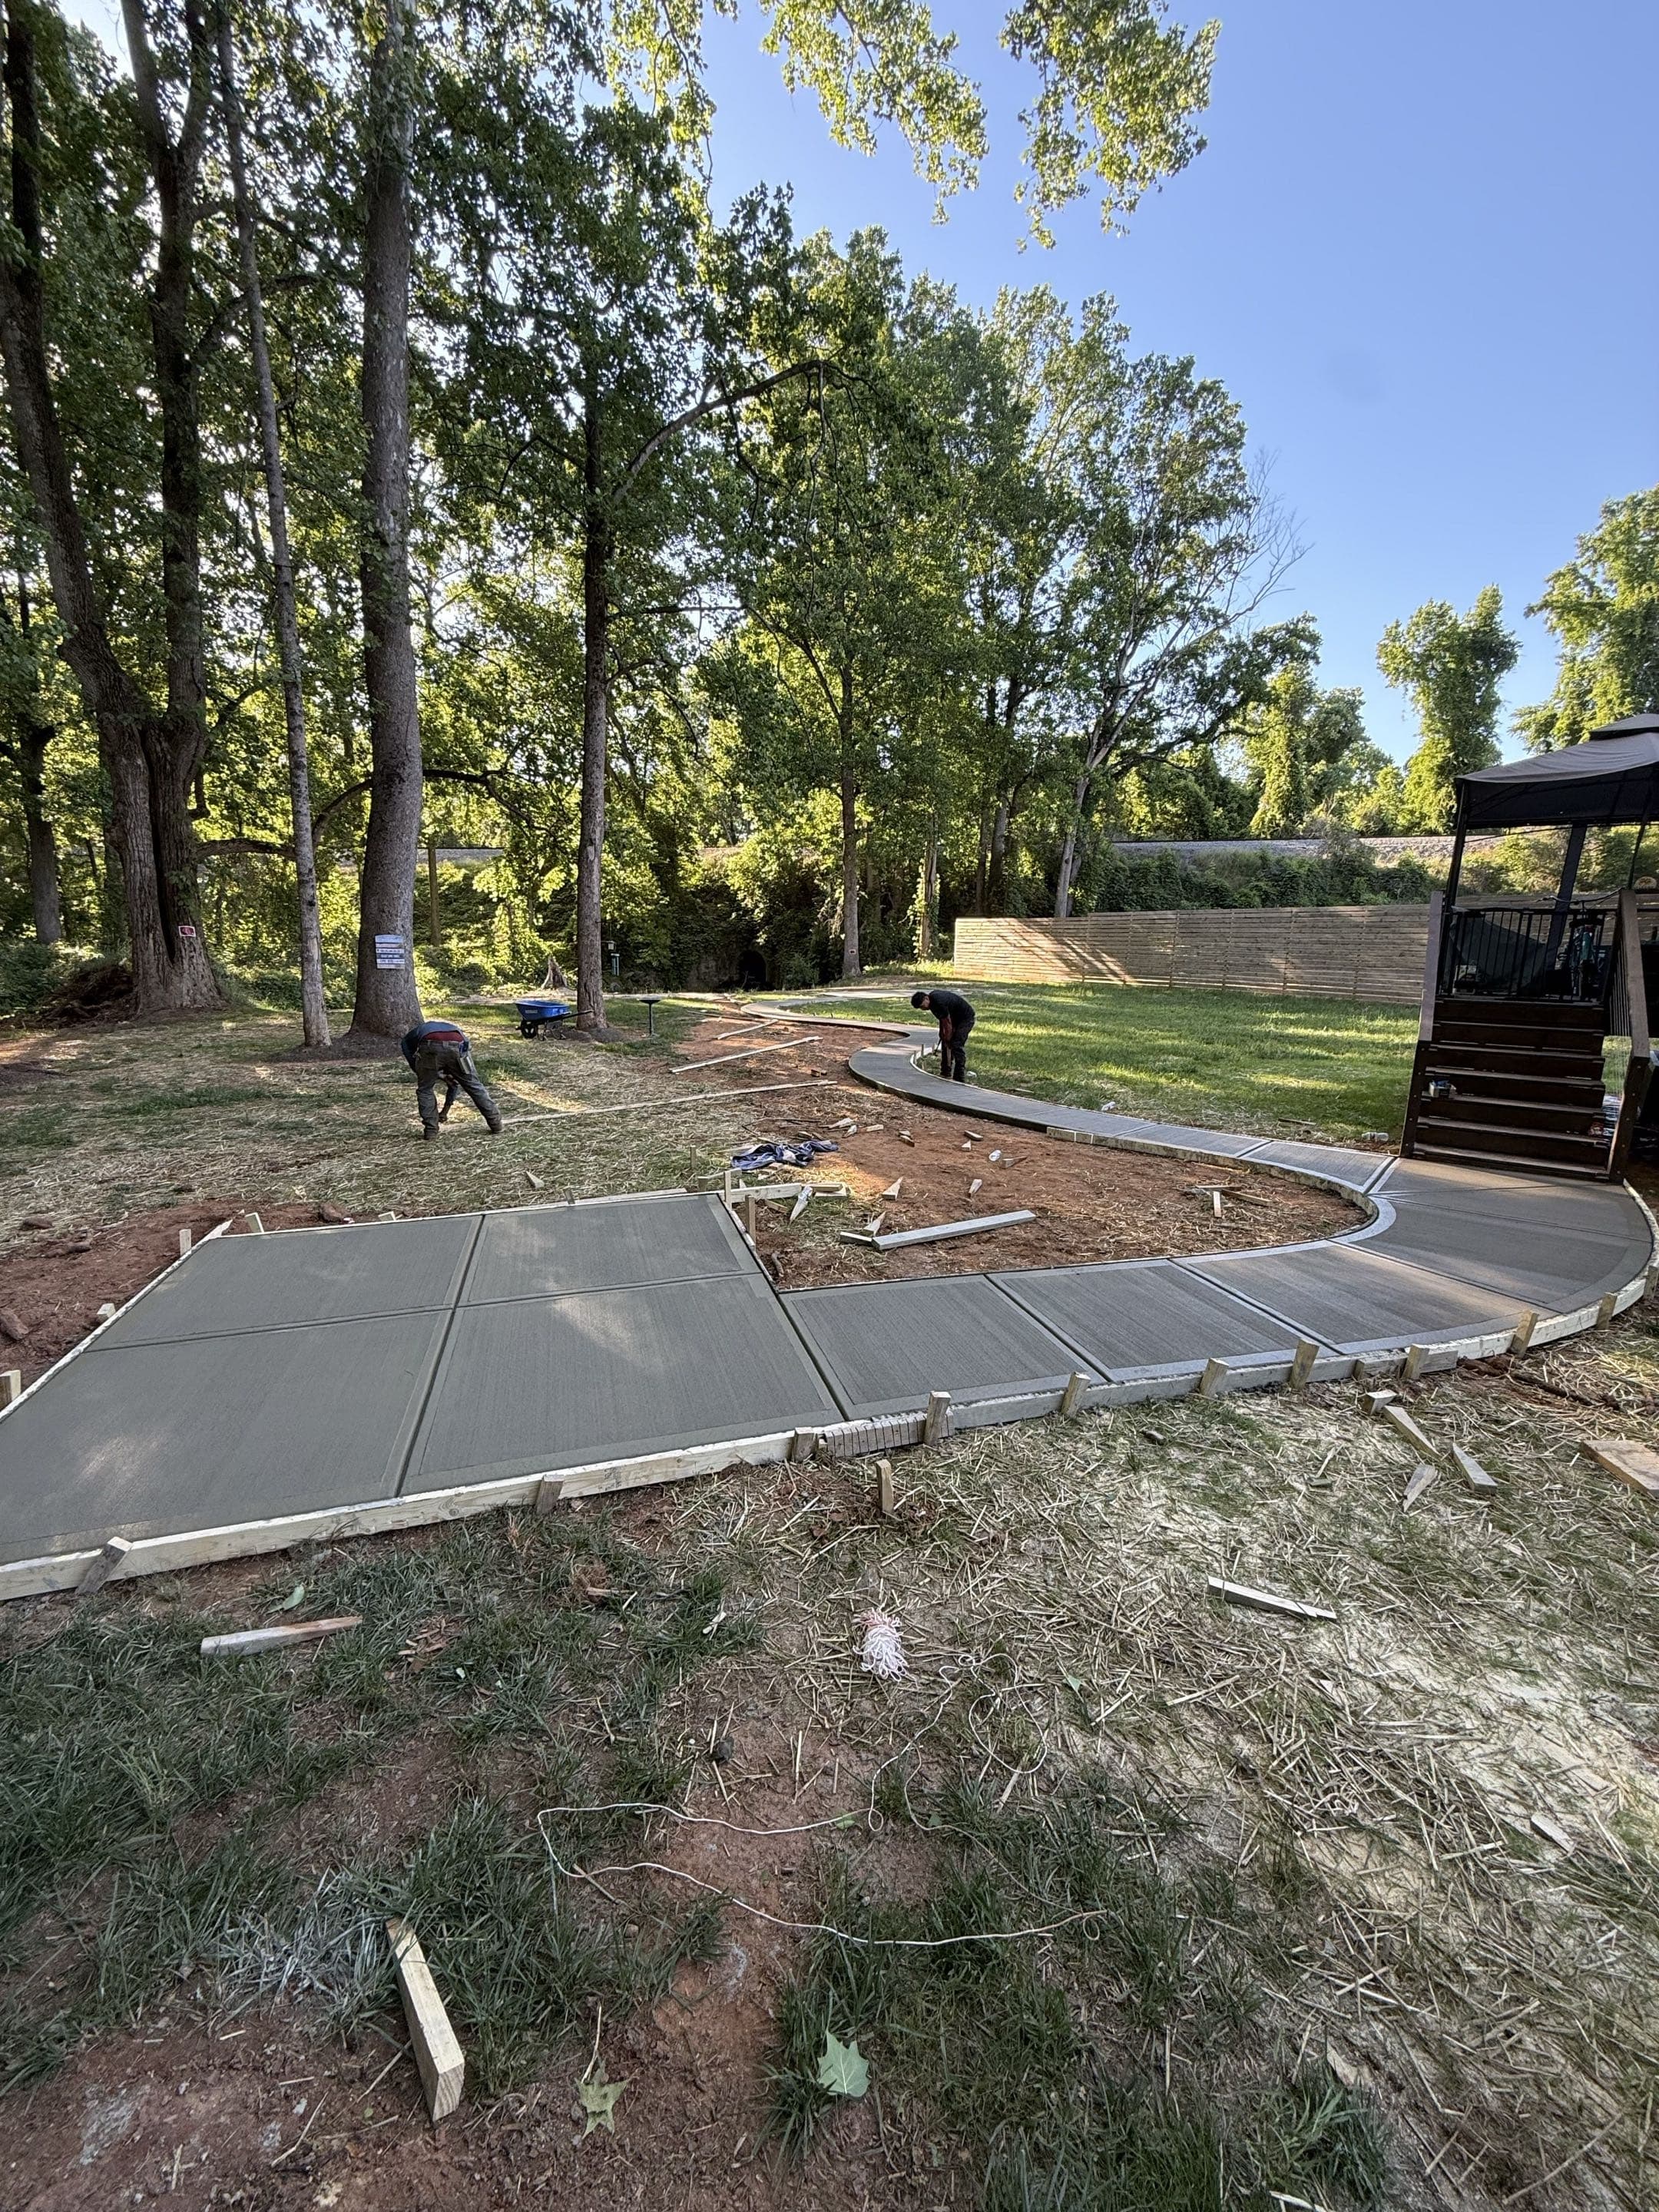
Form Removal
Careful stripping of forms once concrete has reached initial set stability.
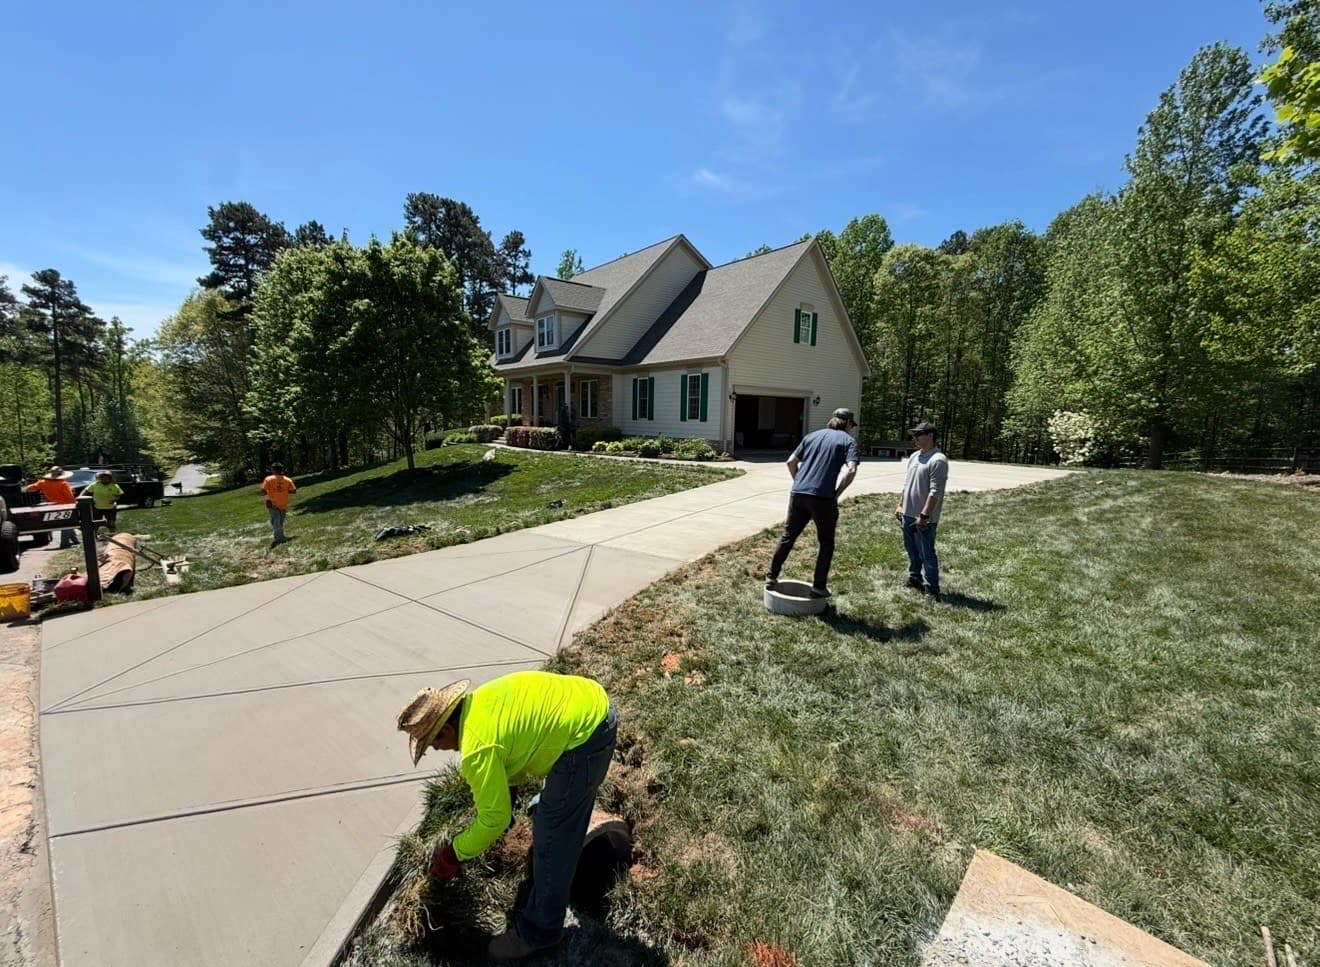
Final Walkthrough & Closeout Package
Reviewing the finished project with your ops manager, then delivering the closeout package (photos, lien releases, W-9, additional-insured cert) for your files.

Usage Guide
Providing clear instructions on cure times — when you can walk, drive, and park on your new concrete.
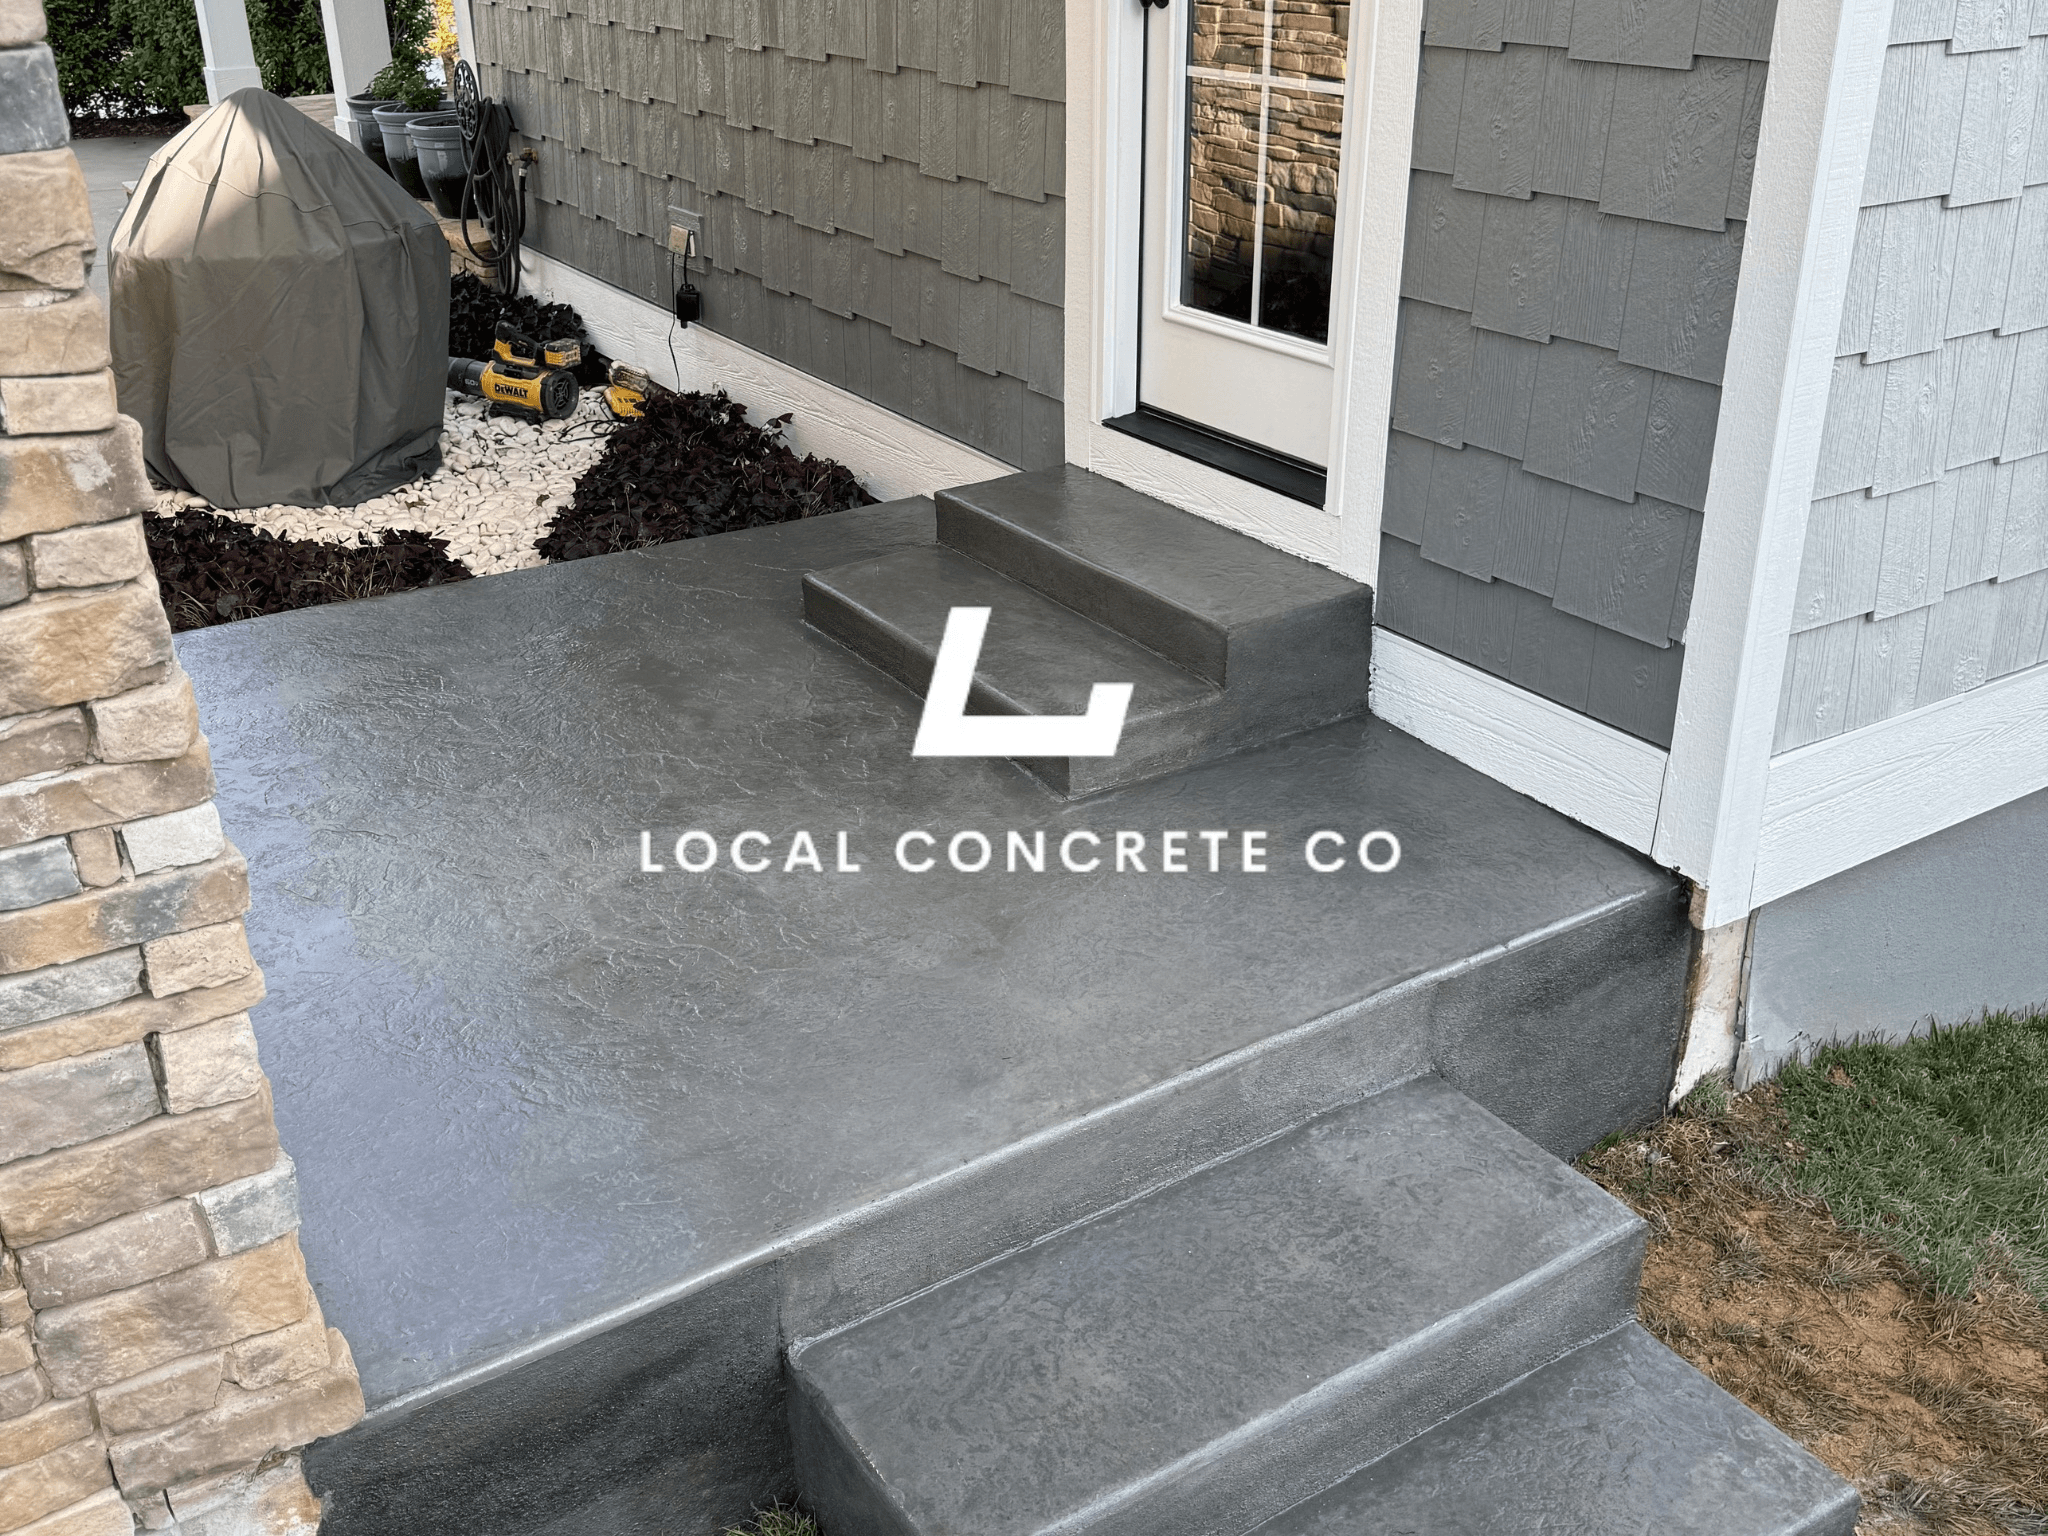
Project Completion
The job is done right, ensuring you have a durable surface for years to come.
Tie-Ins to City Curb, DOT Pavement, and Drainage
The road-edge detail is what separates an apron that lasts three decades from one that starts spalling in year three. City curbs, DOT pavement, and stormwater flow each change how the tie-in has to be built.
- City curb tie-in—the apron meets an existing concrete curb, usually with a keyed cold joint or an epoxied dowel connection depending on the town's spec
- DOT road tie-in—state-maintained roads require an encroachment permit and a specific apron slope, edge treatment, and often a thickened edge
- Curb cut sizing—if the existing curb cut is too narrow for how the drive is being used, a widened curb cut is scoped as part of the apron work
- Drainage crown at the road edge so stormwater runs down the gutter, not up the drive
- Cross-slope on the apron itself to shed water off the side rather than into the garage
- Compacted stone base rebuilt to grade after any washout is excavated back to firm subgrade
- Thickened edge at the road—six inches at the road edge tapering to slab thickness at the interior joint, which resists the load and impact concentration at the street
We walk each apron and tell you what the road-edge detail needs to be before pour day.
When to Replace the Apron vs. the Whole Drive
Apron-only replacement is the right answer when the failure is genuinely localized. When settlement or cracking has traveled up the drive, an apron patch just resets the failure clock on a slab that is already coming apart.
- Apron-only replacement makes sense when the failure stops within the first 8 to 12 feet of the drive and the rest of the slab has minor cracking only
- Apron plus adjacent panels is the right call when one or two panels behind the apron have settled or spider-webbed but the far end of the drive is holding
- Full replacement is the honest answer when the apron is failing on a drive that is 25 years old and already showing widespread cracking, panel settlement, or exposed reinforcement
- Full replacement is also the right call when the drive was originally poured on a poor base and the failure will keep migrating no matter what section gets replaced
- Sometimes the apron alone is enough for another 10 to 15 years while the rest of the drive is planned for replacement later
On any apron quote we also price the full replacement alongside it, so the ten-year outlook is on the table.
Why Homeowners Work With Us
Local Concrete Contractor runs residential and light commercial concrete work across the North Carolina Piedmont and out into the coastal plain. Apron work gets the same operating standards as full drives because the road-edge detail is where drainage, load, and municipal spec all stack up.
- Zero deposit—you pay after the apron is poured, finished, and walked with you, not before
- Free on-site quote with demo scope, base rebuild, thickness, joint plan, and any permit work written down
- Licensed and insured—proof of coverage available before we set the first form board
- No pressure sales, no artificial deadlines on the quote
- Real photos of prior apron replacements in nearby neighborhoods
- Straight answers on cost drivers—apron dimensions, curb-cut work, permit requirements, base-restoration depth, adjacent panel replacement
- Same crew from demo through final broom pass, including the tie-in at the road edge
If you are still comparing quotes on a driveway apron, ask each contractor how they will handle the road-edge tie-in, what the drainage crown looks like, and whether an encroachment permit is required. Those three answers separate an apron built for the load from one that starts failing again in a couple of winters.
Driveway Aprons
FAQ
Straight answers on driveway aprons installation — thickness, base prep, cure time, deposit, and what it takes to make the slab last.
Get Free QuoteWhy does the apron fail before the rest of the drive?
The apron carries the highest concentration of load, water, and impact of any section on a residential drive. Turning-tire scrub, stormwater sheeting off the road, freeze-thaw pressure, and snowplow strikes all hit the road edge first. Base loss under the apron is very common because water finds the joint at the road and washes fines out from underneath. That is why apron settlement, a lip catching low bumpers, and cracked panels near the street are usually the earliest signs a drive is aging out, well before the interior sections show real distress.
Do I need a permit to replace my driveway apron?
How thick should a new driveway apron be?
Can you replace just the apron and leave the rest of the drive?
How does drainage at the apron get handled?
How long before we can drive on the new apron?
Ready to talk about your project?
Free estimate. No pressure, no sales tactics. Zero deposit.
Get Free Quote