



Concrete Garage Floor Installation
Concrete garage floor installation across North Carolina for attached and detached garages — correct thickness for the vehicles you actually park, thickened threshold, moisture barrier, and proper slope to drain. Zero deposit, licensed and insured, written spec before we form up.
Get your free quote
We respond in less than 2 hours.
Real Projects We've Completed
A cross-section of our real project work — driveways, patios, porches, pool decks. Every pair below is a real Local Concrete Contractor install.
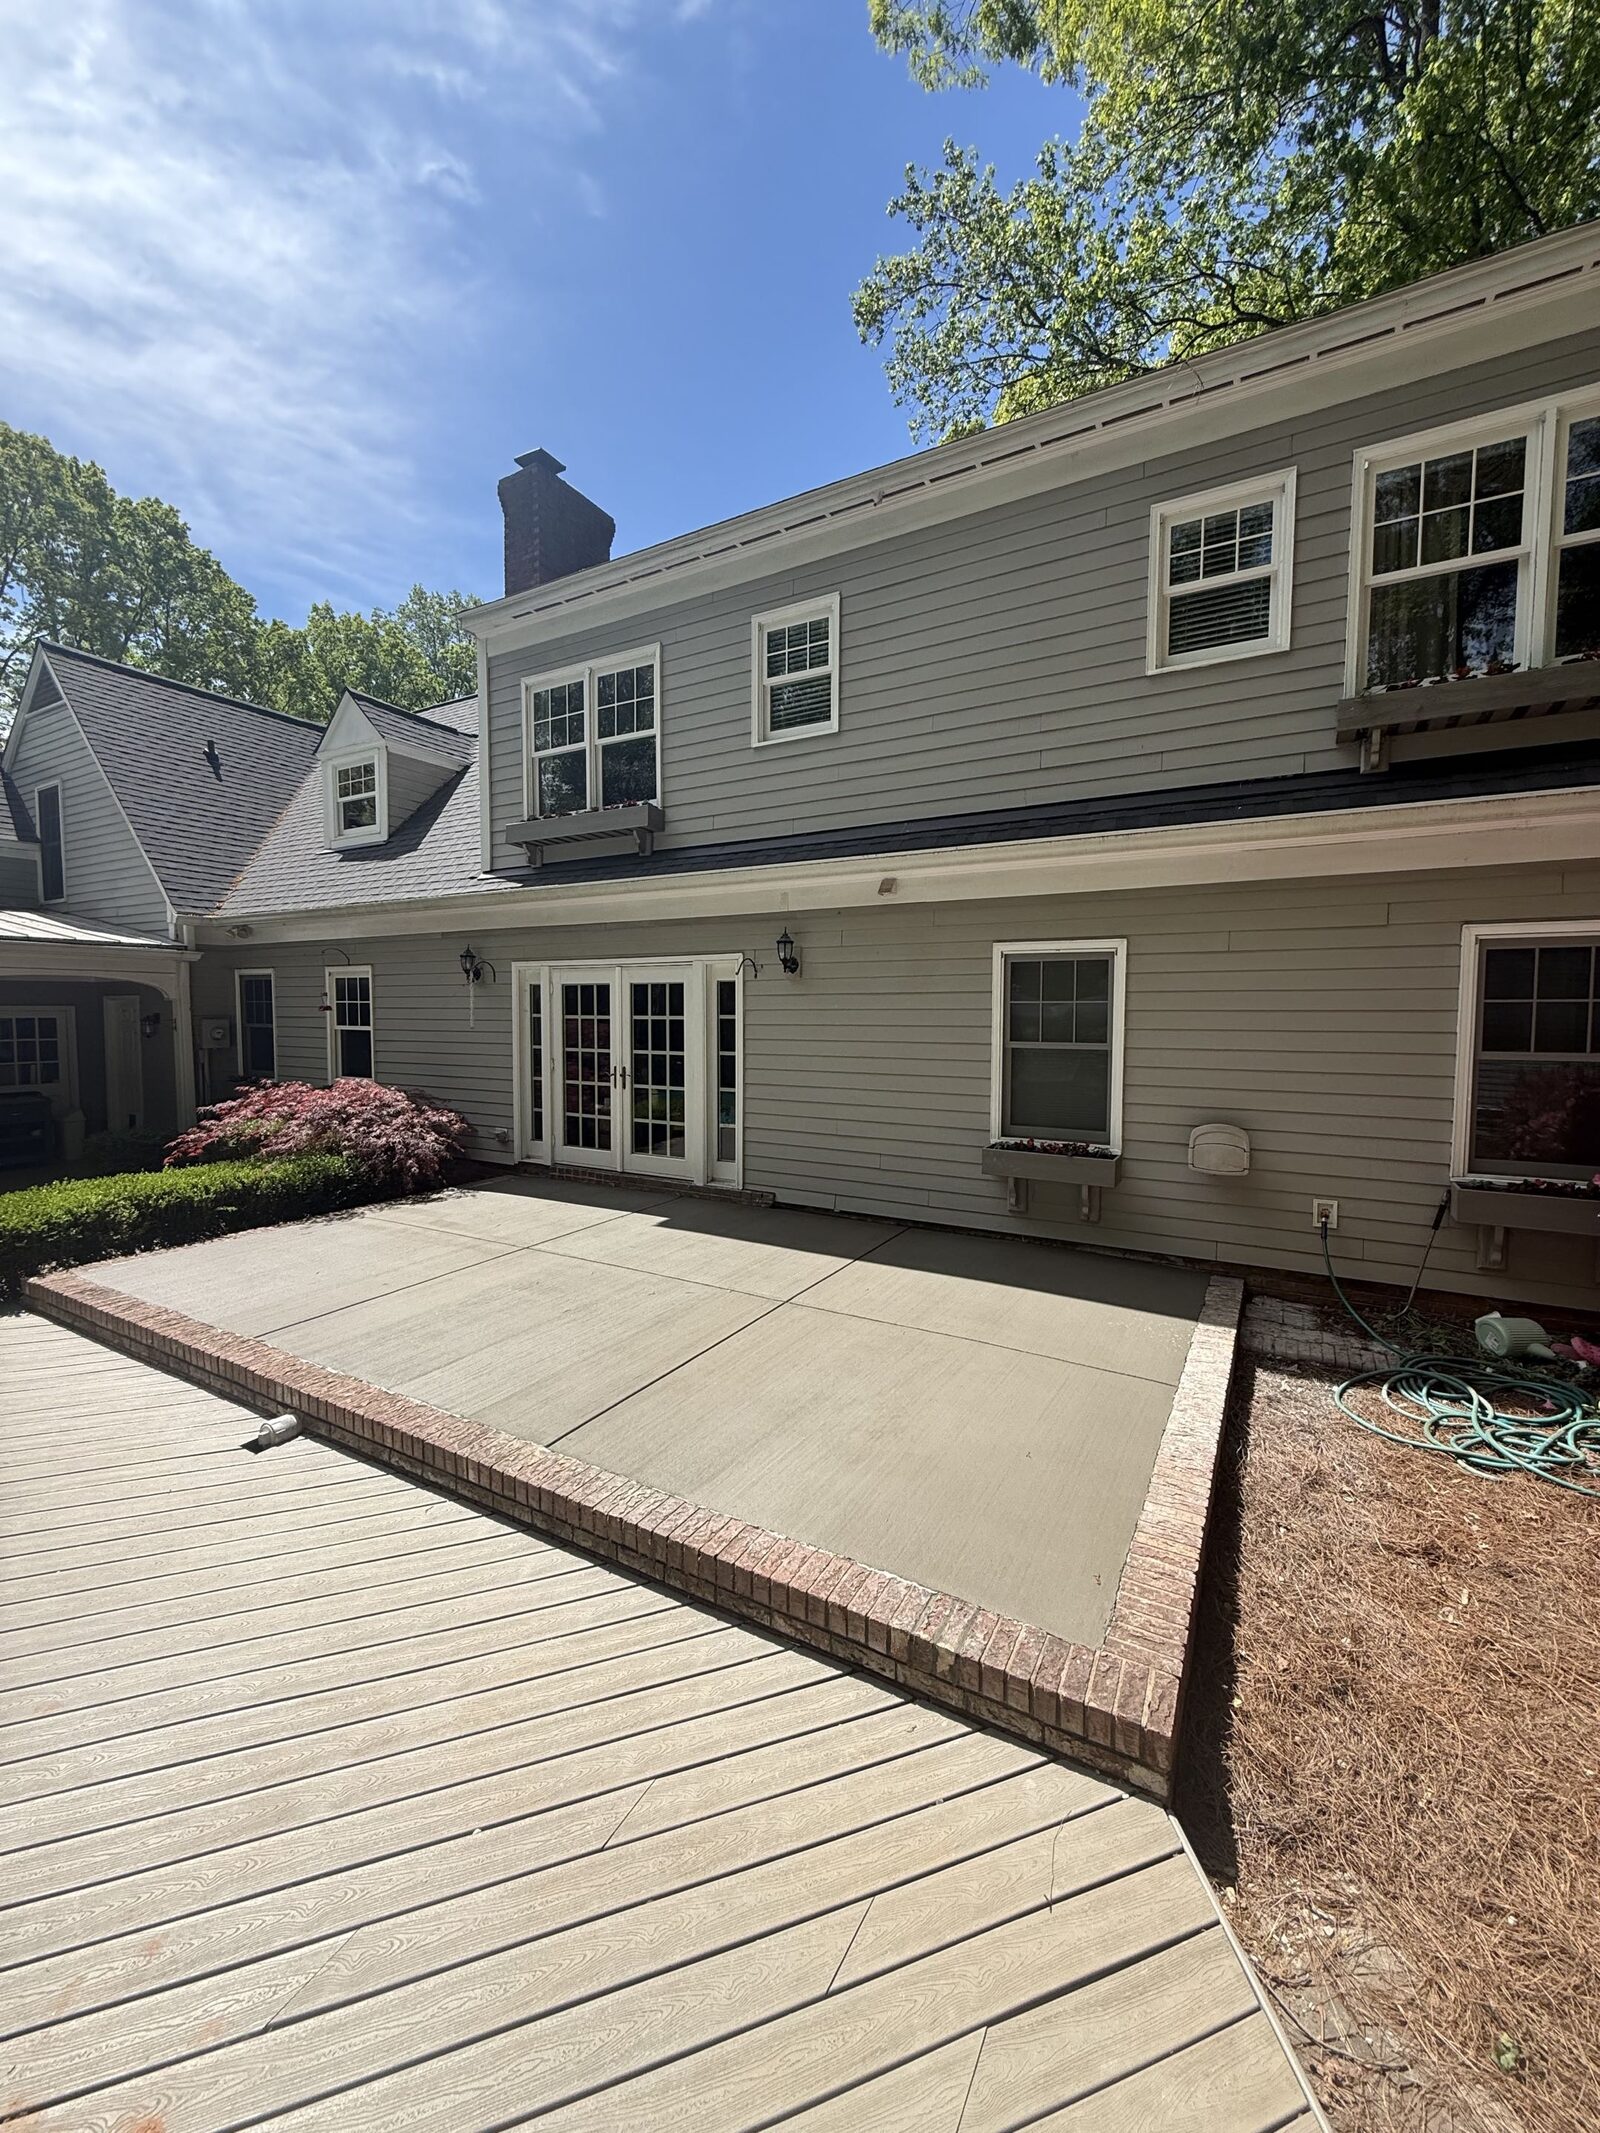

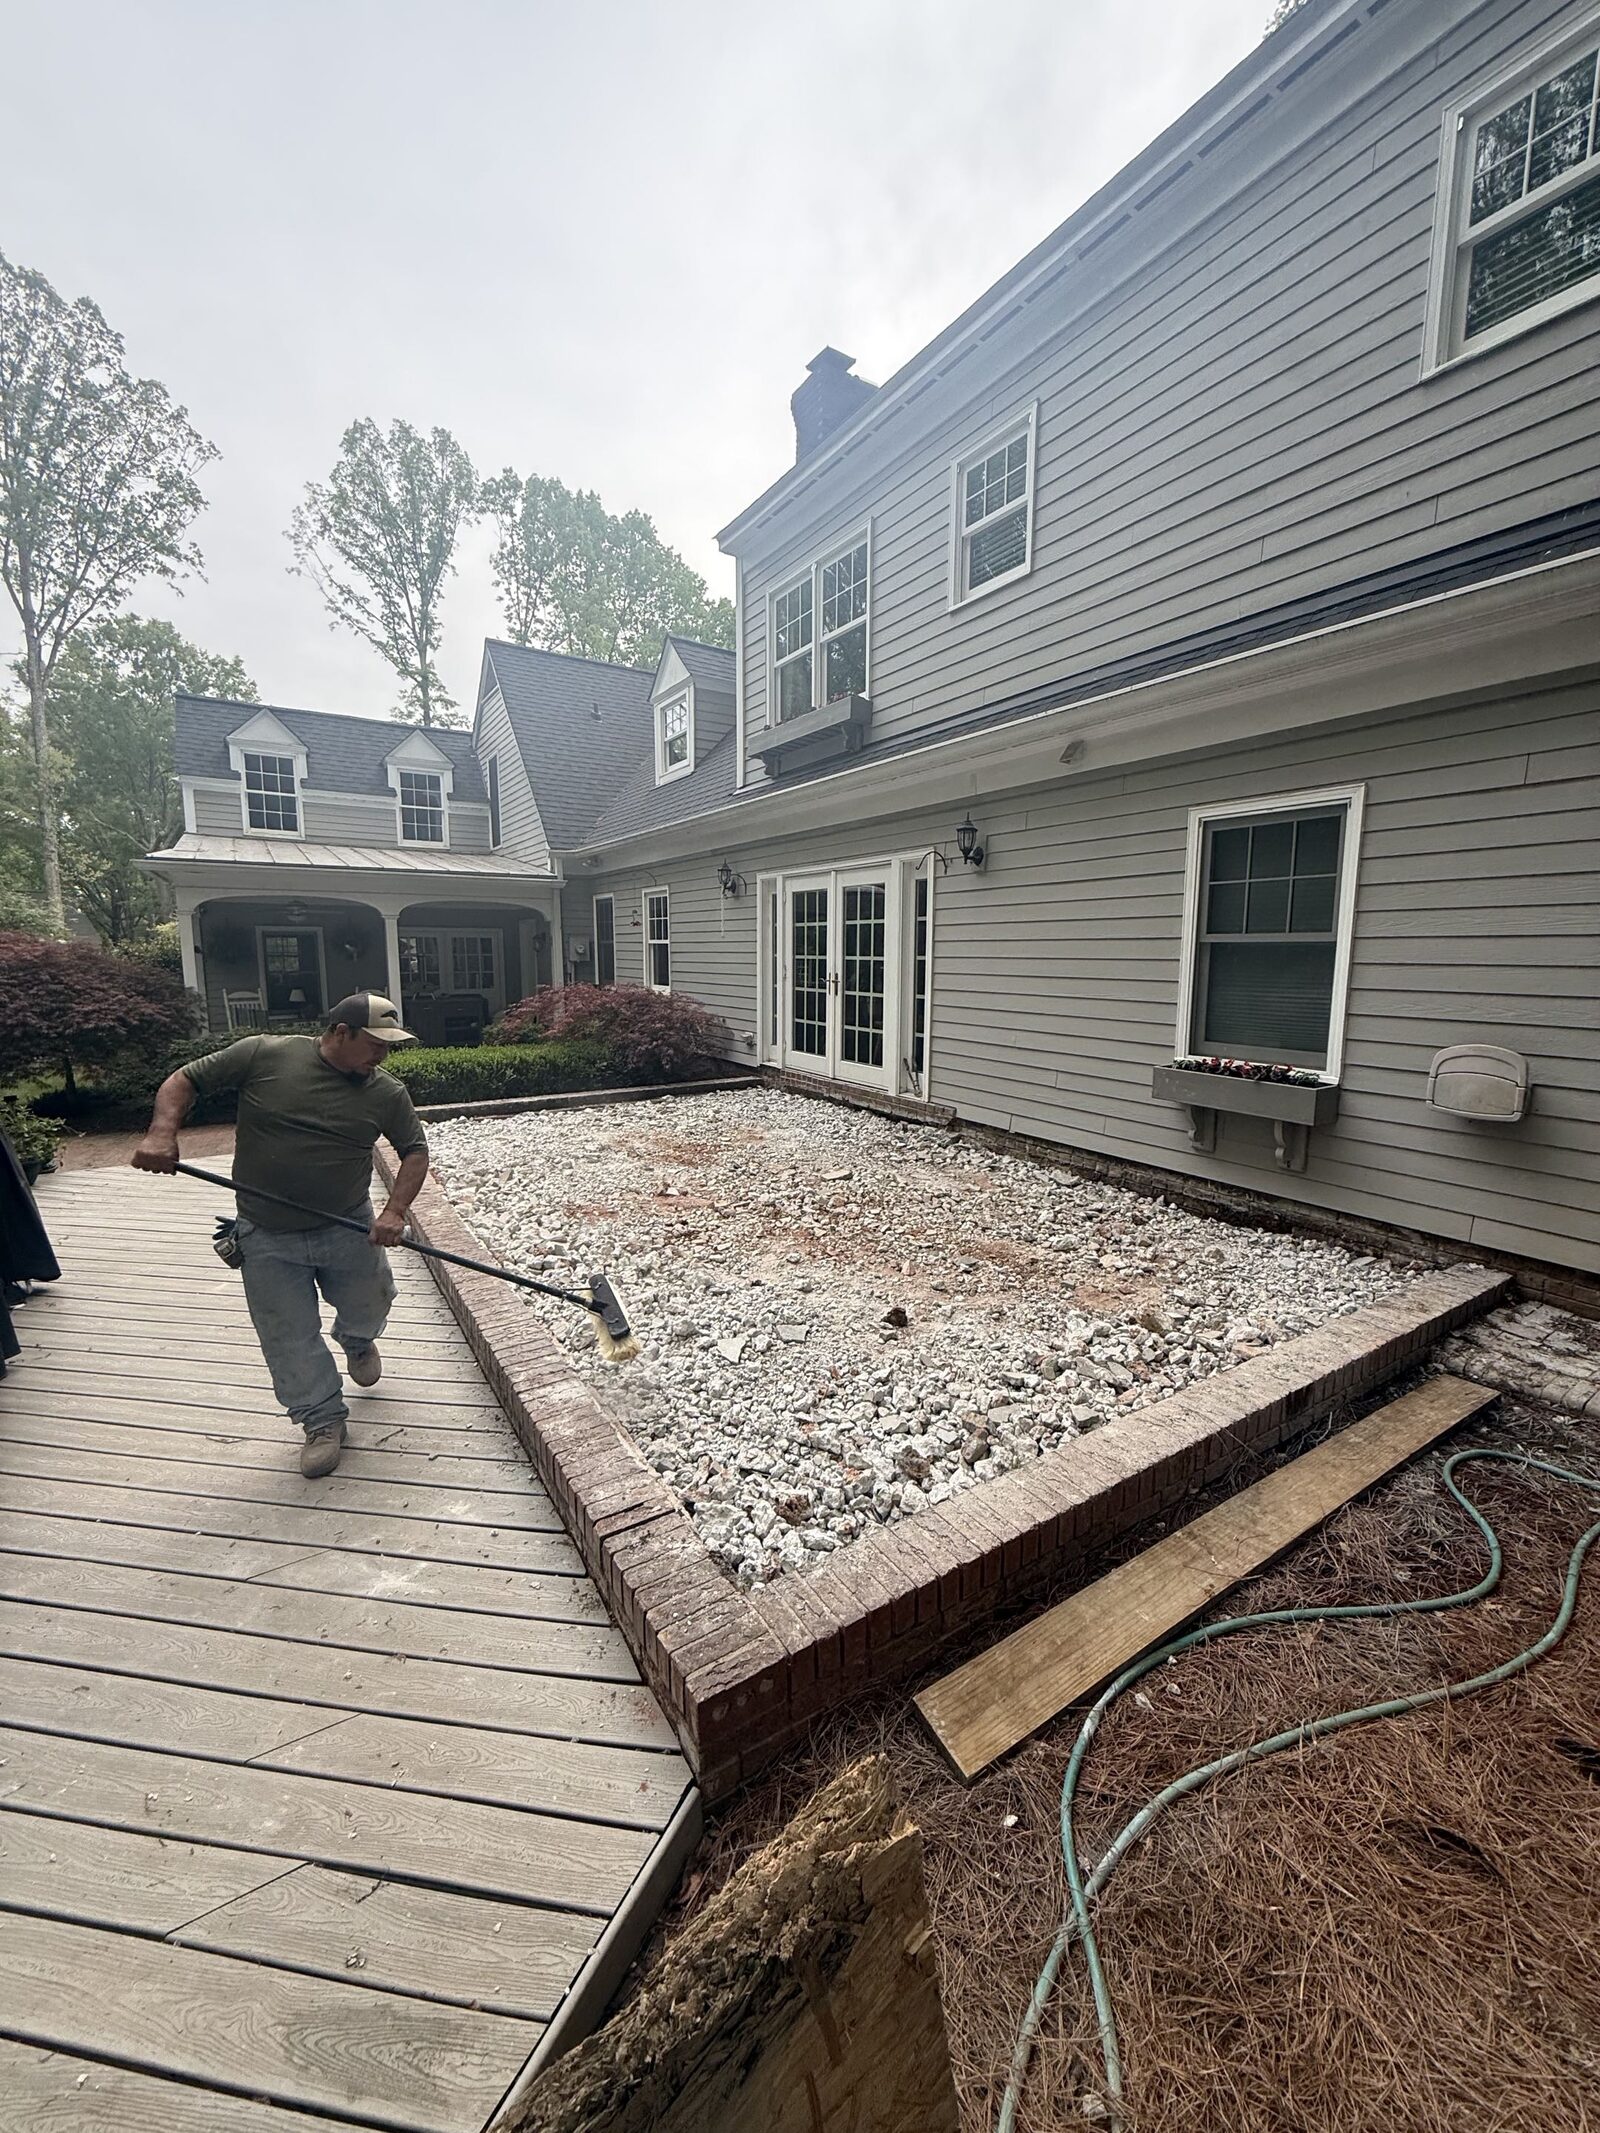
Backyard Patio
Full tear-out, new pour with brick-border detail
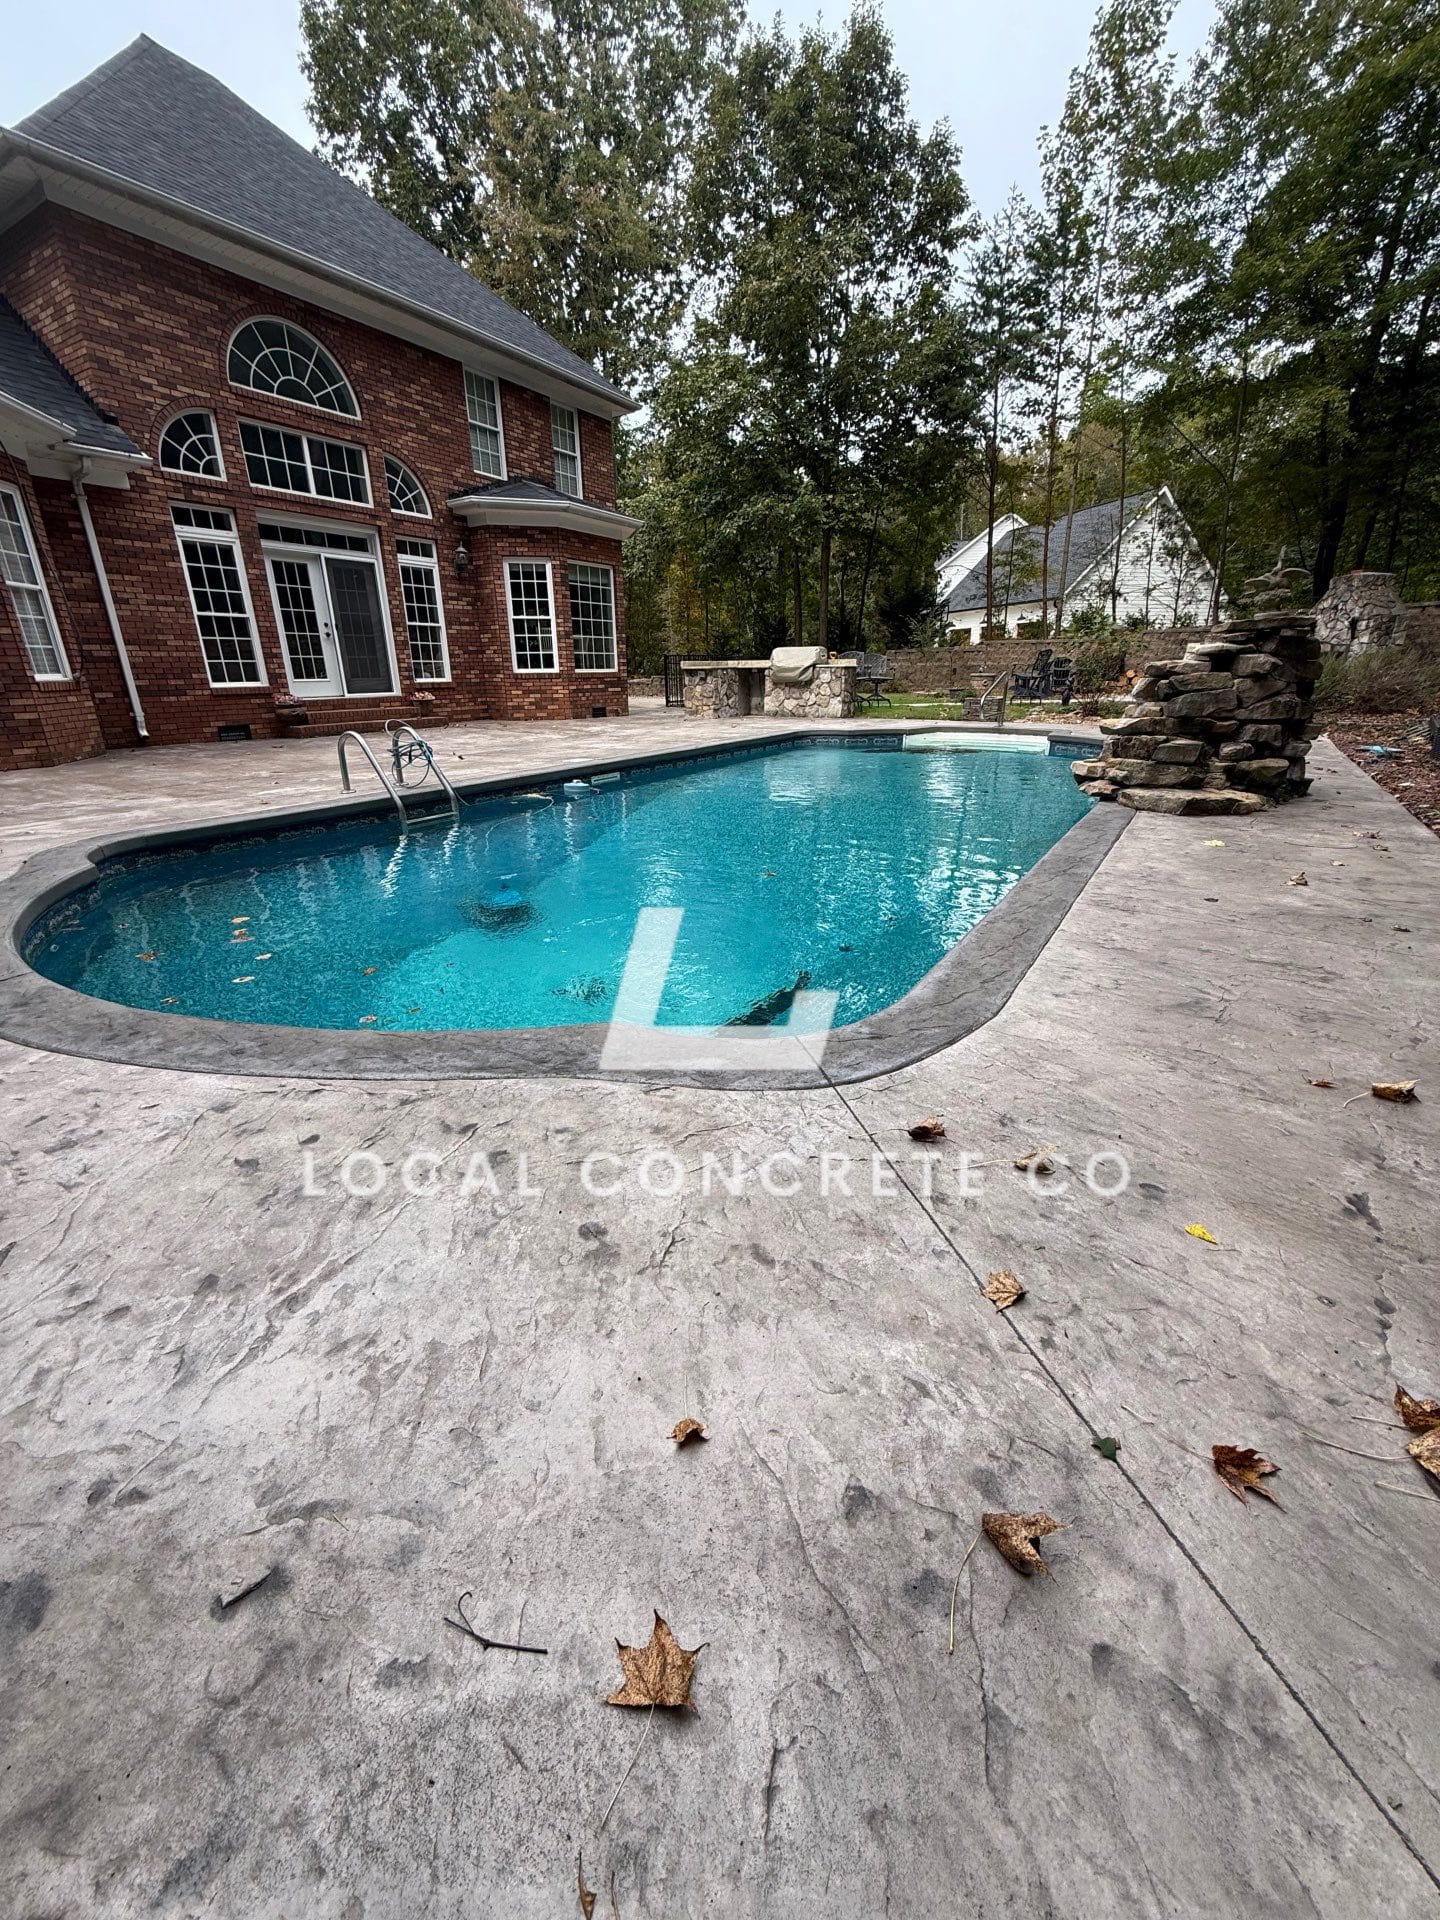
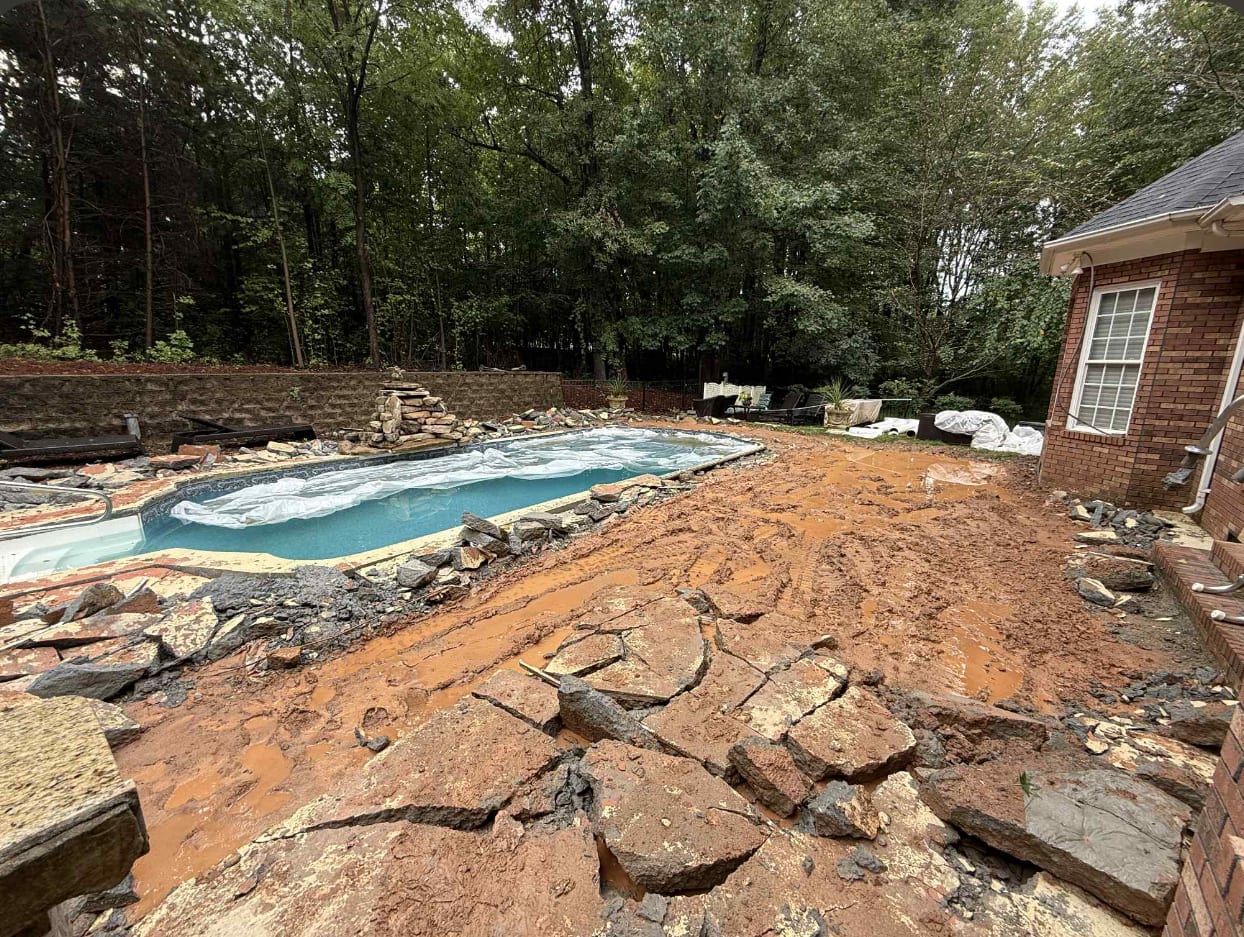
Stamped Pool Deck
Weathered deck replaced with textured stamped pour
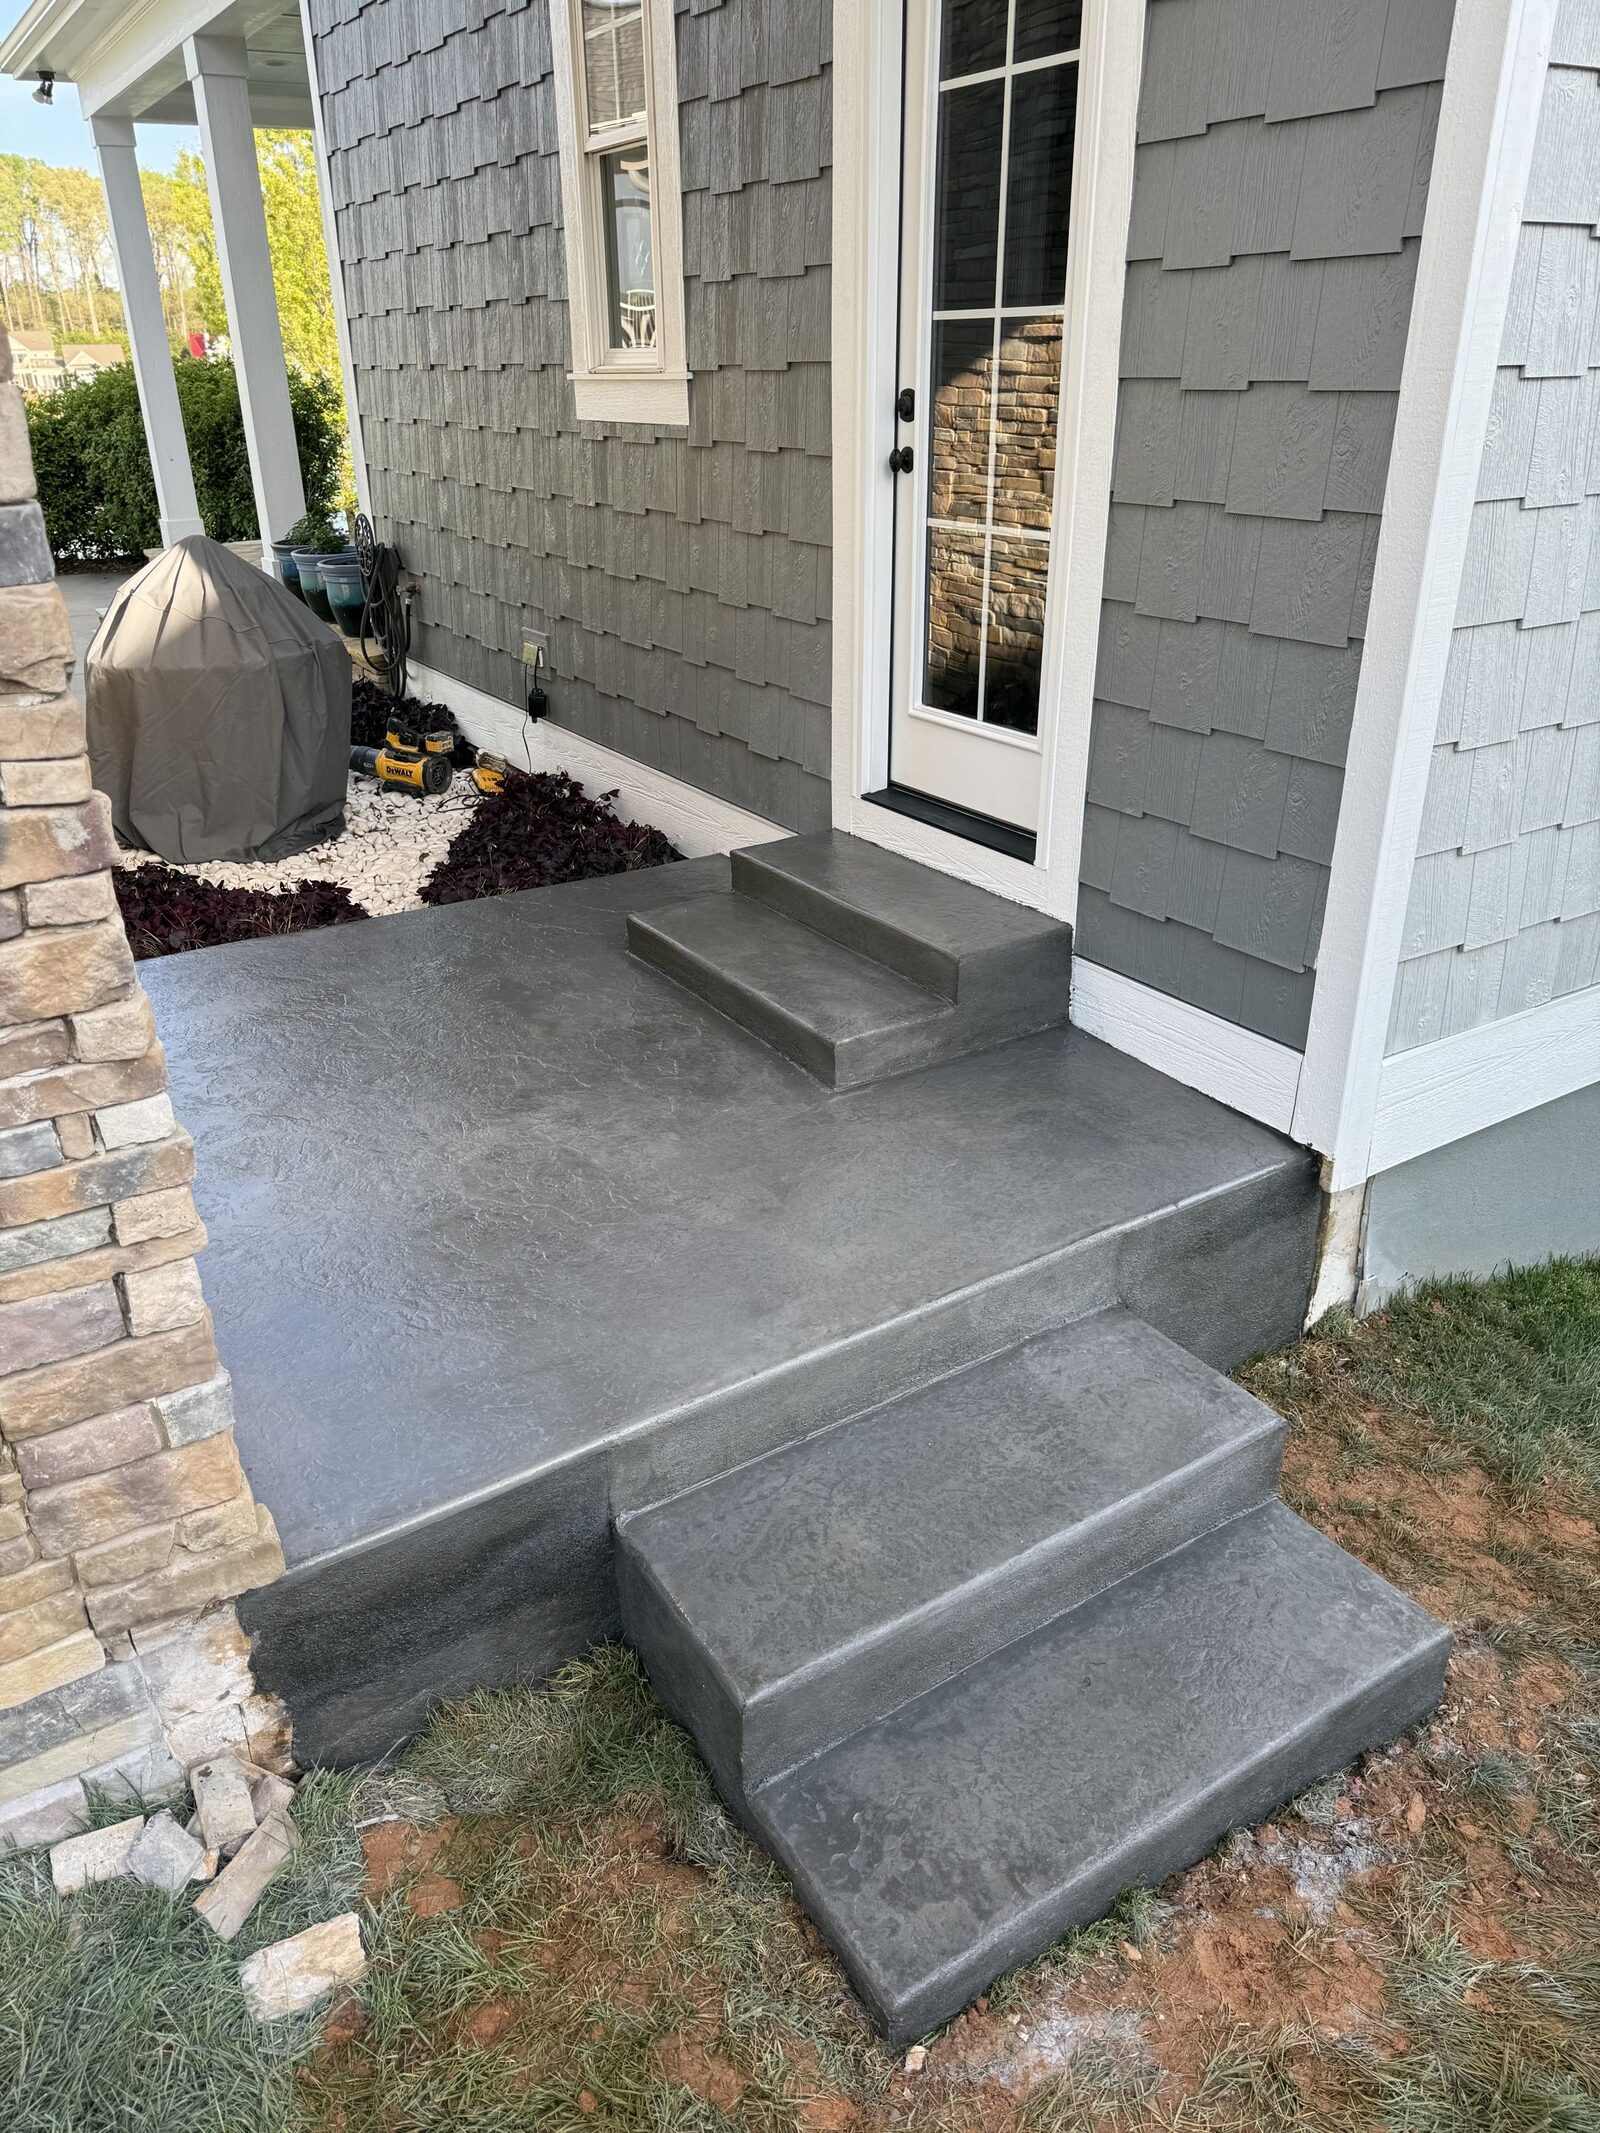
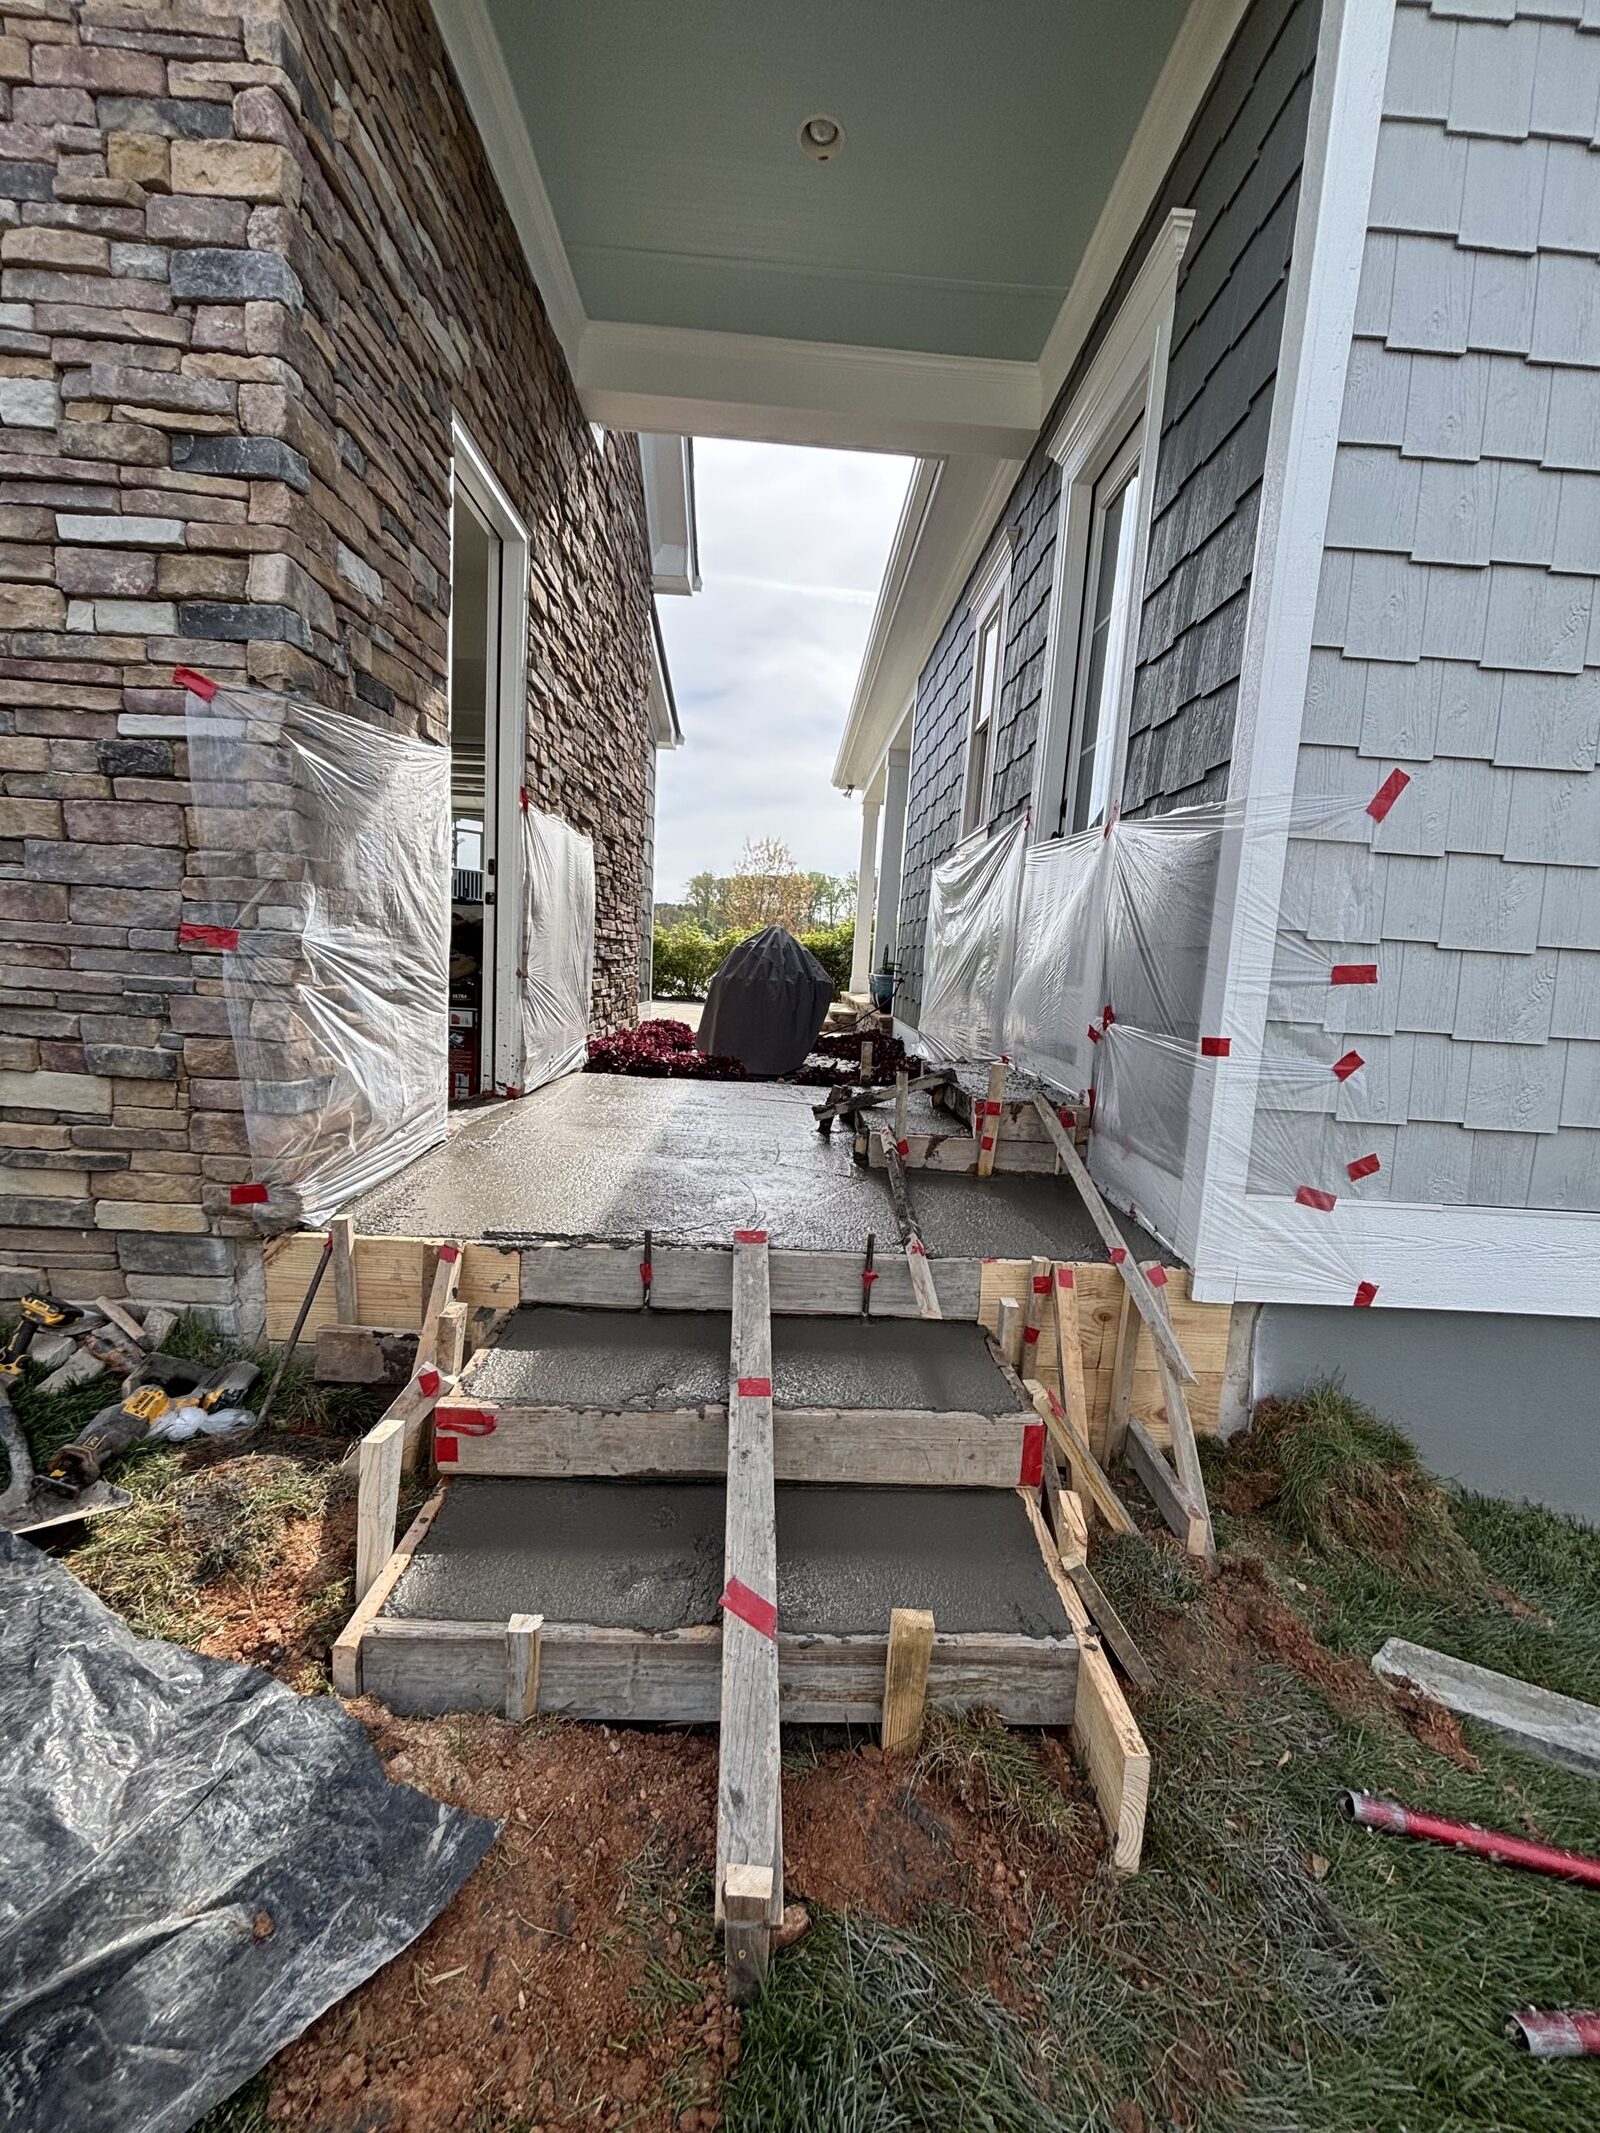
Front Porch & Steps
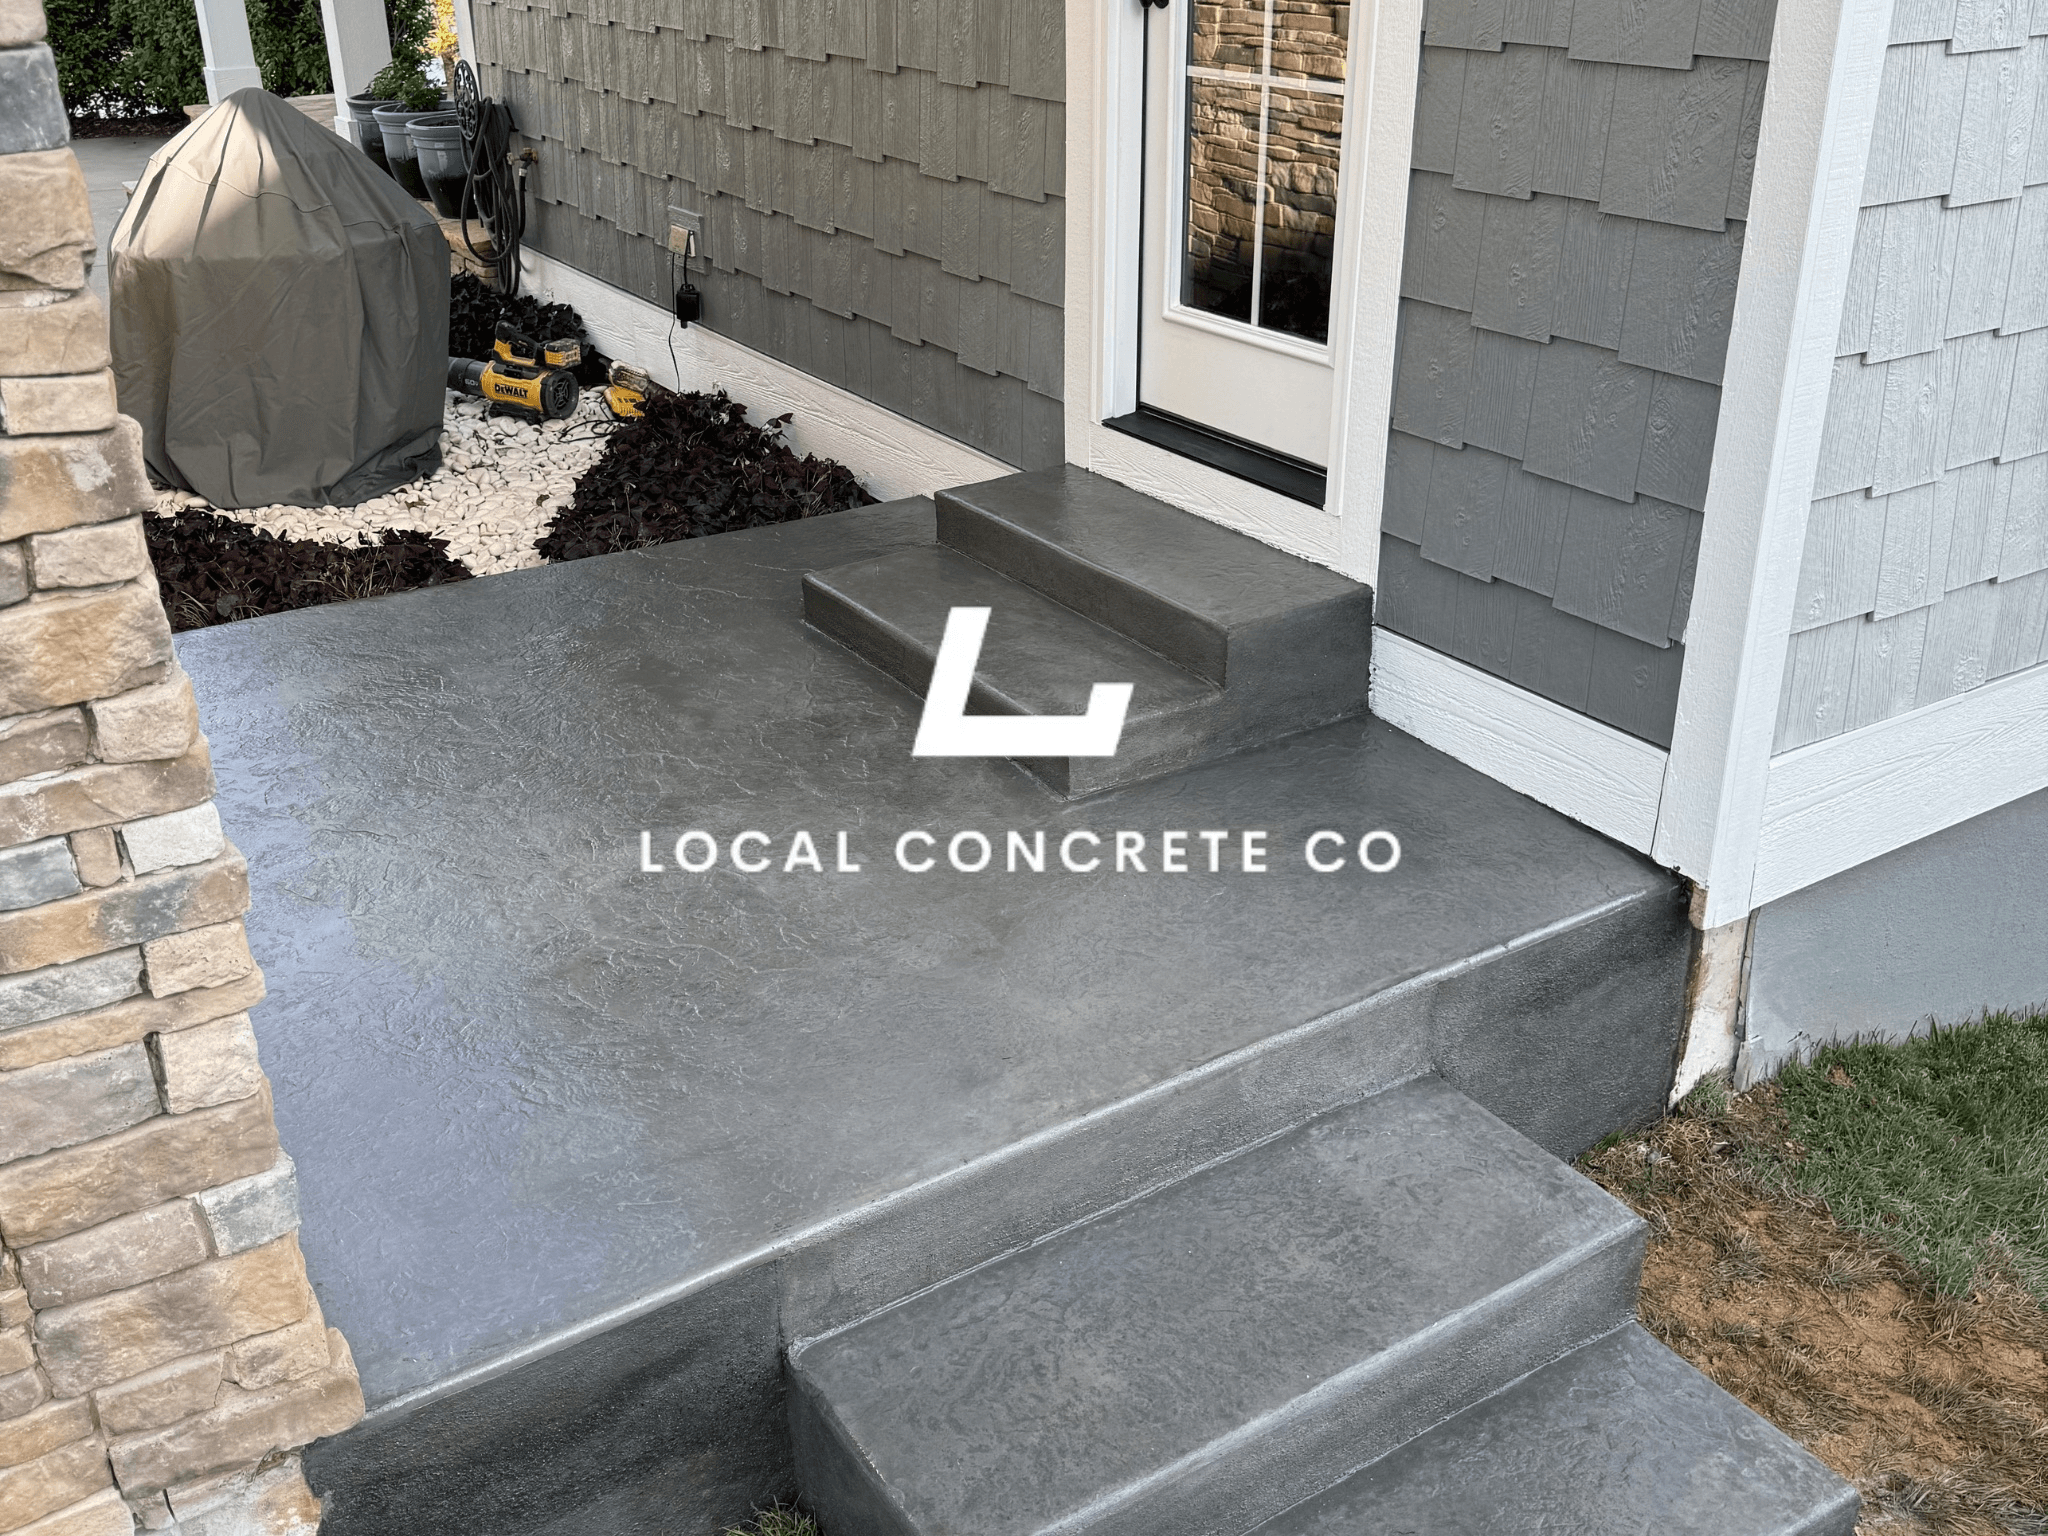
New entry pad plus poured steps to the door
A garage floor lives a harder life than most residential slabs. Cars roll in wet from a Piedmont thunderstorm, snow tires drag chloride in every winter, motor oil finds every hairline crack, and half the floor sits under the weight of a full-size truck ninety percent of the time. When a garage floor starts cracking across a bay, sinking at the door threshold, or lifting a corner near a support column, an overlay or a coating won't hold. What holds is the right slab thickness on a compacted base with a moisture barrier under it and a slope that moves water toward the door instead of ponding at the back wall.
Local Concrete Contractor pours new garage floors and replaces failed ones across North Carolina — attached garages, detached garages, garage additions, and floors going into existing pole-built or metal-building garages. Every job starts with a site walk — we look at existing slab condition, subgrade, drainage into and out of the garage, tie-in to any adjacent slab or driveway apron, and what vehicles will actually park inside. That walk turns into a written spec: thickness, base depth, reinforcement, moisture barrier, slope, and threshold detail. You see the number and you see where it came from. No deposit, no assumptions, no scope drift after the pour.
Our Garage Floor Services
Garage floor concrete work covers several distinct situations, and each one changes the spec on thickness, base prep, reinforcement, and tie-in detail.
- New garage floor installation on new-construction attached or detached garages
- Complete garage floor replacement — demo, haul-away, subgrade rework, fresh pour
- Garage floor pours going into an existing pole-built or metal-building garage that was originally left as dirt or gravel
- Attached garage addition floors, including tie-in to the existing house footing at the shared wall
- Detached garage floors, either as part of a new build or as a slab going into a garage shell built by someone else
- Extension slabs — pushing a garage floor forward to add a workshop area, a bay, or a covered outdoor space
- Threshold and apron pours where the garage door meets the driveway, including thickened section under the door track
- Interior mechanical pads — furnace pads, water heater pads, tool cabinet bases inside the garage
- Repair and re-pour on failed garage slabs where cracks, settlement, or spalling are past the point overlay can fix
If the existing floor is spider-webbed, sunken at the door, or heaved from a support column, patching usually just delays the replacement. We'll walk the floor, tell you where you actually stand, and price both options so the comparison is honest.
Garage Floor Spec — Thickness, Base, Moisture Barrier
The spec on a residential garage floor is short but every line matters. This is the slab your daily driver rolls onto and the one motor oil finds first.
- Slab thickness — four inches is the residential minimum and the working default for standard passenger vehicles and light-duty trucks. Five to six inches is what we spec when the garage will see a floor lift, a fifth-wheel or RV parked inside, regular boat-trailer storage, or a full-size dually.
- Thickened section under a lift — where a two-post or four-post lift will bolt down, a thicker slab section (typically six to eight inches with heavier rebar) sized to the lift manufacturer's spec
- Compacted gravel base — four inches of number 57 stone over compacted subgrade is the working default. Deeper on soft clay, less on well-drained sand.
- Moisture barrier — six or ten mil polyethylene under the slab is standard on any residential garage. Skip it and the slab wicks ground moisture into everything stored inside year-round.
- Reinforcement — wire mesh is legitimate on a four-inch residential slab where the code allows it. Number-three or number-four rebar on twenty-four-inch centers is the upgrade for garages seeing heavier vehicles, lifts, or workshop use.
- Concrete strength — 3,500 to 4,000 psi standard, higher on garages seeing heavier loads
- Slope to drain — a small fall (one-eighth to one-quarter inch per foot) from the back wall out toward the garage door, so water off wet tires and melting snow leaves the garage instead of ponding at the back
- Floor drain option — a center drain tied to daylight or a French drain, common in workshop garages
- Thickened threshold at the garage door — where the door track lands and where tire load concentrates repeatedly
- Control joints saw-cut on the standard grid, laid out to avoid cutting through the walking path from the door to the interior
All of that appears on the spec sheet.
Get your free quote
We respond in less than 2 hours.
Why Local Concrete Contractor?
- 01.Precision craftsmanship
- 02.Transparent pricing models
- 03.Dedicated project manager
- 04.Zero Deposit Required
Our Concrete Installation Process
Every garage floors we pour runs through the same 18 checkpoints — from the on-site consult through the final walkthrough.
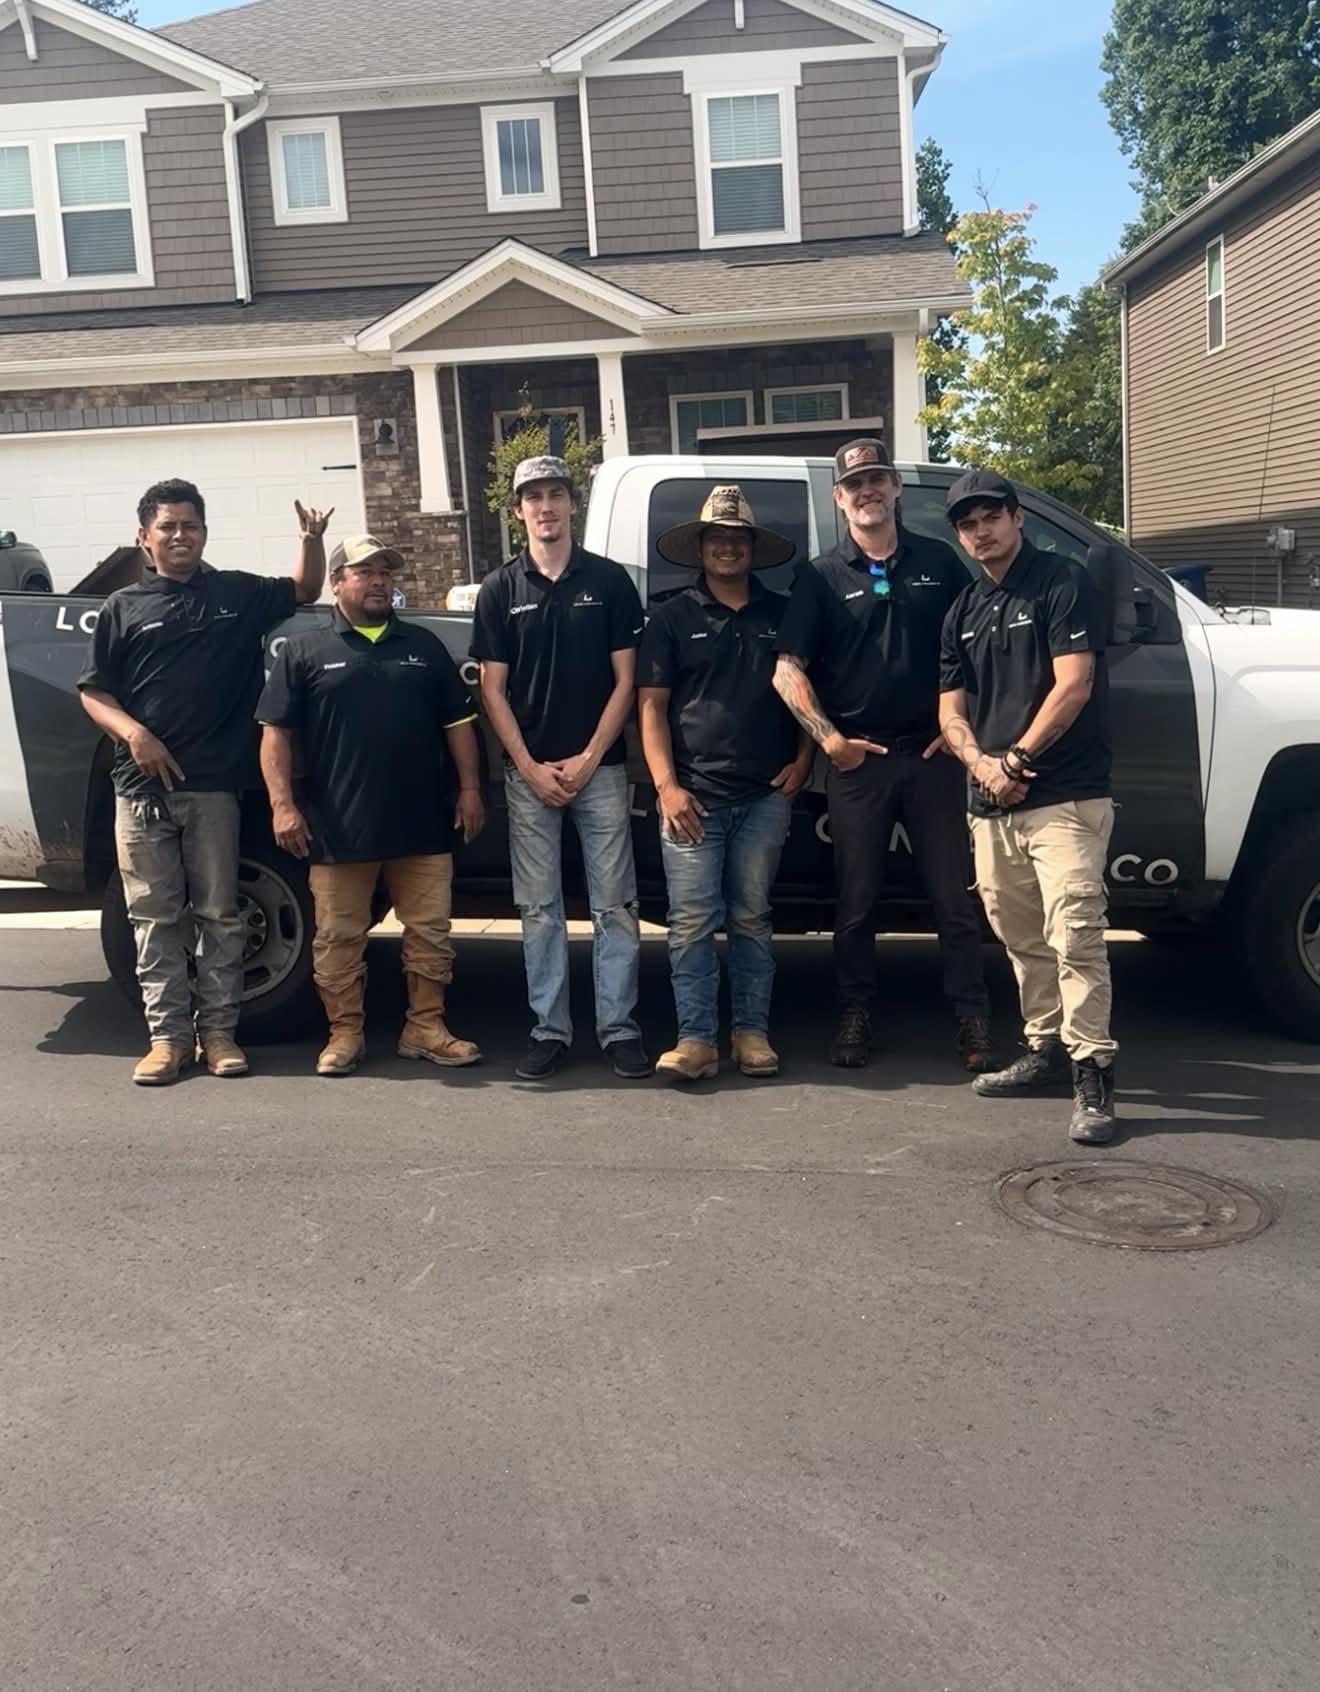
Scope Walk & Written Bid
A crew lead walks the site (or reviews plans), scopes the failure mode or new pour against your operational constraints, and delivers a written fixed-price bid with milestone draw structure.

Logistics & Scheduling
Coordinating crew, equipment, and weather windows to ensure a seamless project start.

Custom Mix Design
Ordering specific concrete additives and slump requirements based on current temperature and humidity patterns.
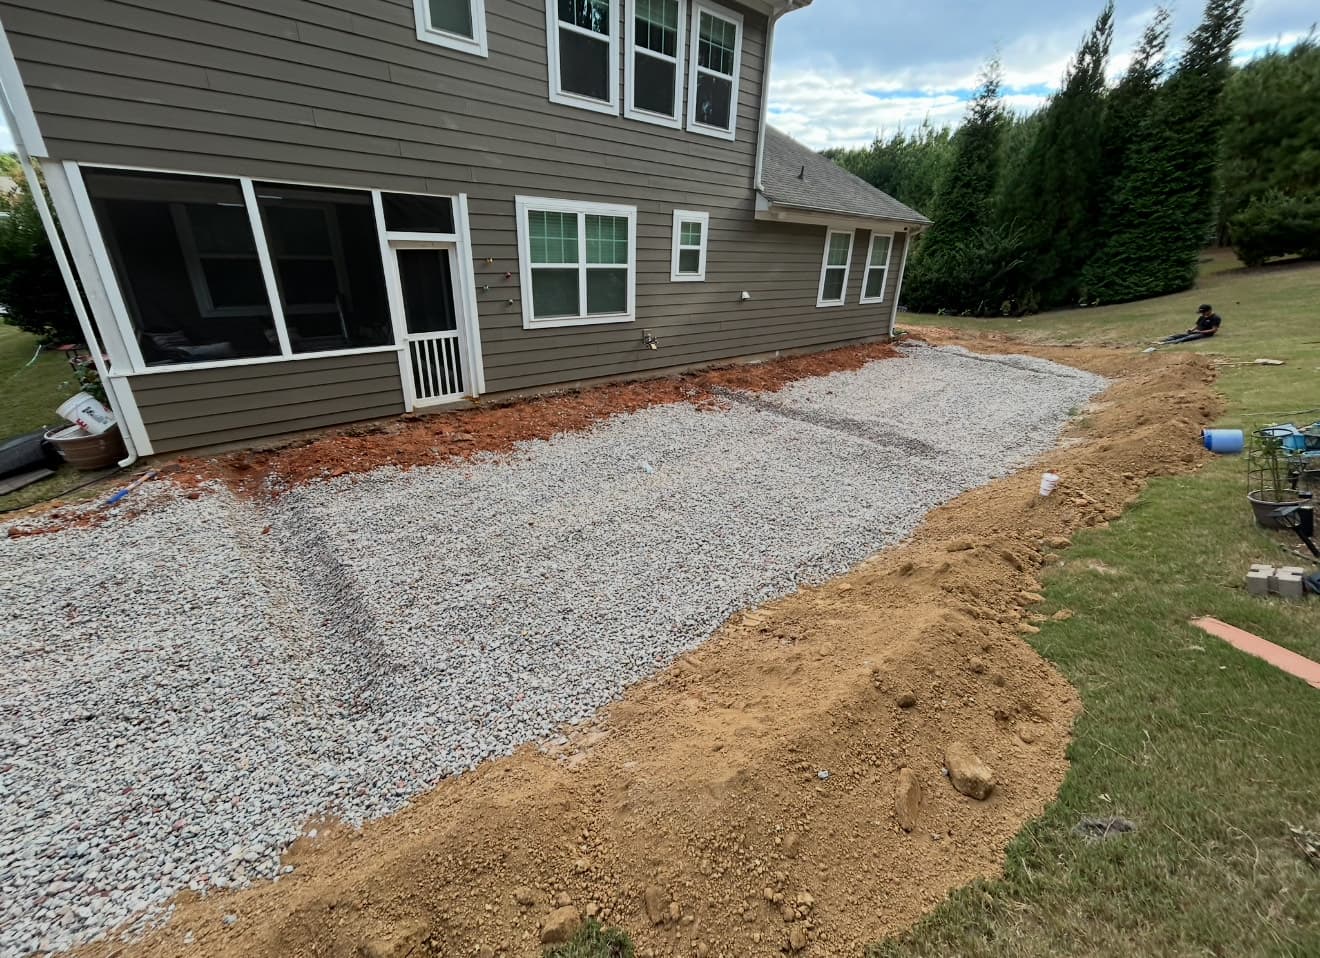
Site Preparation
Preparing the workspace and establishing safe access routes for our equipment and crew.
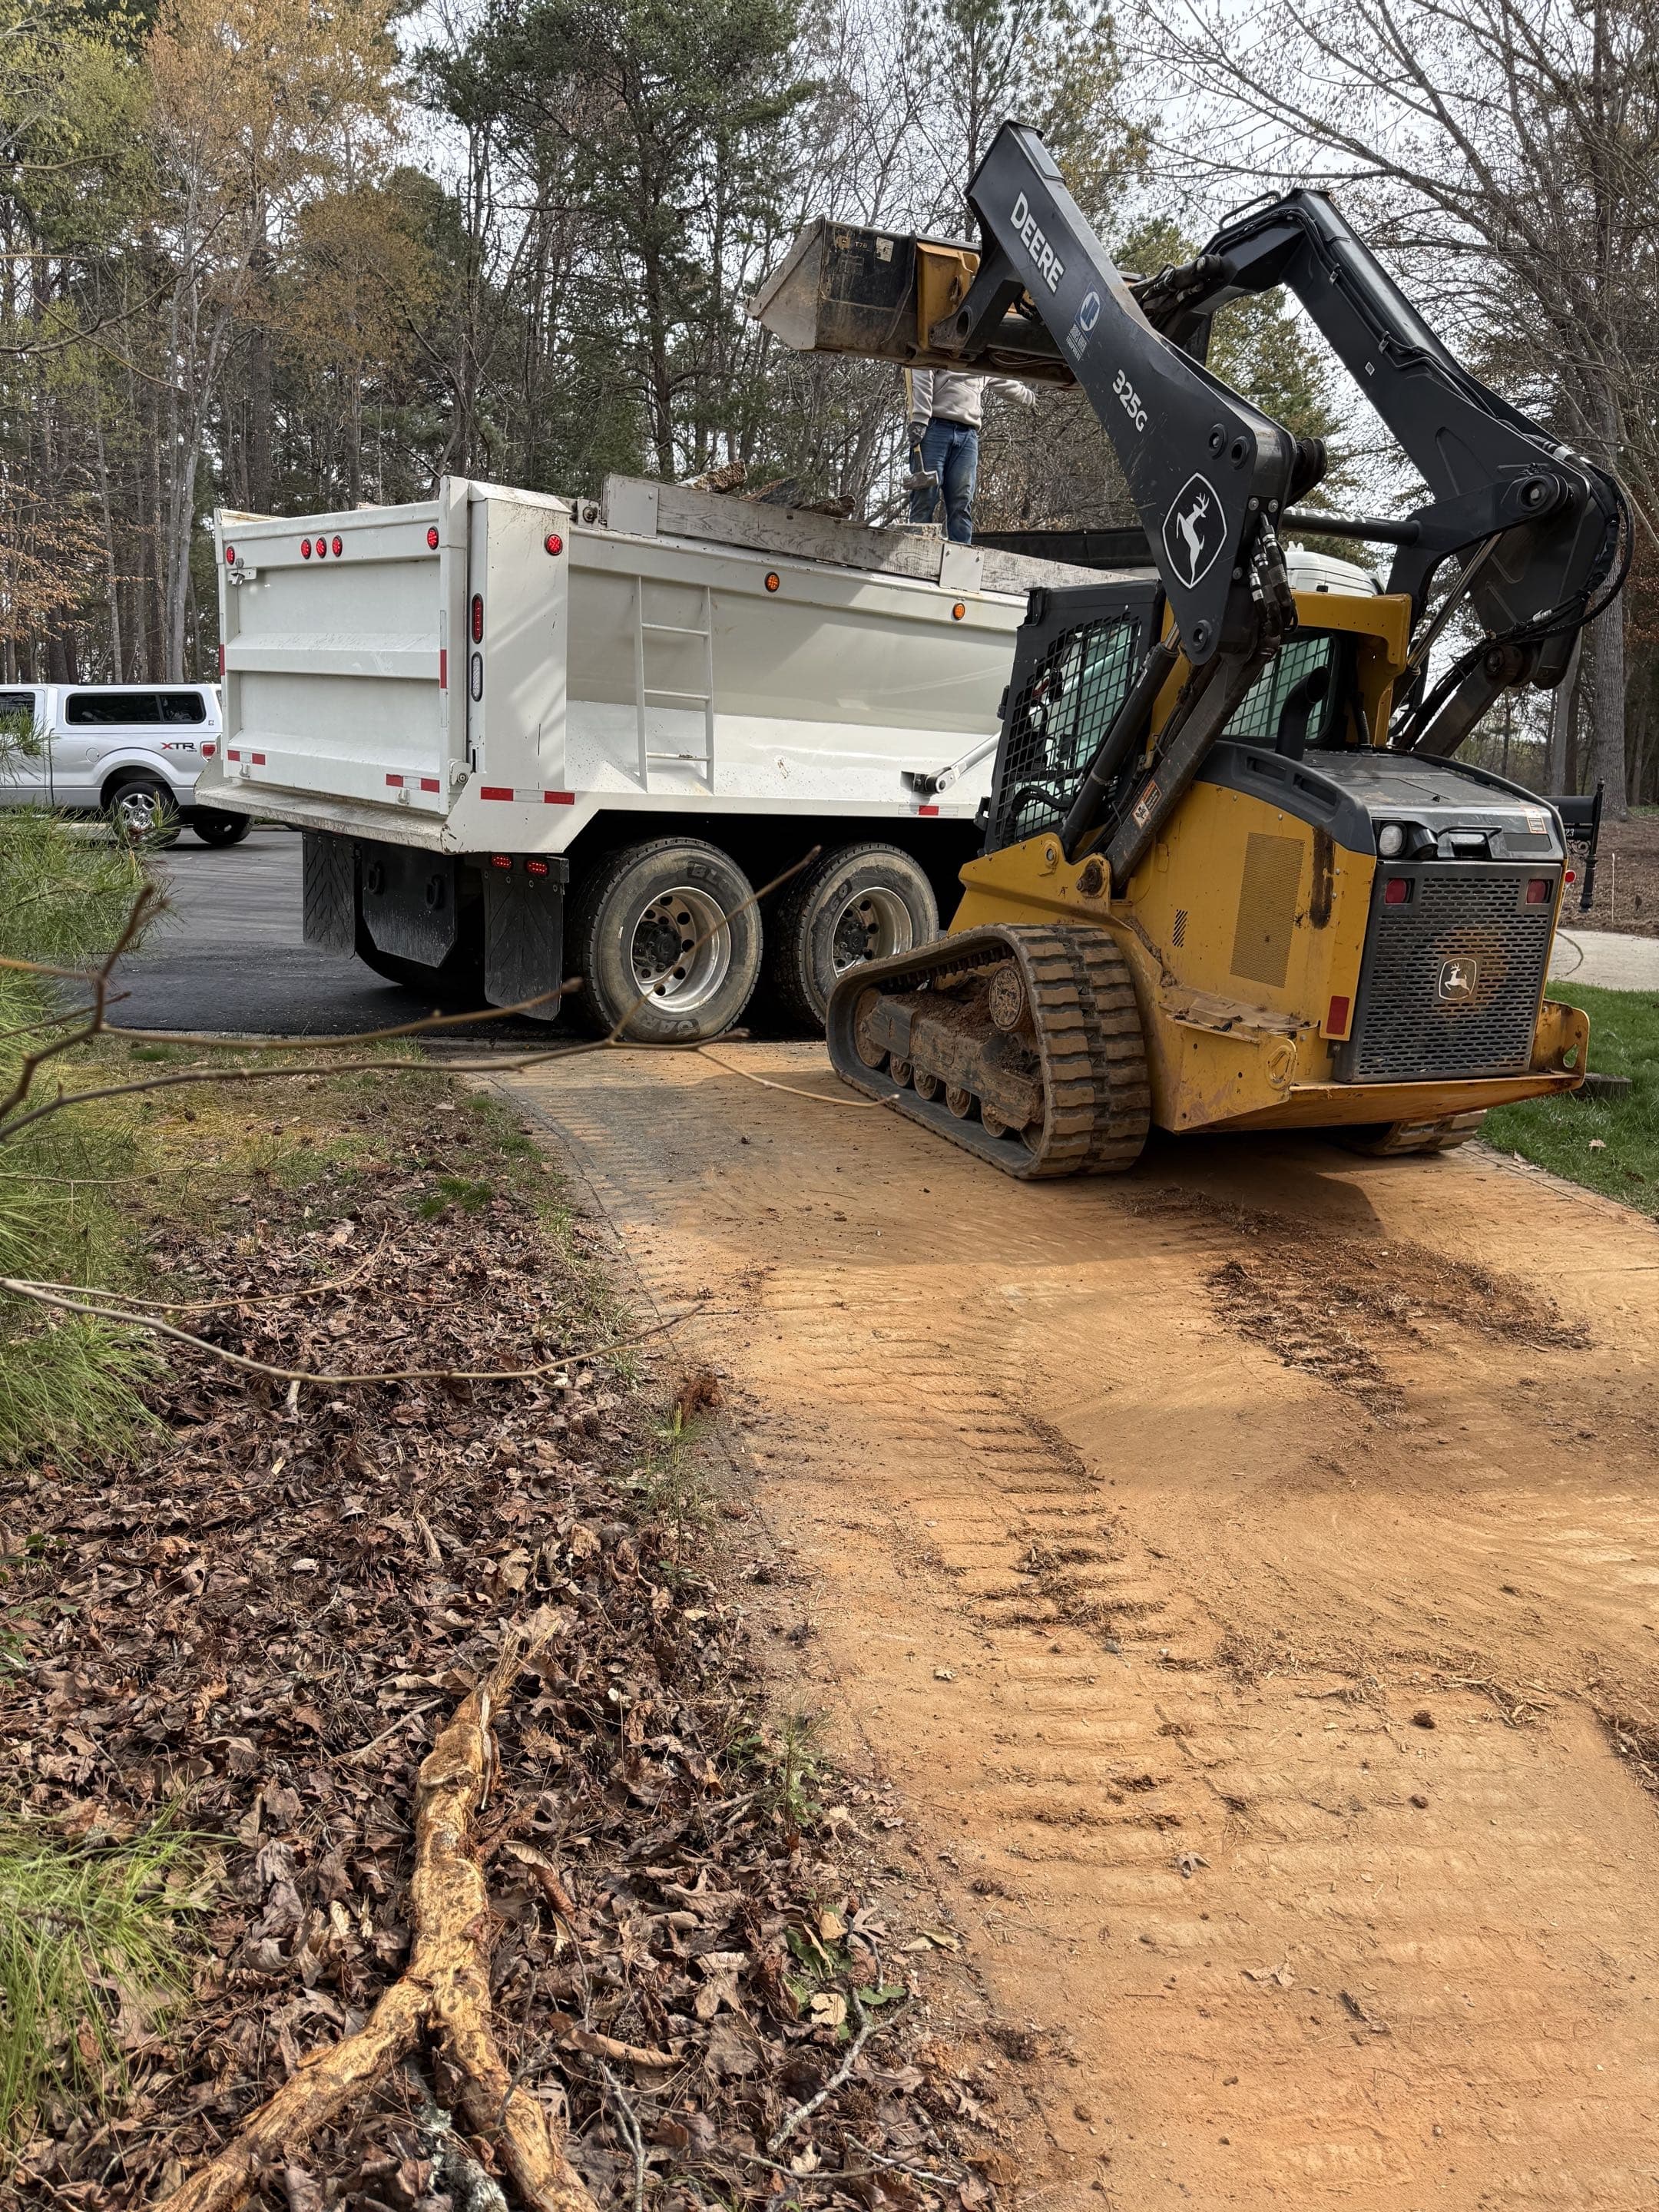
Demolition
Removal and disposal of existing concrete, leaving a clean slate for your new installation.
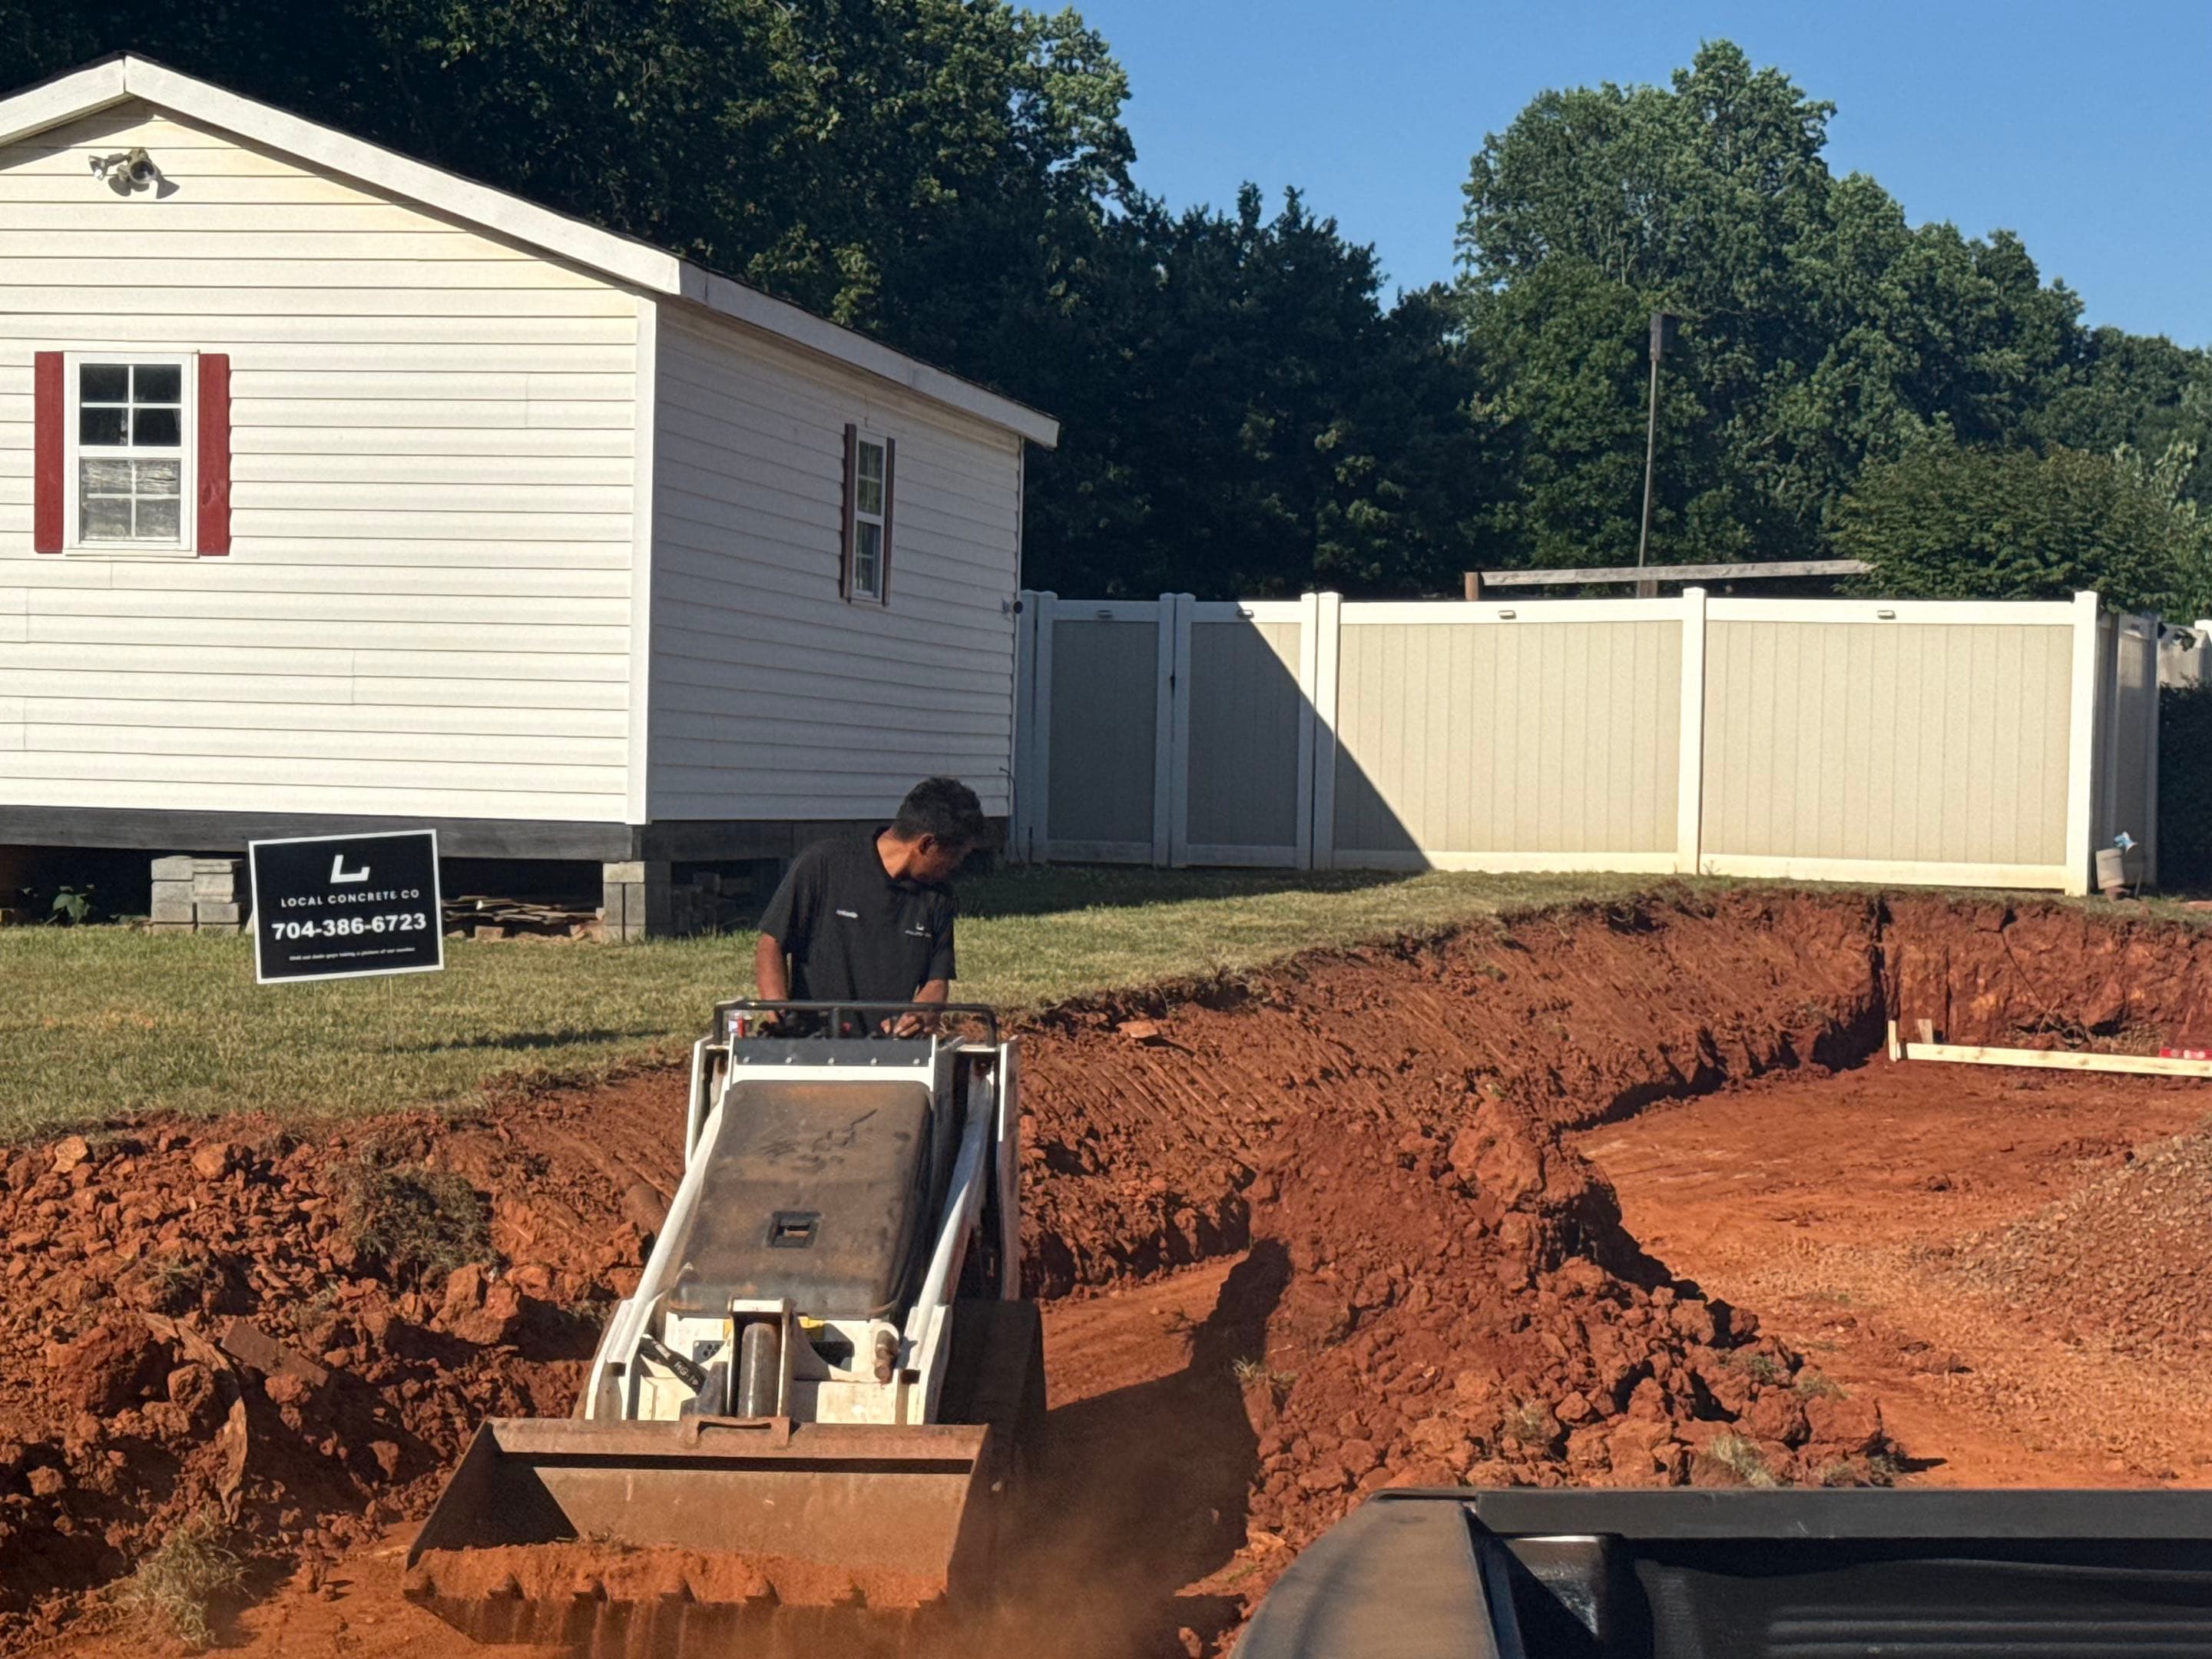
Grading & Forming
Expert grading for proper drainage and setting high-quality lumber forms for clean edges.
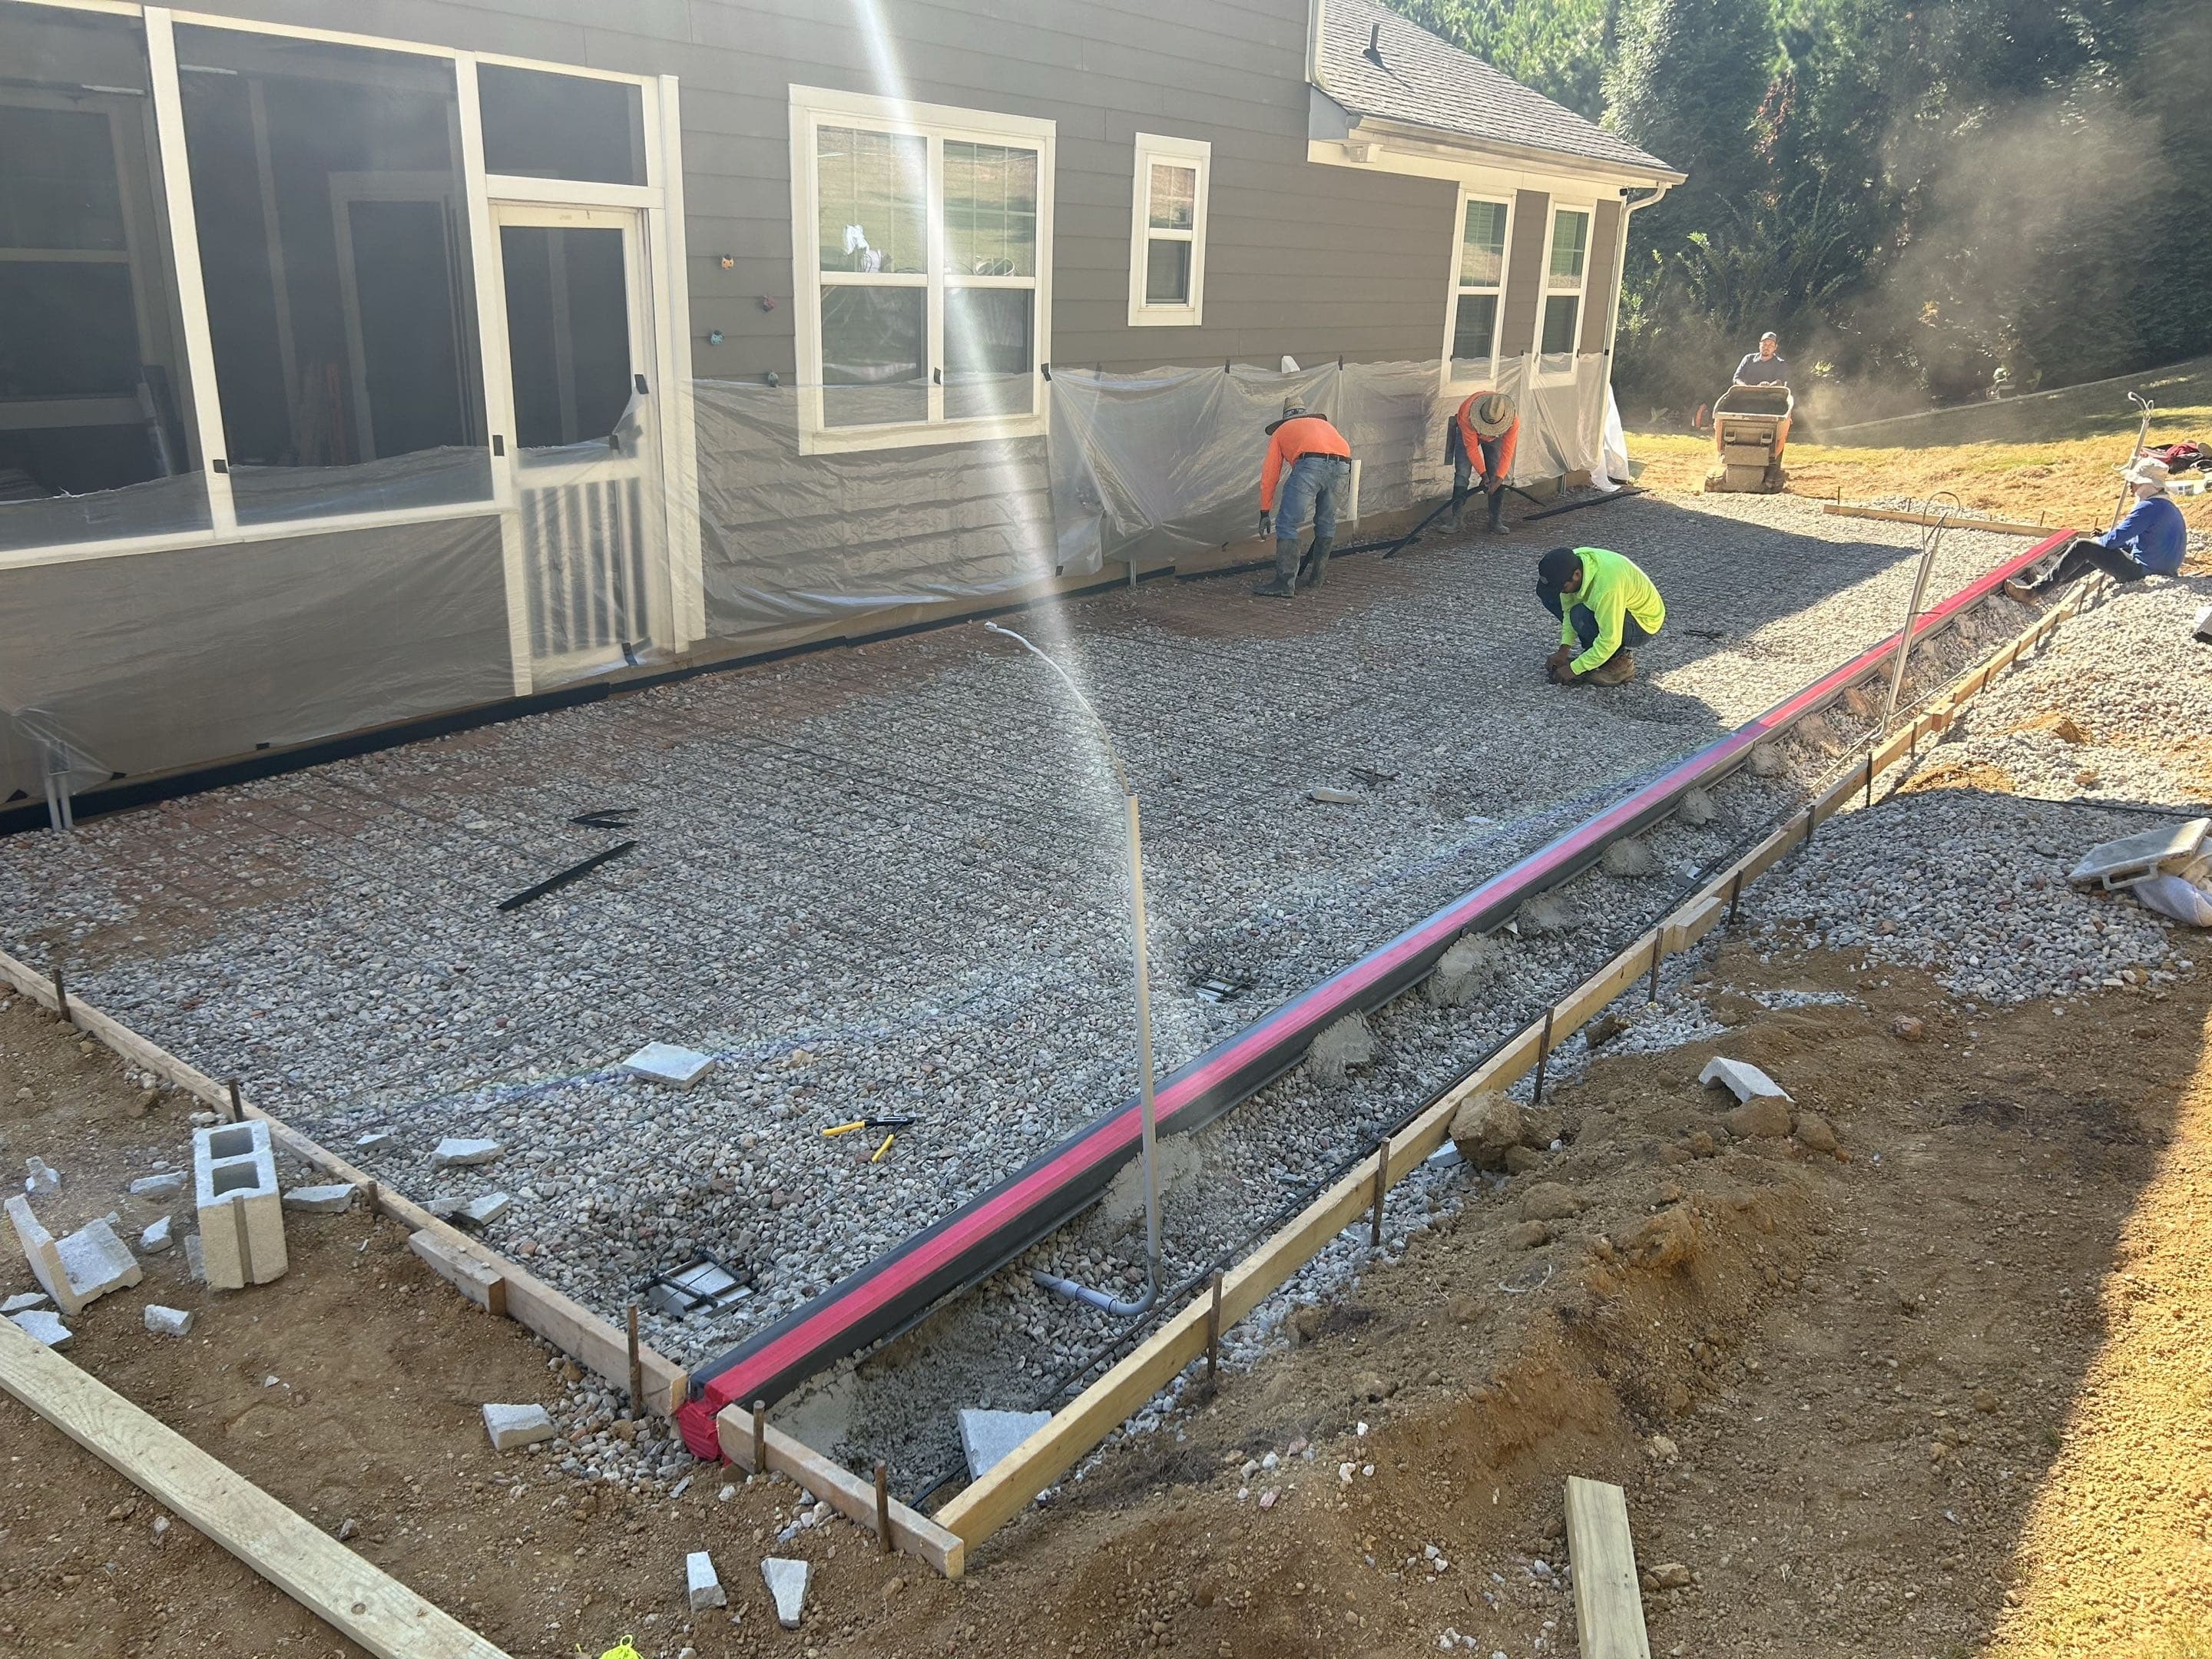
Reinforcement
Installation of steel rebar or wire mesh grid, using 1/2 inch grid for structural tensile strength.
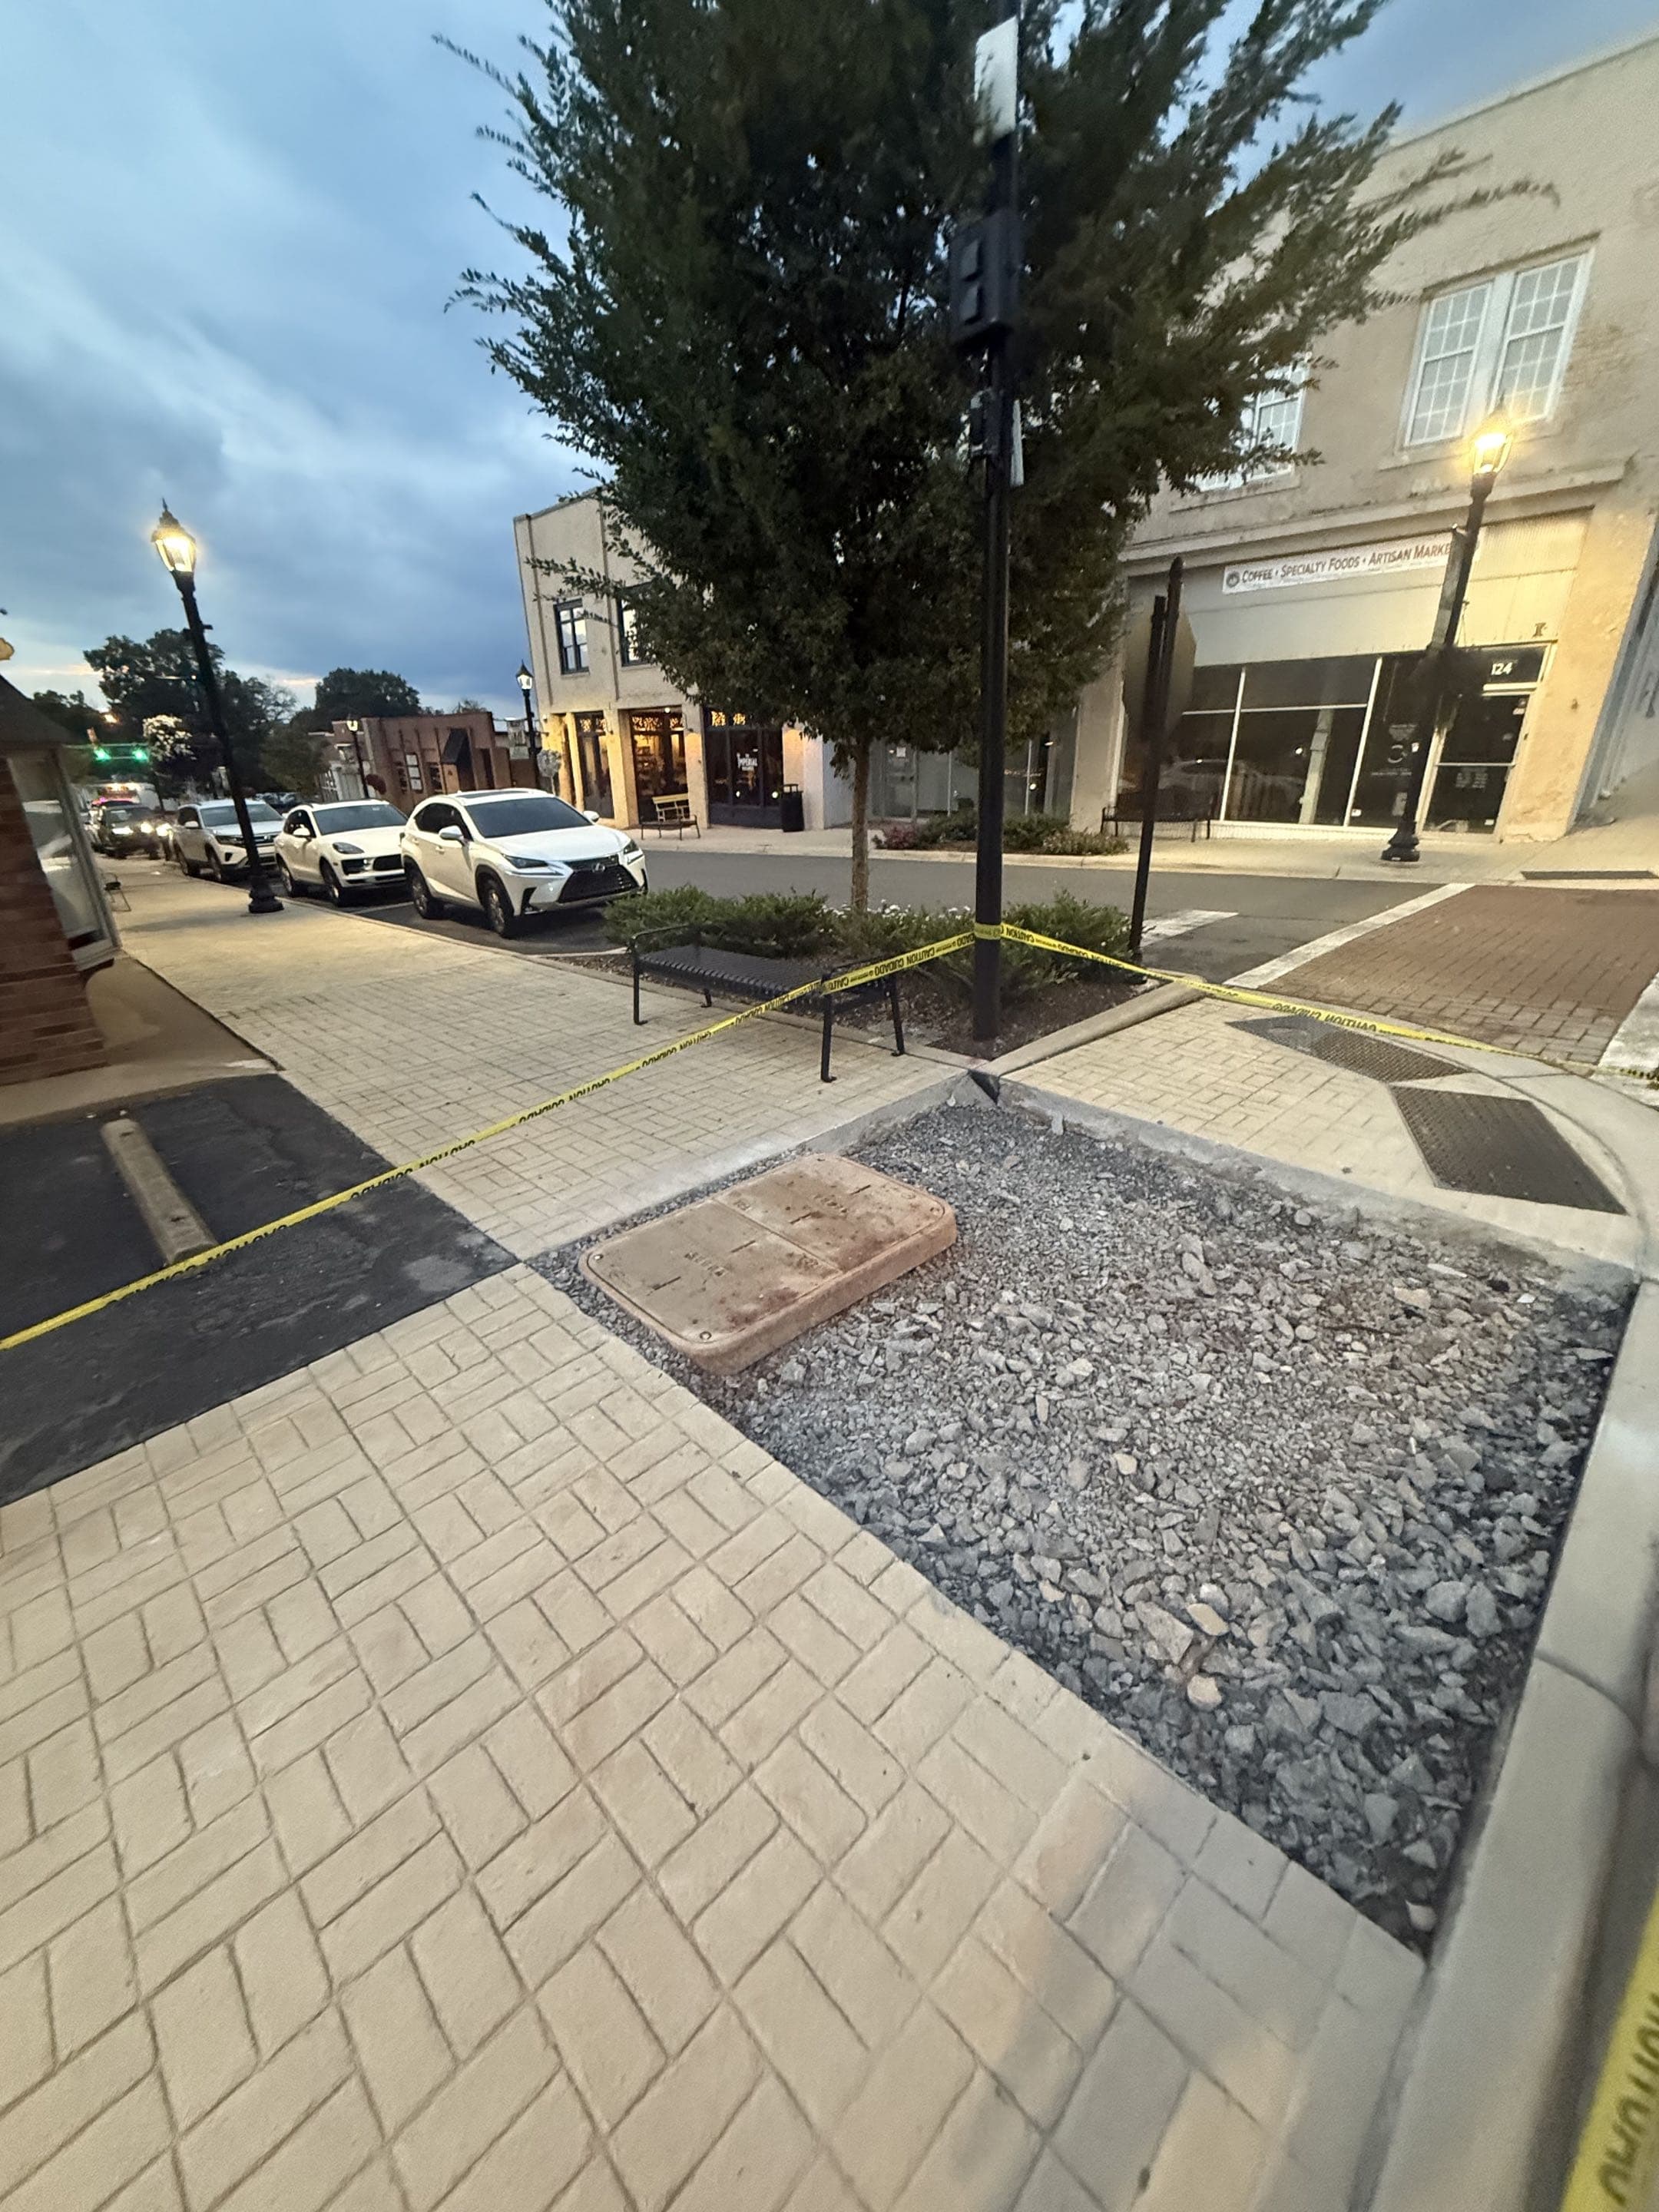
Pre-Pour Inspection
A final check of elevation, form stability, and reinforcement placement before the truck arrives.
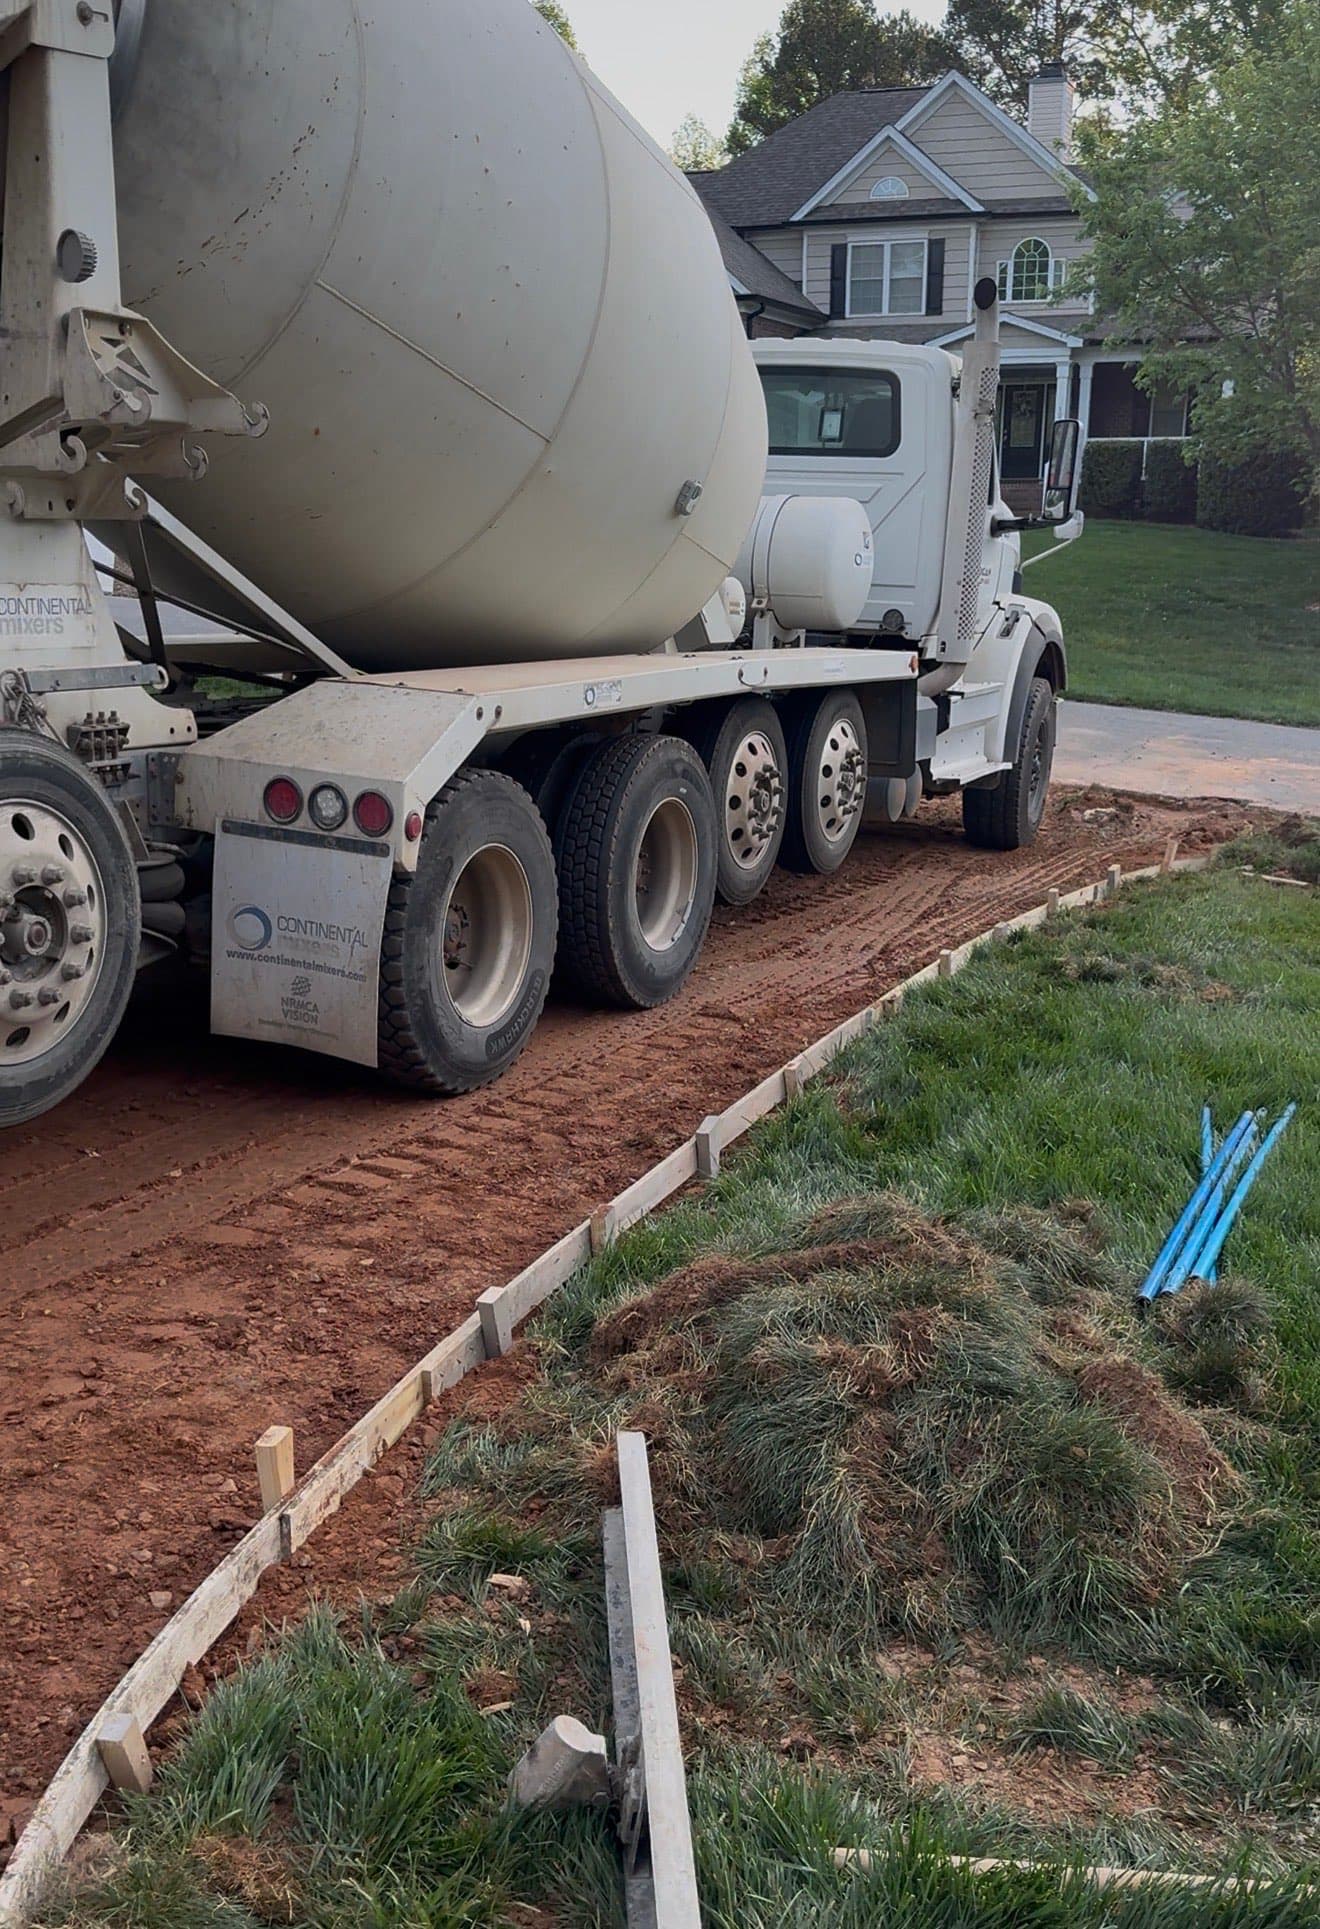
Slump Testing
Verifying concrete consistency on-site to ensure it meets the engineered mix design.
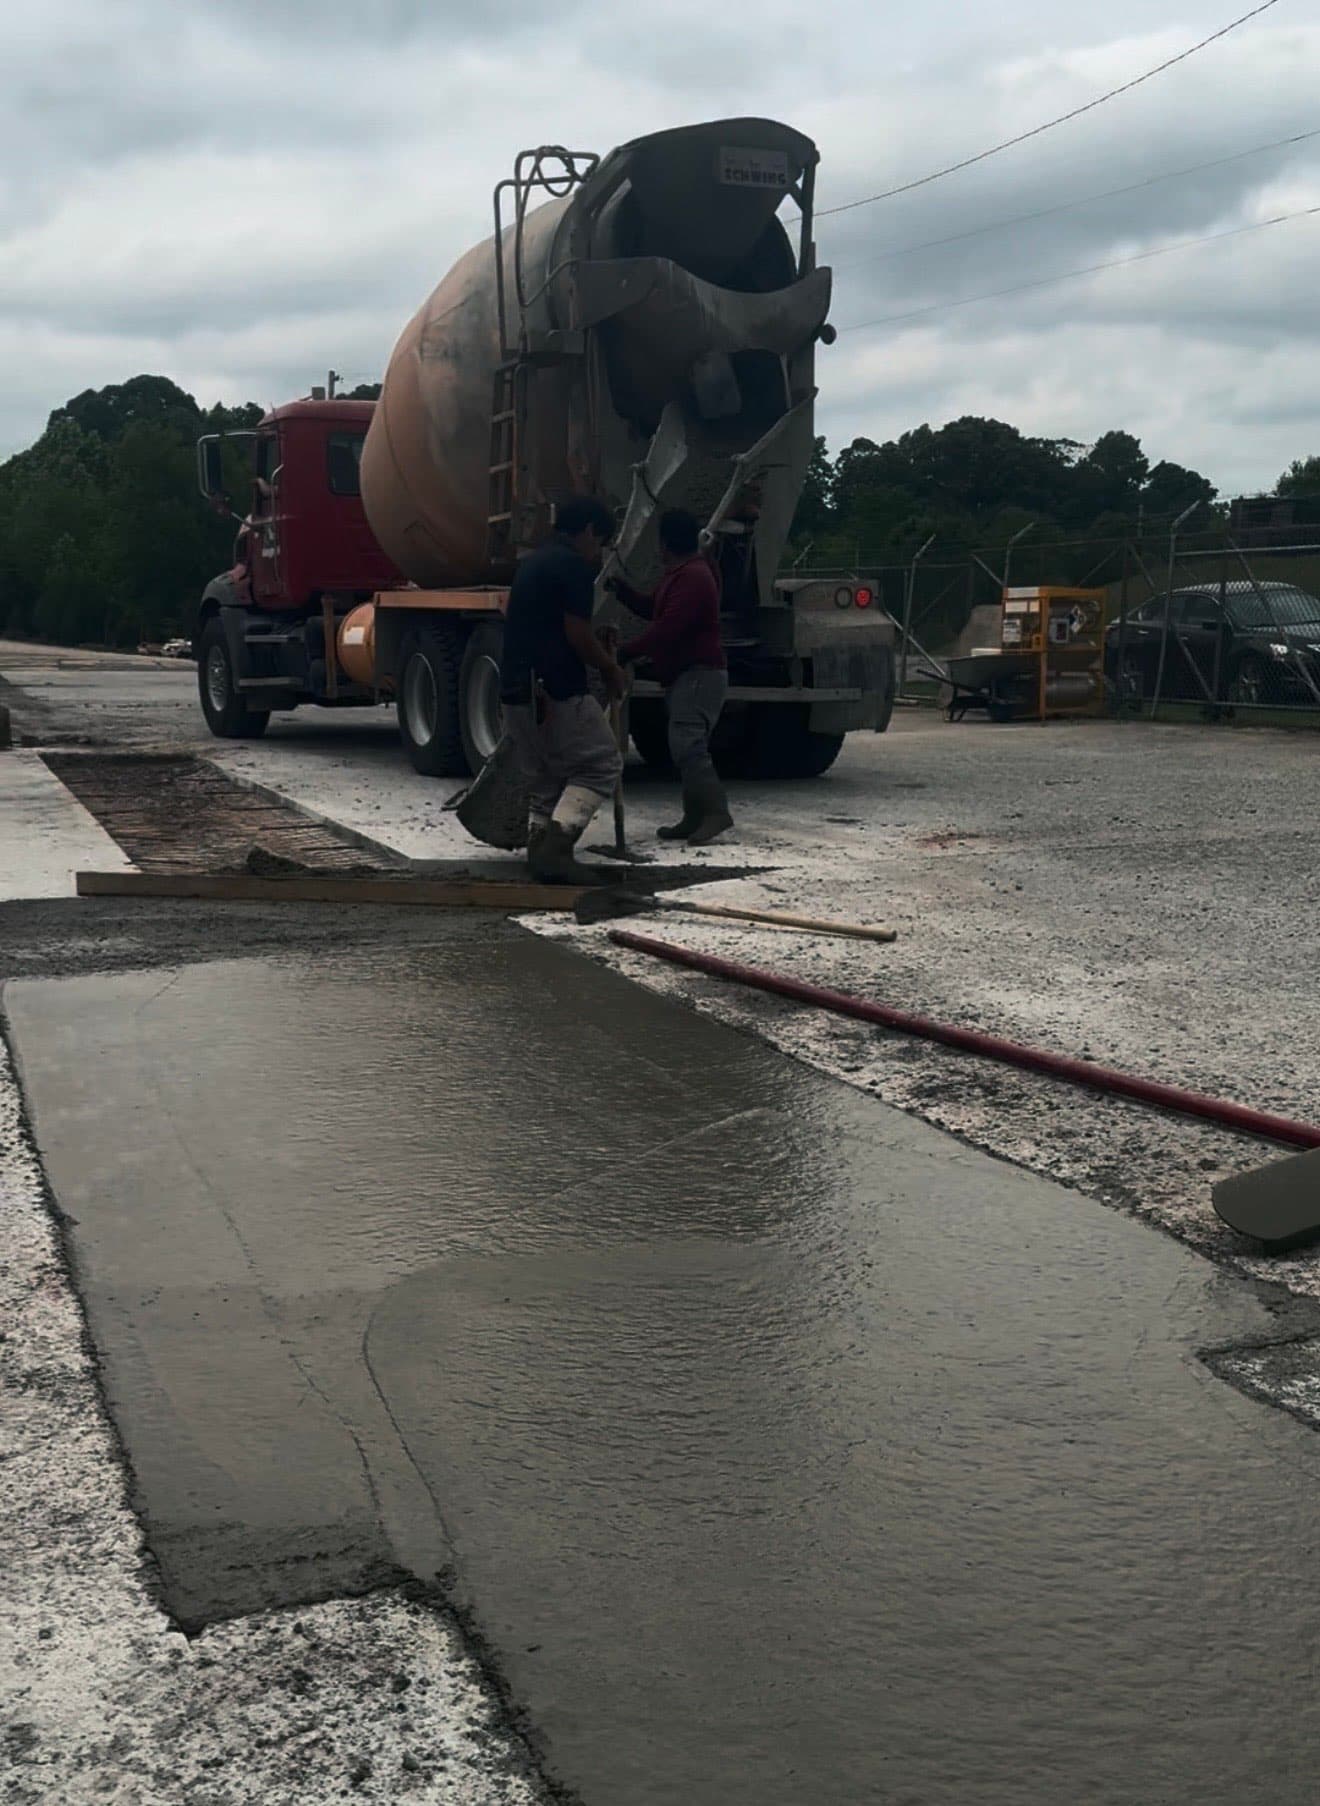
Placement
Controlled pouring and placement of concrete to avoid cold joints and ensure uniformity.
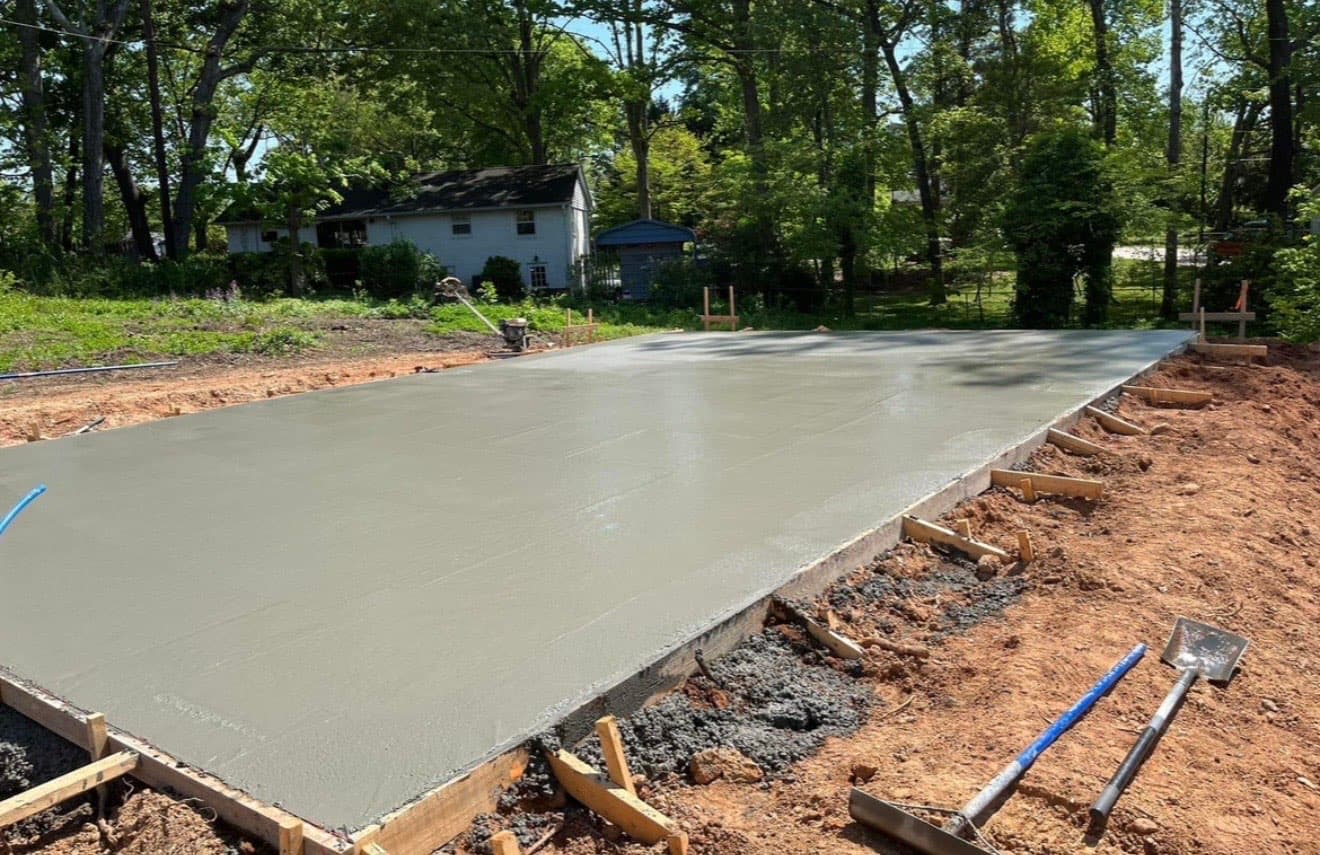
Bull Floating
Pushing aggregate down and bringing 'cream' to the surface for a smooth finishable layer.
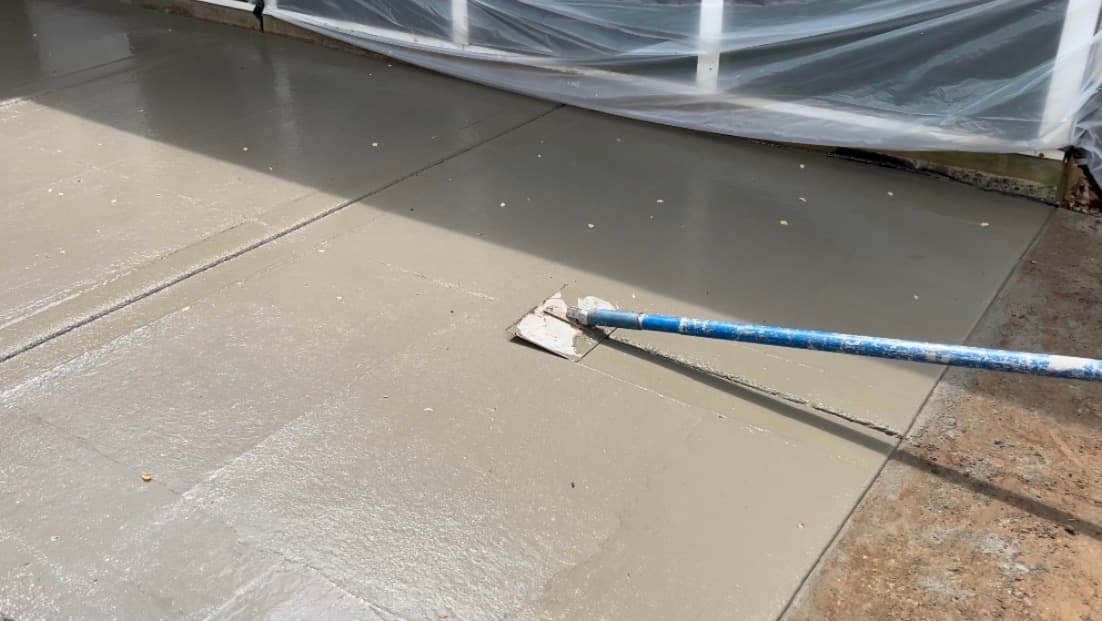
Edging & Jointing
Creating rounded edges for durability and cutting control joints to manage expansion.
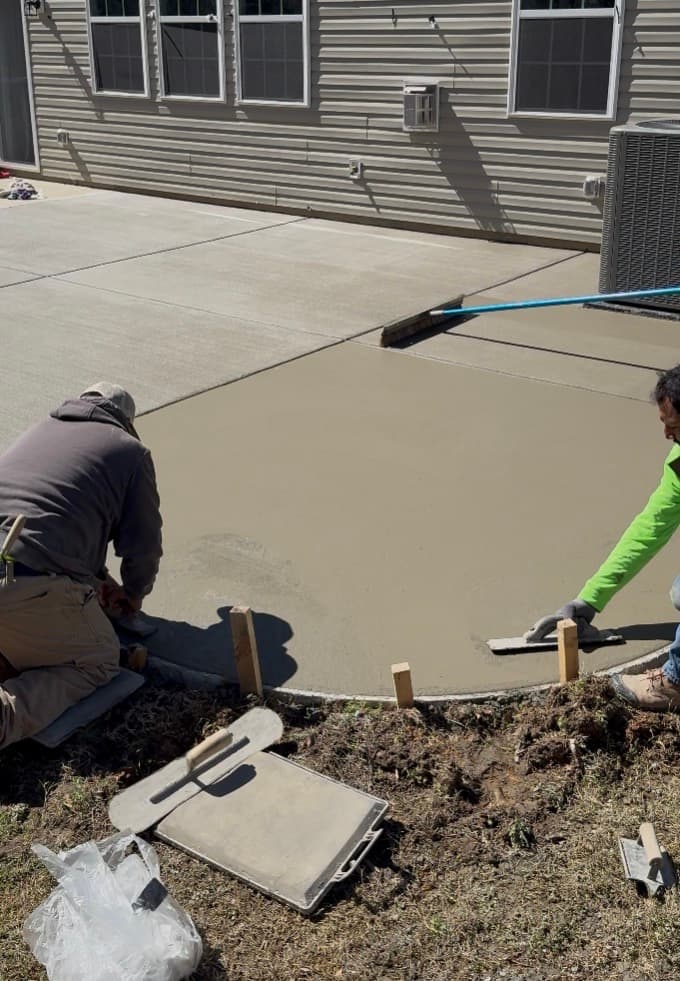
Fresno Finish
Final smoothing pass to close the surface pores and prepare for texturing.
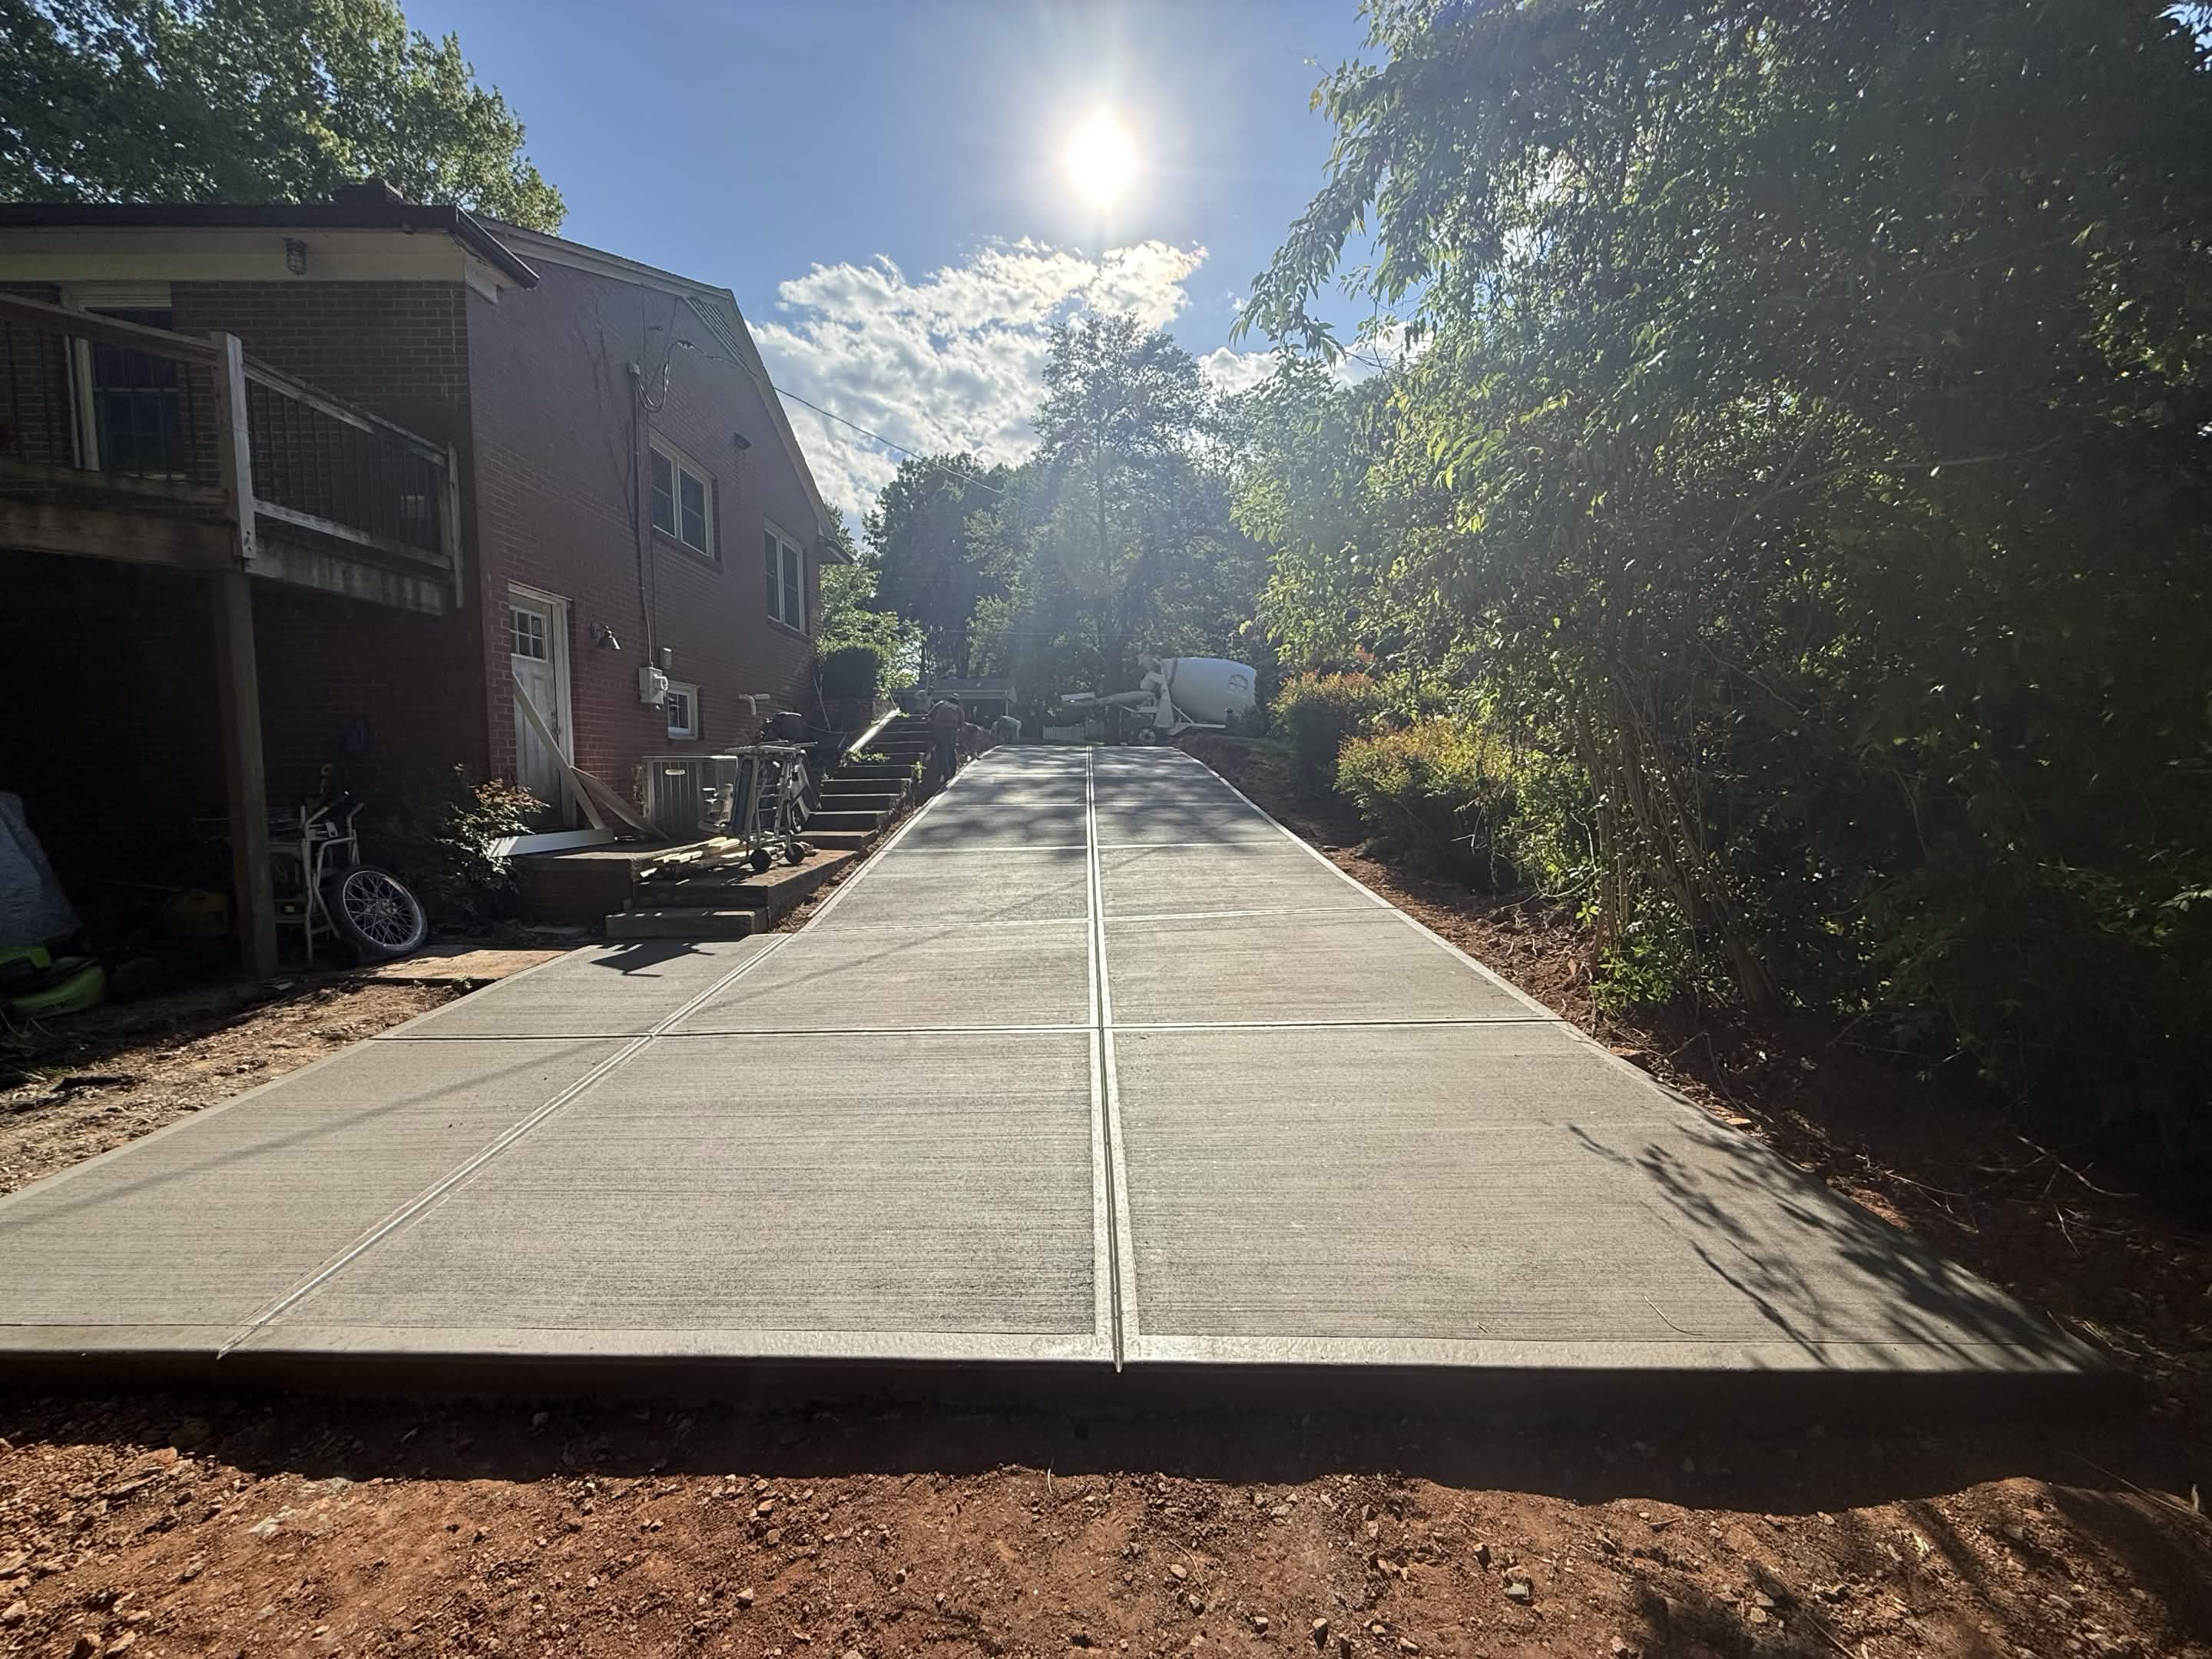
Decorative Detailing
Applying final broom texture, stamp patterns, or color treatments as specified for your project.
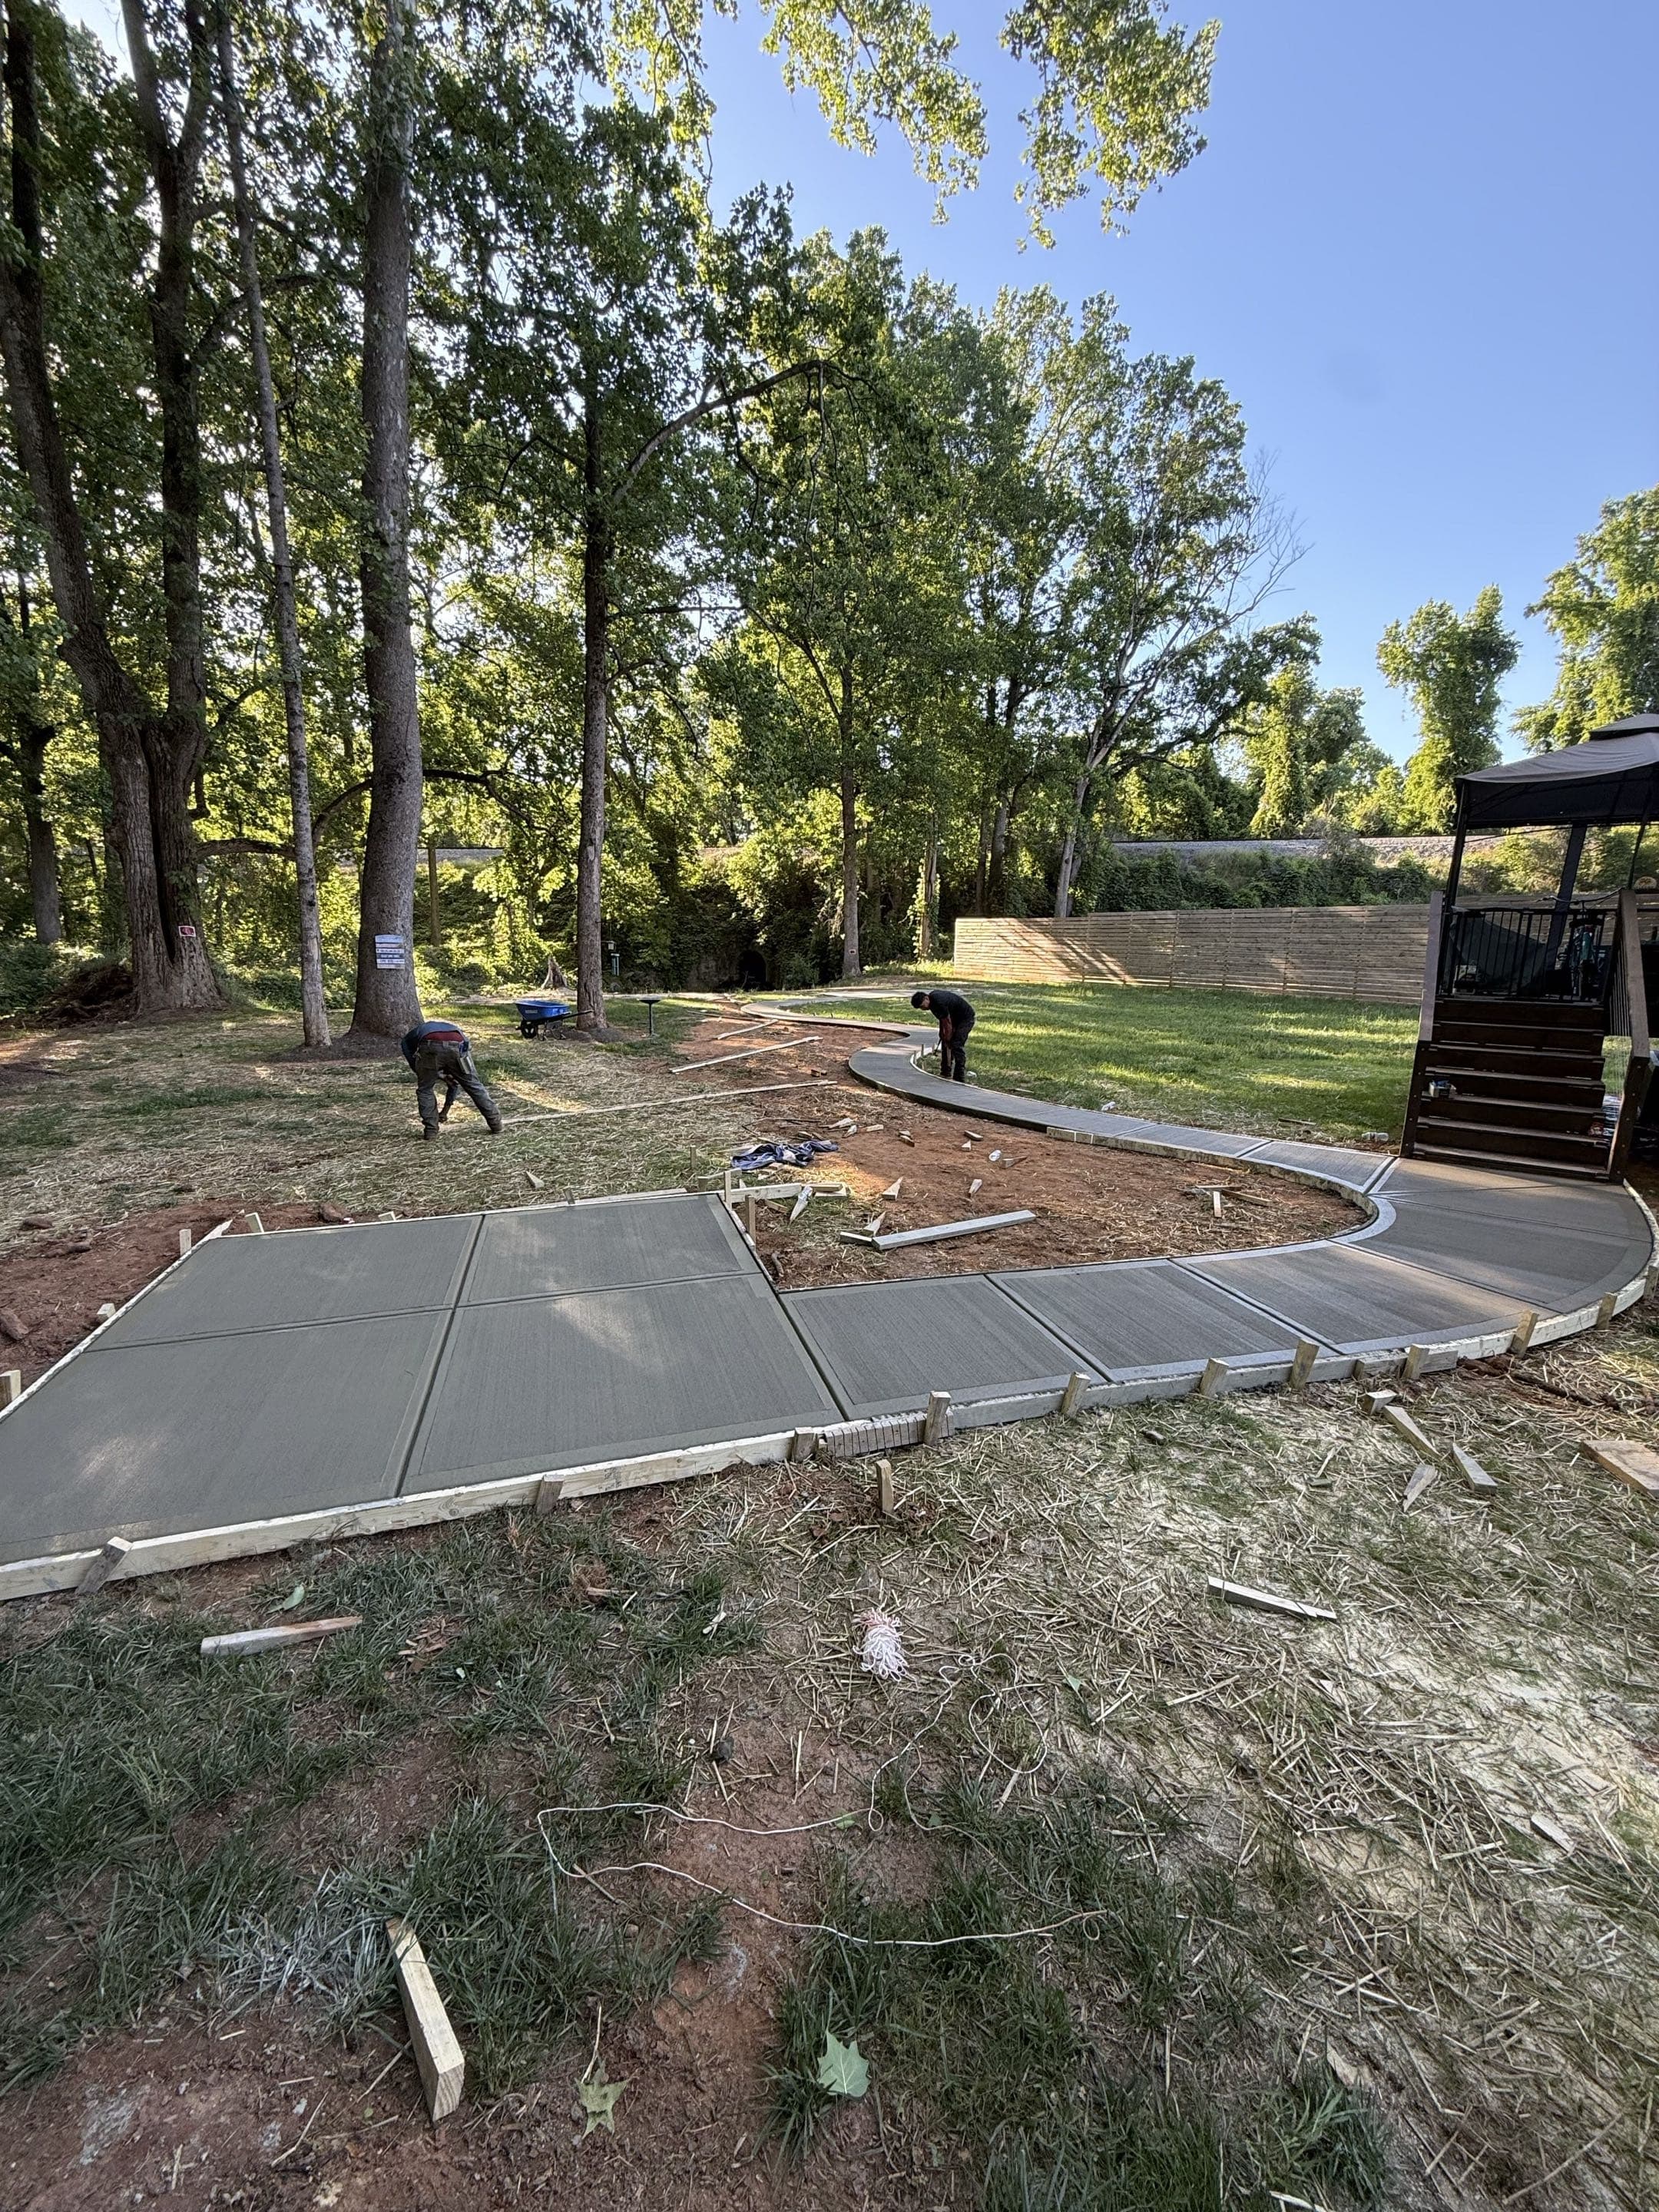
Form Removal
Careful stripping of forms once concrete has reached initial set stability.
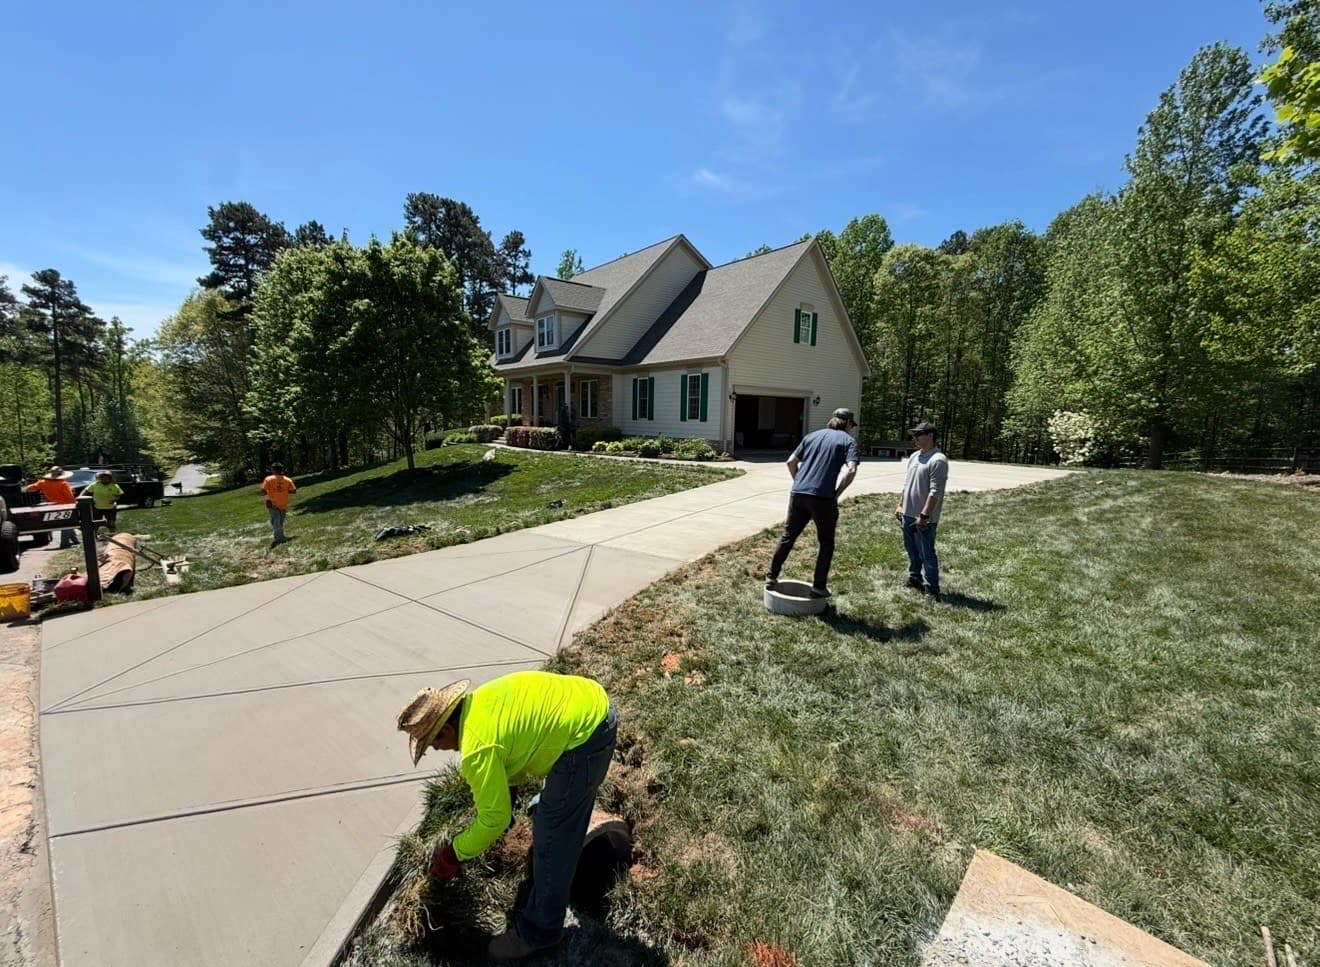
Final Walkthrough & Closeout Package
Reviewing the finished project with your ops manager, then delivering the closeout package (photos, lien releases, W-9, additional-insured cert) for your files.

Usage Guide
Providing clear instructions on cure times — when you can walk, drive, and park on your new concrete.
Project Completion
The job is done right, ensuring you have a durable surface for years to come.
Sealer, Epoxy, or Bare Concrete — What We Pour vs What You Choose
The garage floor coating question is separate from the slab itself. Homeowners come to us wanting a floor that lasts, and coatings are one of several decisions that get made after the pour is on the ground. We handle that split honestly.
- We pour the slab. That's our category — mix, base, thickness, reinforcement, moisture barrier, slope, finish, cure.
- Coating decisions — sealer, epoxy, polyaspartic, or bare — are yours to make on your schedule, and often after the slab has cured for a minimum window (typically thirty days) before any coating goes on
- Sealer — a penetrating concrete sealer helps resist stains, chloride penetration from road salt, and freeze-thaw damage on garages that see winter weather. Low-cost, moderate lifespan, needs re-application every three to five years.
- Epoxy or polyaspartic coating — full film-forming coating, common colors and flake finishes, more expensive, longer service life. Requires a properly prepared and cured slab underneath.
- Bare concrete — a properly finished, saw-cut, sealed-with-nothing slab is a legitimate finish. Cheaper up front, easier to patch or drill for anchors later, less commitment to a specific look.
- Coating specialists — floor coatings are their own trade, and there are excellent specialty companies for epoxy and polyaspartic work. We don't try to be that specialty. If the coating is important to you, we'll finish the slab in a way that gives you the widest range of coating options later.
- What the slab needs regardless of coating decision — proper cure (twenty-eight days to full strength), no curing compound that will block a future coating (we ask up front), and a broom or steel-trowel finish appropriate to your intended use
Homeowners deciding about coatings later shouldn't be locked in by choices we made at the pour. We ask the question up front so the finish and cure regimen fit the plan.
When to Replace, Not Repair
Not every crack or chip means the whole garage floor comes out. But when several failure signs show up together, patching just kicks the cost down the road and usually adds it back on top when replacement happens anyway.
- Cracks wider than a quarter-inch that keep re-opening after being filled
- Sections settled or heaved more than half an inch out of plane — a lip that catches tire, a puddle that didn't exist five years ago, a drain that no longer runs the direction it was cut
- Widespread spider-webbing or map cracking across the surface — points to base failure or a bad mix, not one localized issue
- Spalling that has broken through the top paste and exposed the aggregate or reinforcement — chloride and freeze-thaw damage is often the driver in NC
- Visible rebar or wire mesh showing through surface cracks
- Water pooling toward the back wall instead of running out the door — slab has settled and drainage no longer works
- Deep cracks around a support column or at the base of a load-bearing wall — differential settlement worth investigating separately
- Chemical damage — battery acid, brake fluid, or fuel spills that have broken down the top paste
- Floor heave from a support column, a tree root, or a footing that has moved — usually a replacement, sometimes an underpinning conversation first
If two or three of these match your garage and the slab is past its twentieth birthday, ask for the replacement quote alongside the repair quote. Nine times out of ten the math and the ten-year outlook favor the pour.
Why Homeowners Work With Us
Local Concrete Contractor pours residential and light commercial concrete work across the North Carolina Piedmont and out into the coastal plain. Garage floors are one of the highest-use residential slabs on the property, and everything about how we quote and how we invoice is set up around one idea: the homeowner shouldn't be the one holding the risk.
What that looks like on your garage floor:
- Zero deposit — you pay after the floor is poured, finished, and walked with you, not before
- Free on-site quotes with the actual scope, thickness, base depth, reinforcement, moisture barrier, slope, and threshold detail written down
- Licensed and insured — proof of coverage available before we set the first form board
- No pressure sales, no timeshare tactics, no "sign today or the price goes up"
- Real photos of prior garage floors in nearby neighborhoods, not stock images
- Straight answers on the cost drivers (square footage, thickness, base condition, tear-out complexity, threshold rebuild, footing tie-in on additions, coating-friendly finish) so you can see where the number comes from
- Same crew from base prep through final broom pass — no subcontracting the finish out to whoever is closest
- Honest handoff on coating decisions — we finish the slab in a way that keeps your coating options open and refer you to specialists for epoxy work if that's the direction you want to go
If you're still comparing quotes, ask each contractor how they slope the floor to drain, whether a moisture barrier is included, and what thickness they'll spec for the vehicles you actually park. Those three answers separate a garage floor that holds up for three decades from one you're replacing in twelve.
Garage Floors
FAQ
Straight answers on garage floors installation — thickness, base prep, cure time, deposit, and what it takes to make the slab last.
Get Free QuoteWhat thickness for a residential garage floor?
Four inches is the residential minimum and the working default for standard passenger vehicles and light-duty trucks. Five to six inches is what we spec when the garage will see a floor lift, a fifth-wheel or RV parked inside, regular boat-trailer storage, or a full-size dually. Under a two-post or four-post lift, a thickened slab section with heavier rebar sized to the lift manufacturer's spec is standard. Correct thickness on a correct base is what drives service life.
Do garage floors need a moisture barrier?
How much slope does a garage floor need?
Do you install epoxy or coating on the floor?
When can I park on a new garage floor?
Do you require a deposit for garage floors?
Ready to talk about your project?
Free estimate. No pressure, no sales tactics. Zero deposit.
Get Free Quote